Chapter 12 Troubleshooting
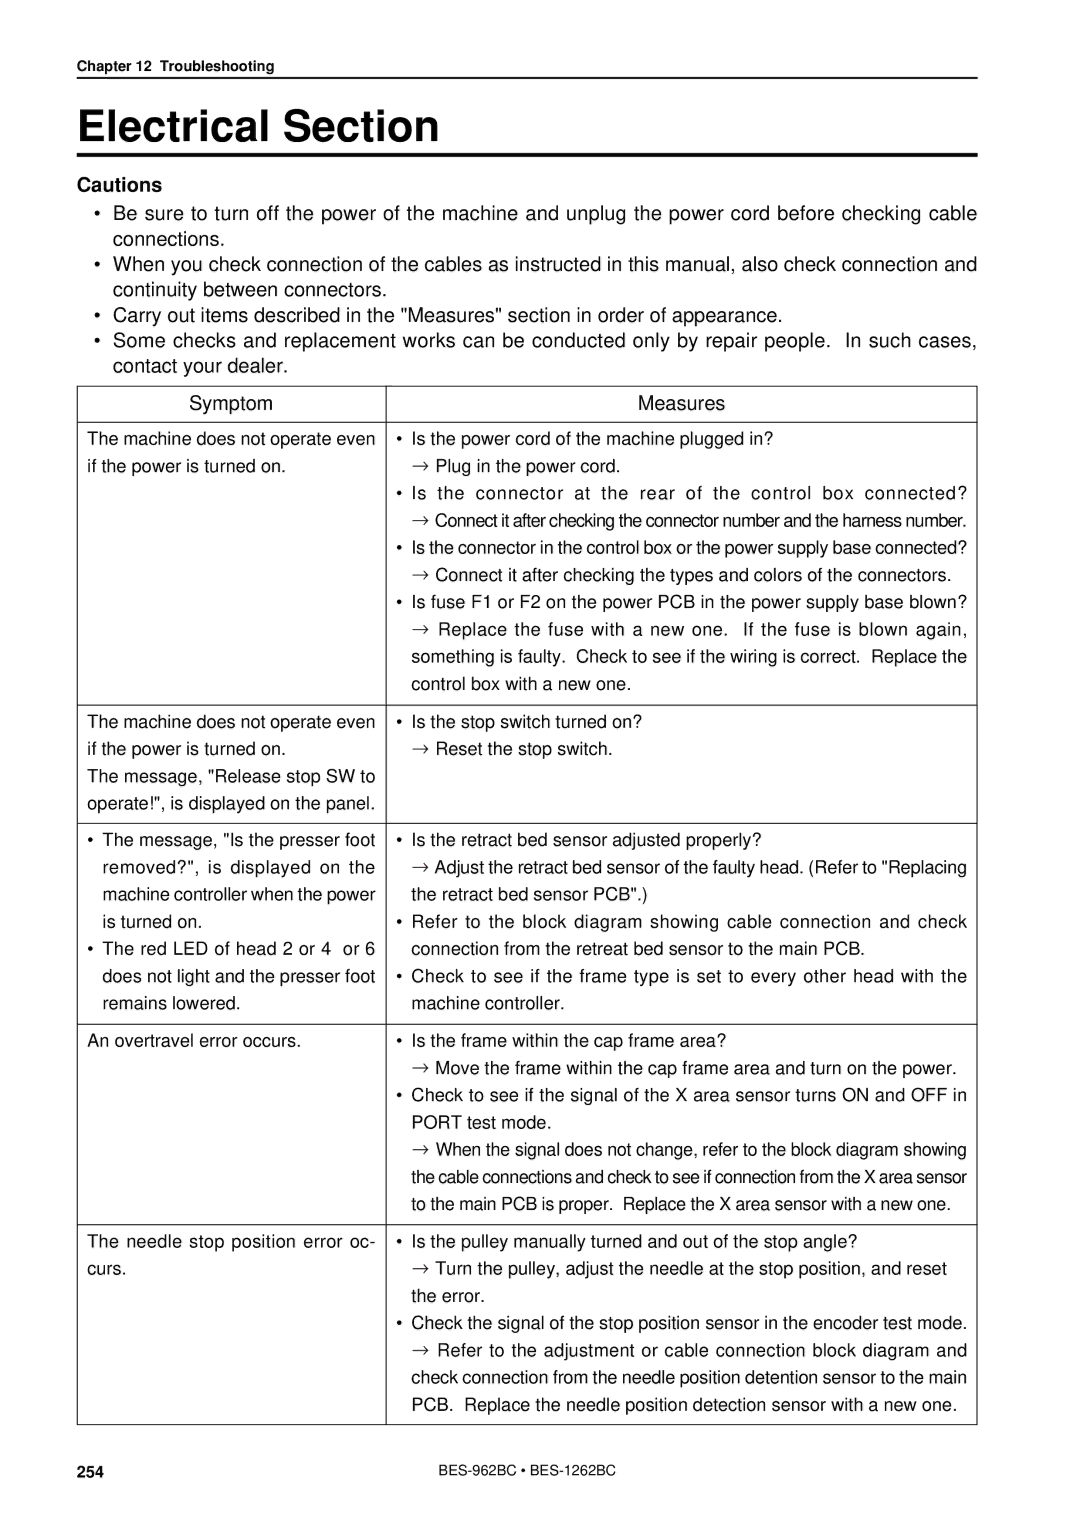
Electrical Section
Cautions
•Be sure to turn off the power of the machine and unplug the power cord before checking cable connections.
•When you check connection of the cables as instructed in this manual, also check connection and continuity between connectors.
•Carry out items described in the "Measures" section in order of appearance.
•Some checks and replacement works can be conducted only by repair people. In such cases, contact your dealer.
Symptom | Measures |
|
|
The machine does not operate even | • Is the power cord of the machine plugged in? |
if the power is turned on. | Plug in the power cord. |
•Is the connector at the rear of the control box connected?
![]() Connect it after checking the connector number and the harness number.
Connect it after checking the connector number and the harness number.
•Is the connector in the control box or the power supply base connected?
![]() Connect it after checking the types and colors of the connectors.
Connect it after checking the types and colors of the connectors.
•Is fuse F1 or F2 on the power PCB in the power supply base blown?
![]() Replace the fuse with a new one. If the fuse is blown again, something is faulty. Check to see if the wiring is correct. Replace the control box with a new one.
Replace the fuse with a new one. If the fuse is blown again, something is faulty. Check to see if the wiring is correct. Replace the control box with a new one.
The machine does not operate even | • | Is the stop switch turned on? | |
if the power is turned on. |
| Reset the stop switch. | |
The message, "Release stop SW to |
|
| |
operate!", is displayed on the panel. |
|
| |
|
|
|
|
• | The message, "Is the presser foot | • | Is the retract bed sensor adjusted properly? |
| removed?", is displayed on the |
| Adjust the retract bed sensor of the faulty head. (Refer to "Replacing |
| machine controller when the power |
| the retract bed sensor PCB".) |
| is turned on. | • | Refer to the block diagram showing cable connection and check |
• | The red LED of head 2 or 4 or 6 |
| connection from the retreat bed sensor to the main PCB. |
| does not light and the presser foot | • | Check to see if the frame type is set to every other head with the |
| remains lowered. |
| machine controller. |
|
|
| |
An overtravel error occurs. | • | Is the frame within the cap frame area? | |
|
|
| Move the frame within the cap frame area and turn on the power. |
|
| • | Check to see if the signal of the X area sensor turns ON and OFF in |
|
|
| PORT test mode. |
|
|
| When the signal does not change, refer to the block diagram showing |
|
|
| the cable connections and check to see if connection from the X area sensor |
|
|
| to the main PCB is proper. Replace the X area sensor with a new one. |
The needle stop position error oc- | • Is the pulley manually turned and out of the stop angle? |
curs. | Turn the pulley, adjust the needle at the stop position, and reset |
| the error. |
•Check the signal of the stop position sensor in the encoder test mode.
![]() Refer to the adjustment or cable connection block diagram and check connection from the needle position detention sensor to the main PCB. Replace the needle position detection sensor with a new one.
Refer to the adjustment or cable connection block diagram and check connection from the needle position detention sensor to the main PCB. Replace the needle position detection sensor with a new one.
254 |
