Chapter 12 Troubleshooting
Symptom | Measures |
|
|
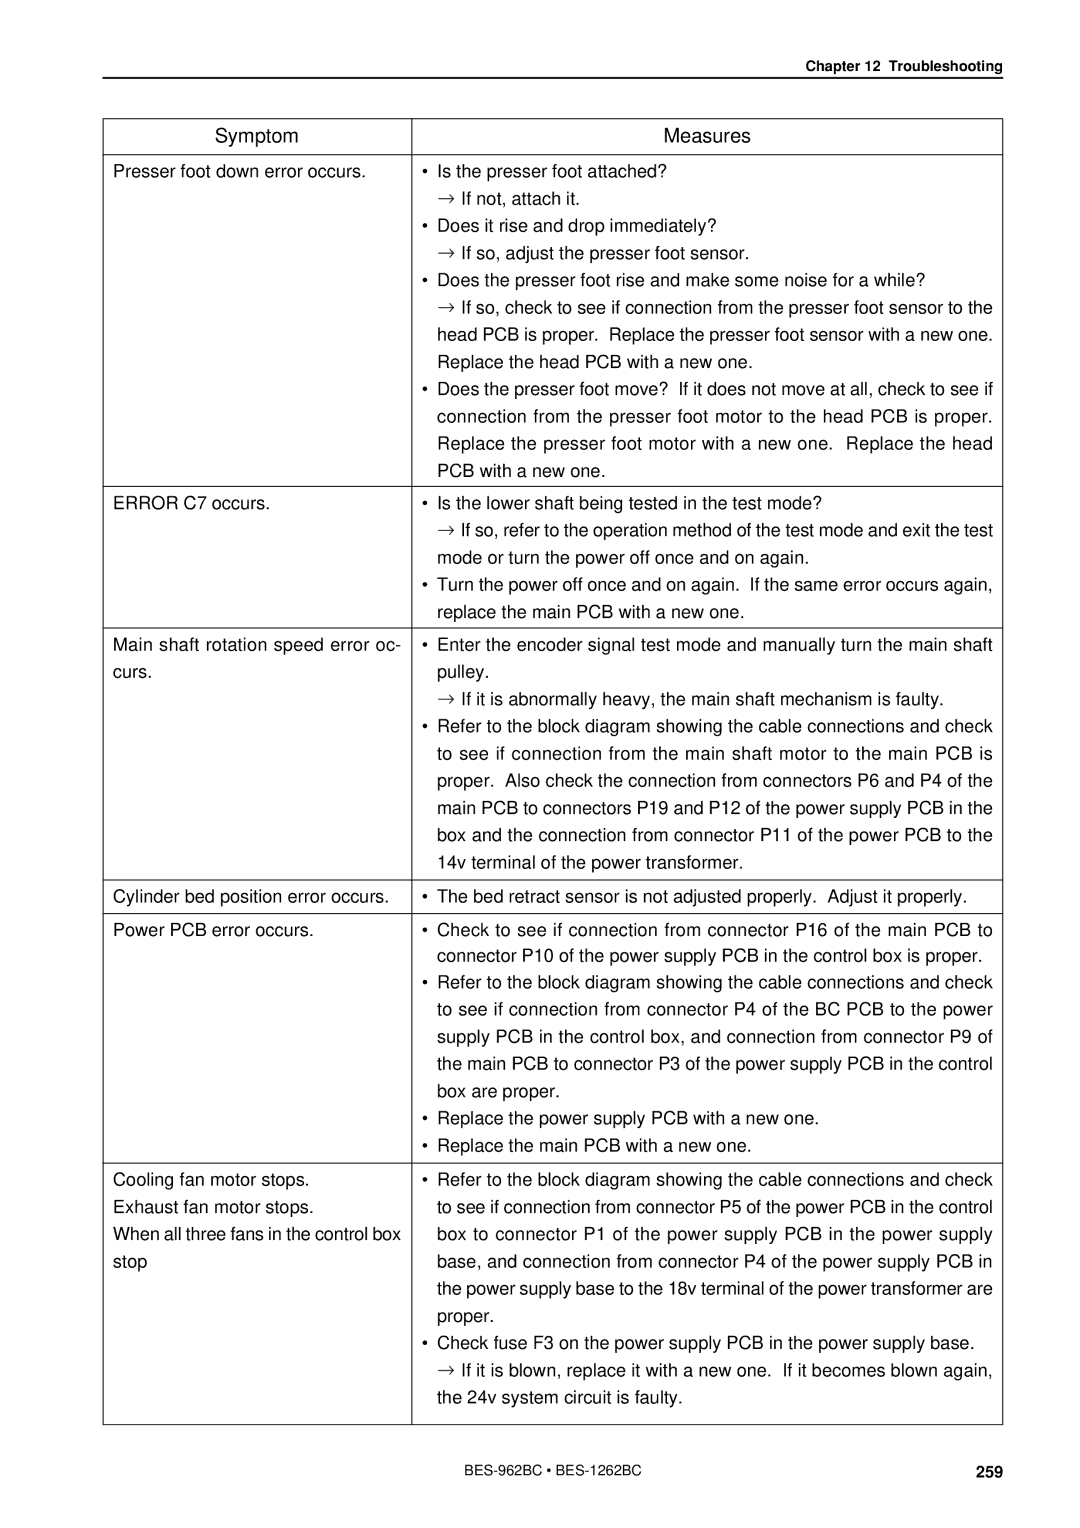
Presser foot down error occurs. | • Is the presser foot attached? |
| If not, attach it. |
•Does it rise and drop immediately?
![]() If so, adjust the presser foot sensor.
If so, adjust the presser foot sensor.
•Does the presser foot rise and make some noise for a while?
![]() If so, check to see if connection from the presser foot sensor to the head PCB is proper. Replace the presser foot sensor with a new one. Replace the head PCB with a new one.
If so, check to see if connection from the presser foot sensor to the head PCB is proper. Replace the presser foot sensor with a new one. Replace the head PCB with a new one.
•Does the presser foot move? If it does not move at all, check to see if connection from the presser foot motor to the head PCB is proper. Replace the presser foot motor with a new one. Replace the head PCB with a new one.
ERROR C7 occurs. | • Is the lower shaft being tested in the test mode? |
| If so, refer to the operation method of the test mode and exit the test |
| mode or turn the power off once and on again. |
•Turn the power off once and on again. If the same error occurs again, replace the main PCB with a new one.
Main shaft rotation speed error oc- | • Enter the encoder signal test mode and manually turn the main shaft |
curs. | pulley. |
| If it is abnormally heavy, the main shaft mechanism is faulty. |
•Refer to the block diagram showing the cable connections and check to see if connection from the main shaft motor to the main PCB is proper. Also check the connection from connectors P6 and P4 of the main PCB to connectors P19 and P12 of the power supply PCB in the box and the connection from connector P11 of the power PCB to the 14v terminal of the power transformer.
Cylinder bed position error occurs. | • | The bed retract sensor is not adjusted properly. Adjust it properly. |
|
|
|
Power PCB error occurs. | • | Check to see if connection from connector P16 of the main PCB to |
|
| connector P10 of the power supply PCB in the control box is proper. |
| • | Refer to the block diagram showing the cable connections and check |
|
| to see if connection from connector P4 of the BC PCB to the power |
|
| supply PCB in the control box, and connection from connector P9 of |
|
| the main PCB to connector P3 of the power supply PCB in the control |
|
| box are proper. |
| • Replace the power supply PCB with a new one. | |
| • Replace the main PCB with a new one. | |
|
|
|
Cooling fan motor stops. | • | Refer to the block diagram showing the cable connections and check |
Exhaust fan motor stops. |
| to see if connection from connector P5 of the power PCB in the control |
When all three fans in the control box |
| box to connector P1 of the power supply PCB in the power supply |
stop |
| base, and connection from connector P4 of the power supply PCB in |
|
| the power supply base to the 18v terminal of the power transformer are |
|
| proper. |
| • | Check fuse F3 on the power supply PCB in the power supply base. |
|
| If it is blown, replace it with a new one. If it becomes blown again, |
|
| the 24v system circuit is faulty. |
259 |
