114 C H A P T E R T W E L V E
Installing the Maintenance Utility on MS-DOS®
How to Use the MFC withYour DOS
Application Software
Before working with your application software that runs on DOS, check that the machine’s name appears in the printer selection of your application software. If the machine is not listed, you must install the printer driver that corresponds to HP LaserJet IIP’s emulations.
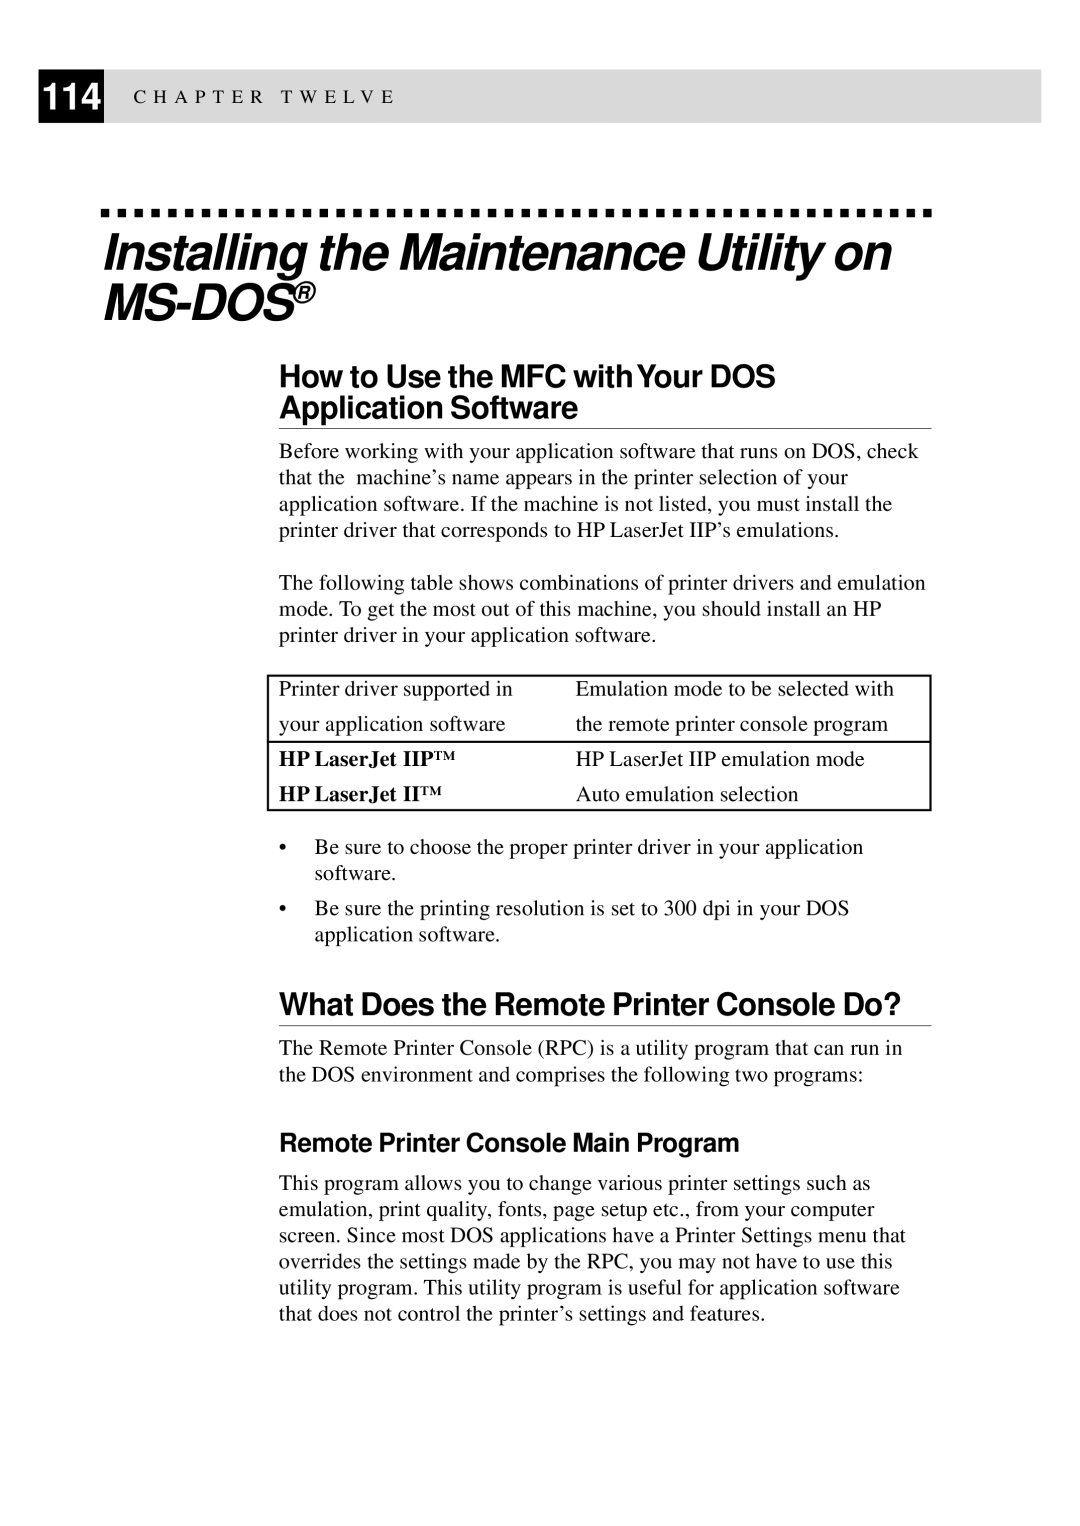
The following table shows combinations of printer drivers and emulation mode. To get the most out of this machine, you should install an HP printer driver in your application software.
Printer driver supported in | Emulation mode to be selected with |
your application software | the remote printer console program |
|
|
HP LaserJet IIP™ | HP LaserJet IIP emulation mode |
HP LaserJet II™ | Auto emulation selection |
|
|
•Be sure to choose the proper printer driver in your application software.
•Be sure the printing resolution is set to 300 dpi in your DOS application software.
What Does the Remote Printer Console Do?
The Remote Printer Console (RPC) is a utility program that can run in the DOS environment and comprises the following two programs:
Remote Printer Console Main Program
This program allows you to change various printer settings such as emulation, print quality, fonts, page setup etc., from your computer screen. Since most DOS applications have a Printer Settings menu that overrides the settings made by the RPC, you may not have to use this utility program. This utility program is useful for application software that does not control the printer’s settings and features.