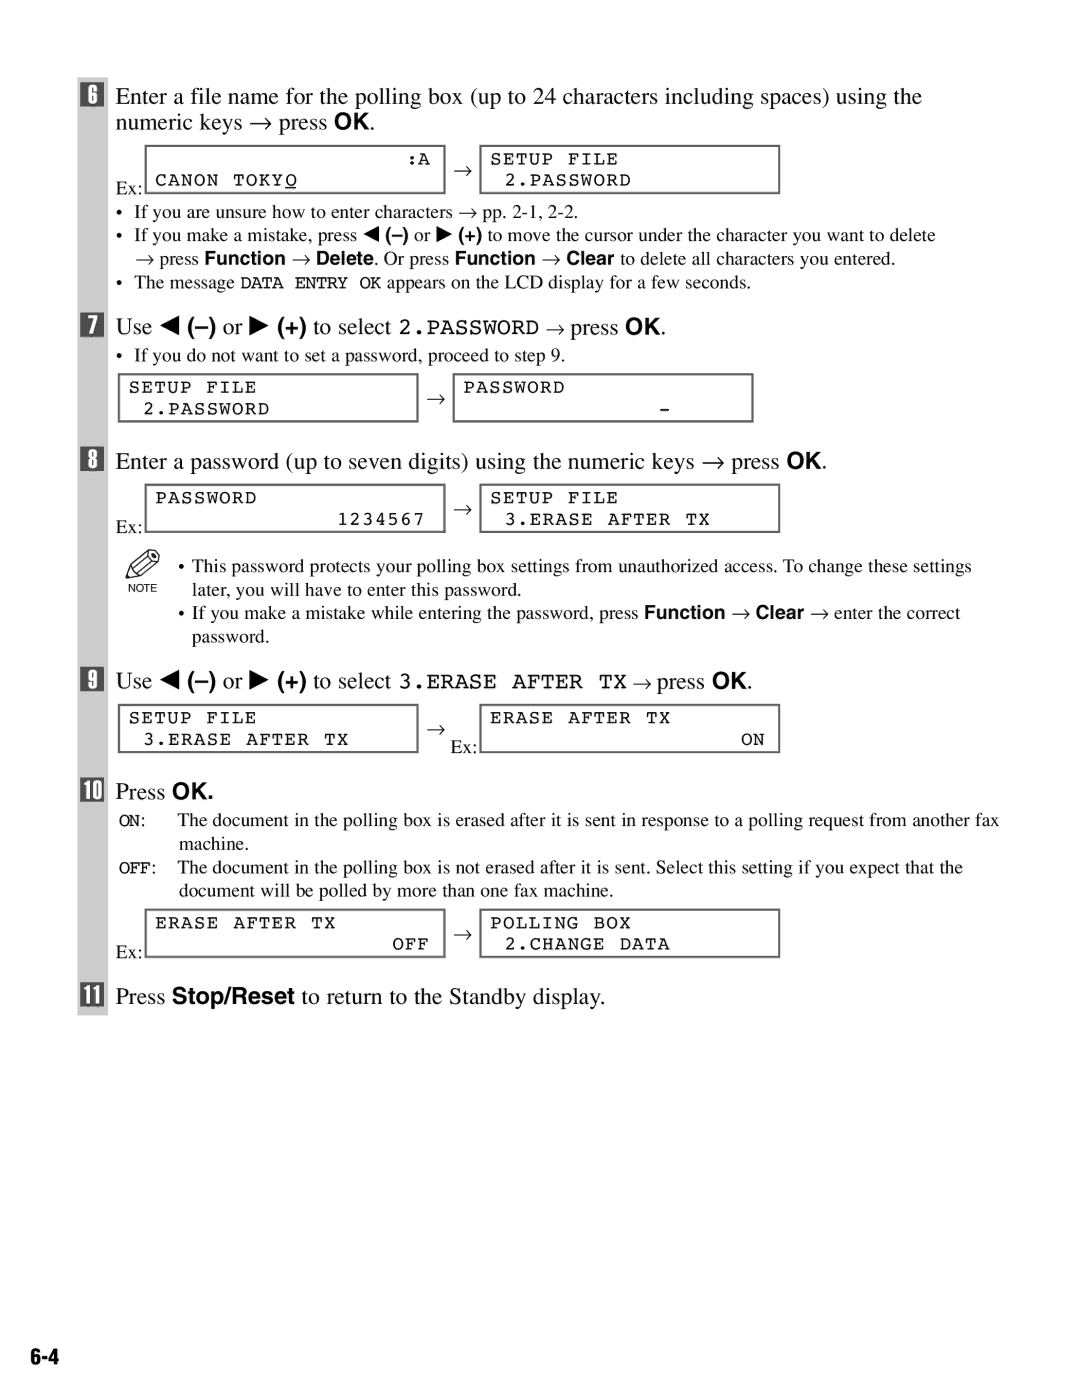
6Enter a file name for the polling box (up to 24 characters including spaces) using the numeric keys → press OK.
| :A | → | SETUP FILE |
Ex: | CANON TOKYO |
| 2.PASSWORD |
|
|
|
•If you are unsure how to enter characters → pp.
•If you make a mistake, press 4
•The message DATA ENTRY OK appears on the LCD display for a few seconds.
7Use 4 (–) or e (+) to select 2.PASSWORD → press OK.
• If you do not want to set a password, proceed to step 9.
SETUP FILE 2.PASSWORD
→
PASSWORD
-
8Enter a password (up to seven digits) using the numeric keys → press OK.
Ex:
PASSWORD
1234567
→
SETUP FILE 3.ERASE AFTER TX
| • This password protects your polling box settings from unauthorized access. To change these settings |
NOTE | later, you will have to enter this password. |
•If you make a mistake while entering the password, press Function → Clear → enter the correct password.
9 Use 4 (–) or e (+) to select 3.ERASE AFTER TX → press OK.
SETUP FILE 3.ERASE AFTER TX
→
Ex:
ERASE AFTER TX
ON
10Press OK.
ON: The document in the polling box is erased after it is sent in response to a polling request from another fax machine.
OFF: The document in the polling box is not erased after it is sent. Select this setting if you expect that the document will be polled by more than one fax machine.
Ex:
ERASE AFTER TX
OFF
→
POLLING BOX 2.CHANGE DATA
