Chapter 2 Installing the Access Point
Mounting the Access Point
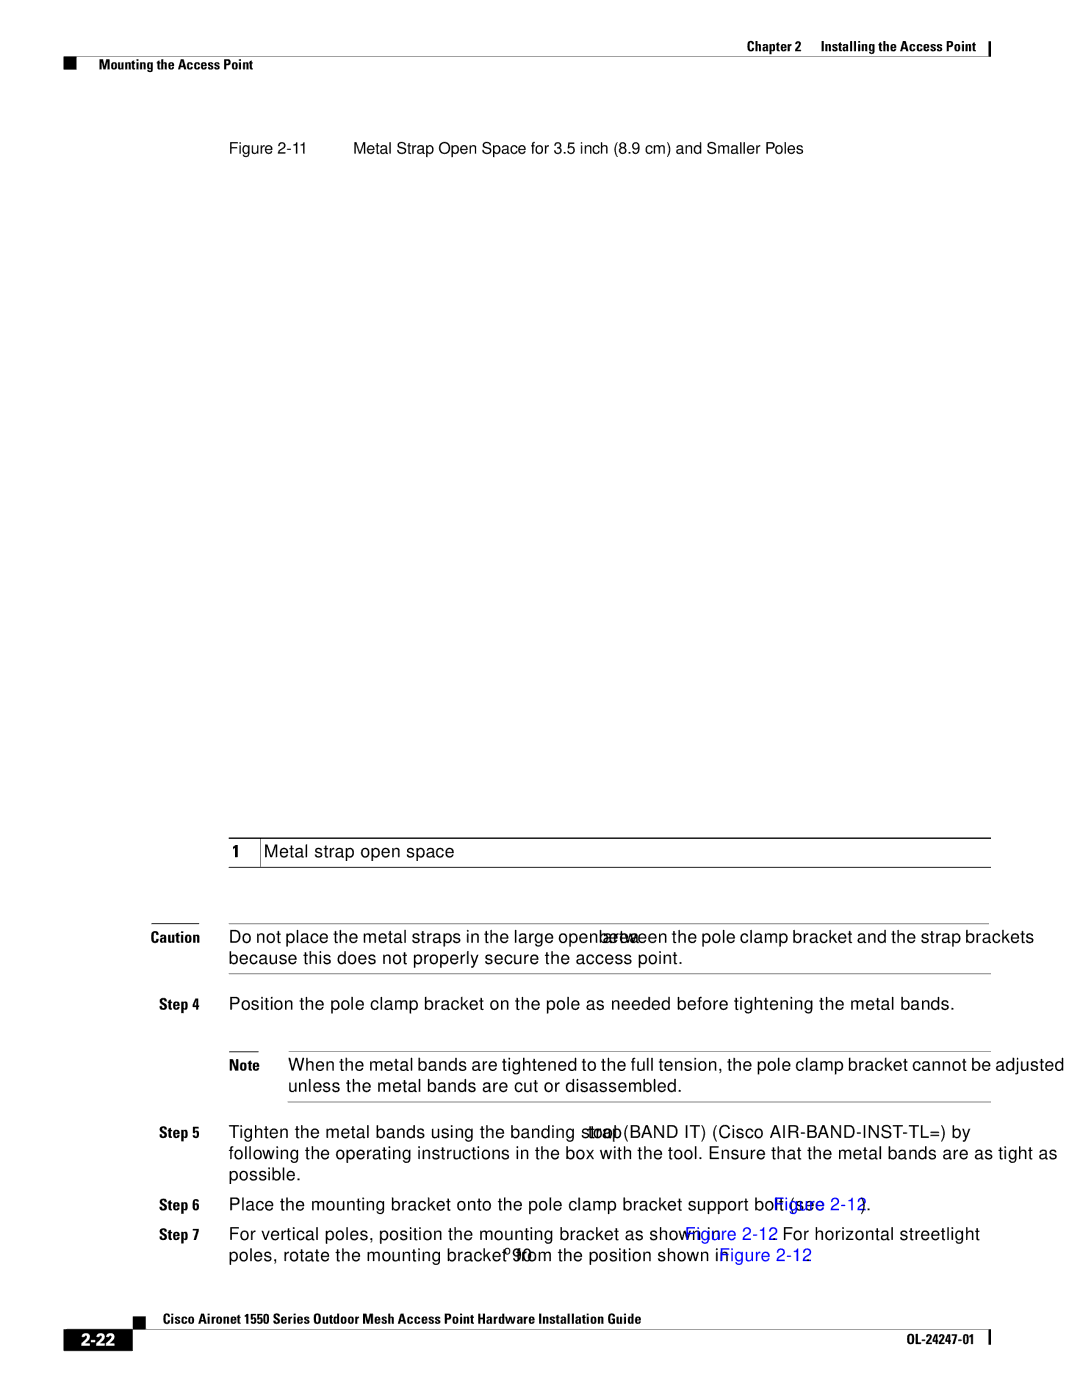
Figure 2-11 Metal Strap Open Space for 3.5 inch (8.9 cm) and Smaller Poles
1
Metal strap open space
|
|
| Caution | Do not place the metal straps in the large open area between the pole clamp bracket and the strap brackets | |||
|
|
|
| because this does not properly secure the access point. | |||
|
|
|
|
|
|
| |
|
|
| Step 4 | Position the pole clamp bracket on the pole as needed before tightening the metal bands. | |||
|
|
|
|
|
|
| |
|
|
|
| Note | When the metal bands are tightened to the full tension, the pole clamp bracket cannot be adjusted | ||
|
|
|
|
|
| unless the metal bands are cut or disassembled. | |
|
|
|
|
|
| ||
|
|
| Step 5 | Tighten the metal bands using the banding strap tool (BAND IT) (Cisco | |||
|
|
|
| following the operating instructions in the box with the tool. Ensure that the metal bands are as tight as | |||
|
|
|
| possible. | |||
|
|
| Step 6 | Place the mounting bracket onto the pole clamp bracket support bolt (see Figure | |||
|
|
| Step 7 | For vertical poles, position the mounting bracket as shown in Figure | |||
|
|
|
| poles, rotate the mounting bracket 90o from the position shown in Figure | |||
|
|
| Cisco Aironet 1550 Series Outdoor Mesh Access Point Hardware Installation Guide | ||||
|
|
| |||||
|
|
|
|
|
|
|
|
|
|
|
|
|
|
| |
|
|
|
|
|
| ||