Chapter 2 Installing the Access Point
Mounting the Access Point
Mounting the 1552C or 1552CU Access Point Facing Up in a Vault Application
To mount the 1552C or 1552CU access point on a horizontal surface in a
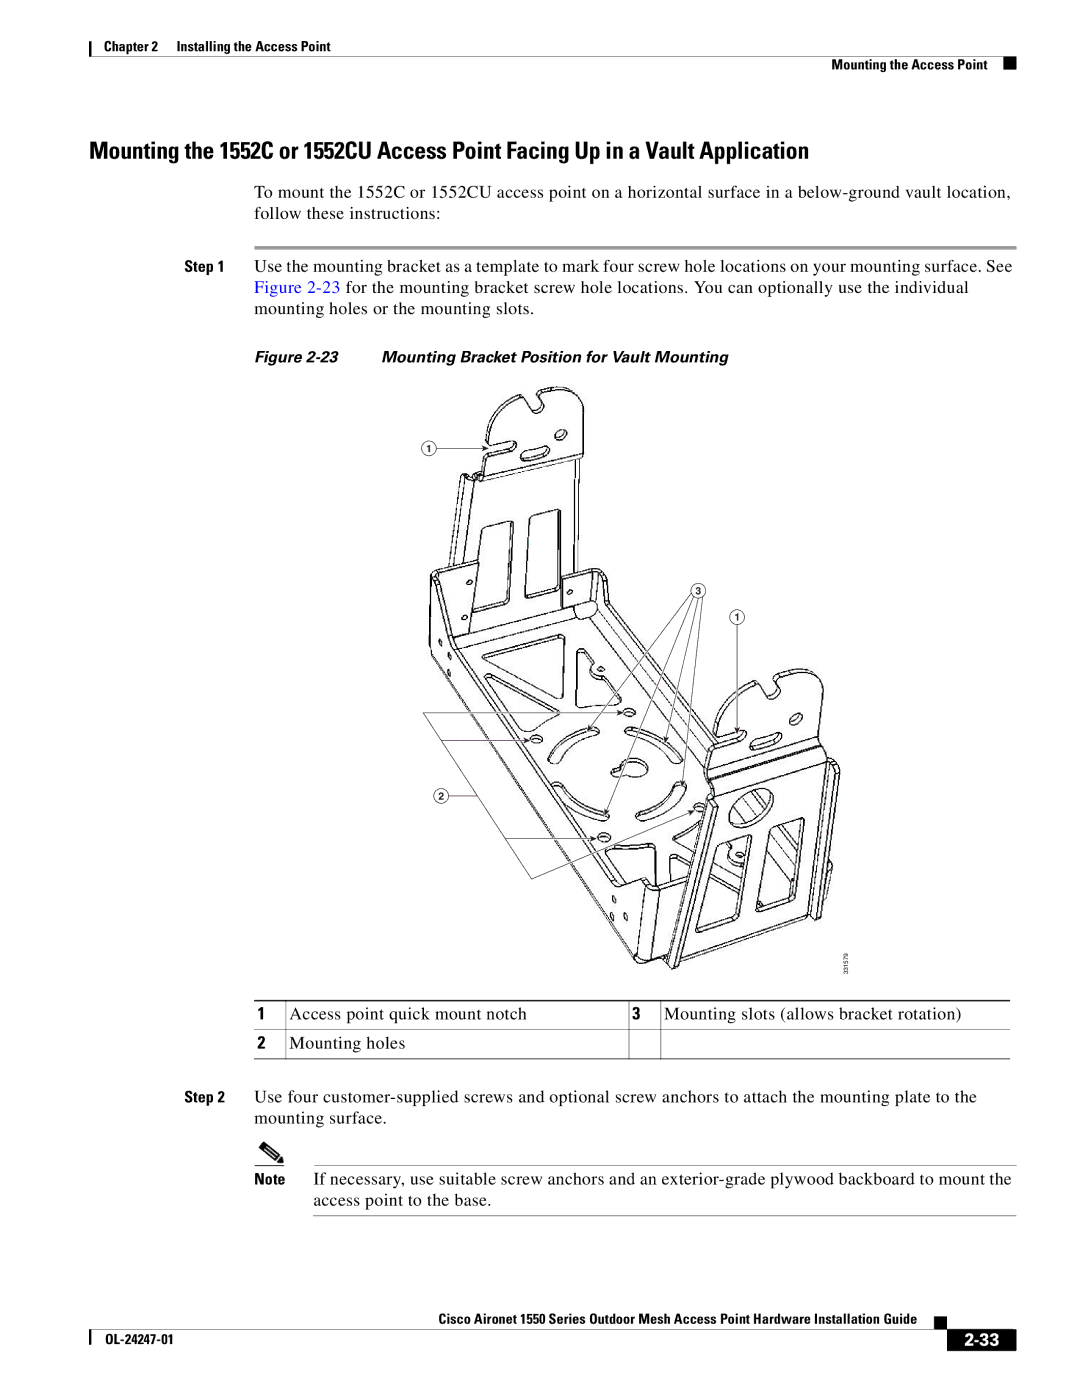
Step 1 Use the mounting bracket as a template to mark four screw hole locations on your mounting surface. See Figure
Figure 2-23 Mounting Bracket Position for Vault Mounting
1
2
1
3
1
2
| 331579 | |||
Access point quick mount notch |
| 3 |
| Mounting slots (allows bracket rotation) |
|
| |||
Mounting holes |
|
|
|
|
|
|
|
|
|
Step 2 Use four
Note If necessary, use suitable screw anchors and an
|
| Cisco Aironet 1550 Series Outdoor Mesh Access Point Hardware Installation Guide |
|
| |
|
|
| |||
|
|
|
| ||
|
|
|
| ||