Checking the Cartridge Cleaning Printout
1.Examine the test pattern.
The example below shows a test pattern of all nozzles functioning correctly. The first pattern printed in each group is from the black (or photo) cartridge. The second one is from the color cartridge.
2.Compare the diagonal line above the printed bars to the diagonal line below the printed bars.
Look for a break in the diagonal lines. A broken line indicates clogged nozzles.
If the bottom line still has breaks, but fewer than the top line, run the test two more times. If the print quality is satisfactory after running the test three times, the print nozzles are clean. You do not need to complete the remaining steps.
If the print quality of both lines is not satisfactory after running the test three times, perform the following steps:
a.Remove and reinstall the print cartridge. For more information, see the “Changing Print Cartridges” section in this chapter.
b.Repeat the nozzle test.
c.Wipe the print cartridge nozzles if the lines are still broken.
Wiping the Print Nozzles
Wipe the print nozzles only if you have already cleaned the print nozzles but the print quality is still not satisfactory.
Wiping the print nozzles removes dried ink from the nozzles. To wipe the print nozzles:
1.Remove the print cartridge from the printer.
2.Use a dry tissue to gently clean the entire copper colored area including the nozzles and contacts.
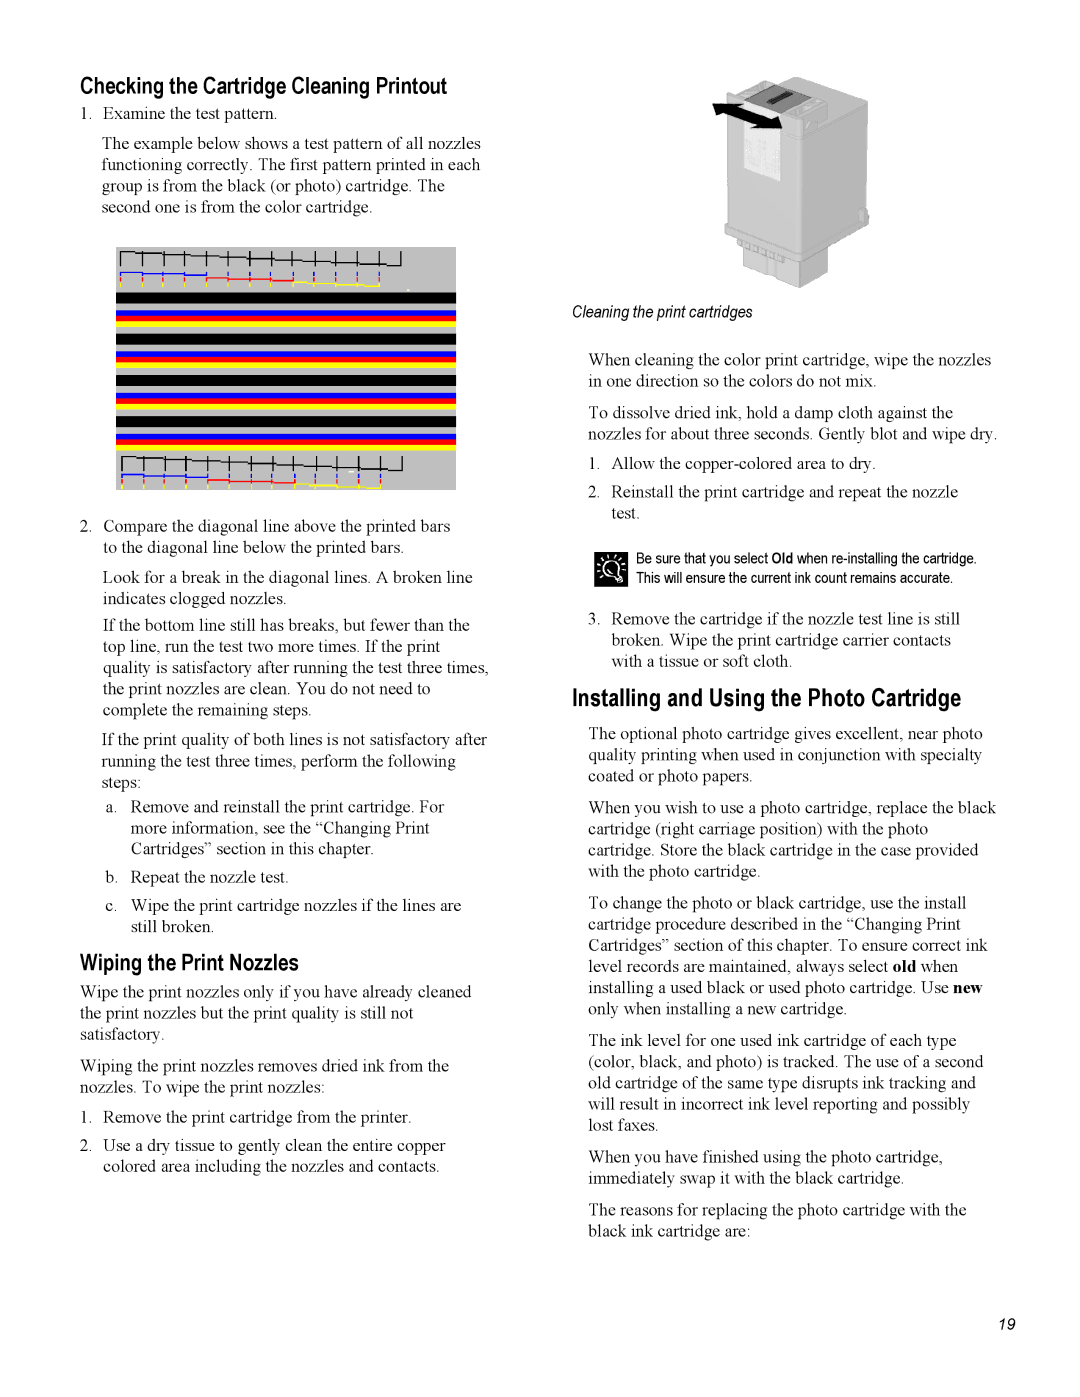
Cleaning the print cartridges
When cleaning the color print cartridge, wipe the nozzles in one direction so the colors do not mix.
To dissolve dried ink, hold a damp cloth against the nozzles for about three seconds. Gently blot and wipe dry.
1.Allow the
2.Reinstall the print cartridge and repeat the nozzle test.
Be sure that you select Old when
3.Remove the cartridge if the nozzle test line is still broken. Wipe the print cartridge carrier contacts with a tissue or soft cloth.
Installing and Using the Photo Cartridge
The optional photo cartridge gives excellent, near photo quality printing when used in conjunction with specialty coated or photo papers.
When you wish to use a photo cartridge, replace the black cartridge (right carriage position) with the photo cartridge. Store the black cartridge in the case provided with the photo cartridge.
To change the photo or black cartridge, use the install cartridge procedure described in the “Changing Print Cartridges” section of this chapter. To ensure correct ink level records are maintained, always select old when installing a used black or used photo cartridge. Use new only when installing a new cartridge.
The ink level for one used ink cartridge of each type (color, black, and photo) is tracked. The use of a second old cartridge of the same type disrupts ink tracking and will result in incorrect ink level reporting and possibly lost faxes.
When you have finished using the photo cartridge, immediately swap it with the black cartridge.
The reasons for replacing the photo cartridge with the black ink cartridge are:
19
