Hardware Installation of ATCA-7150

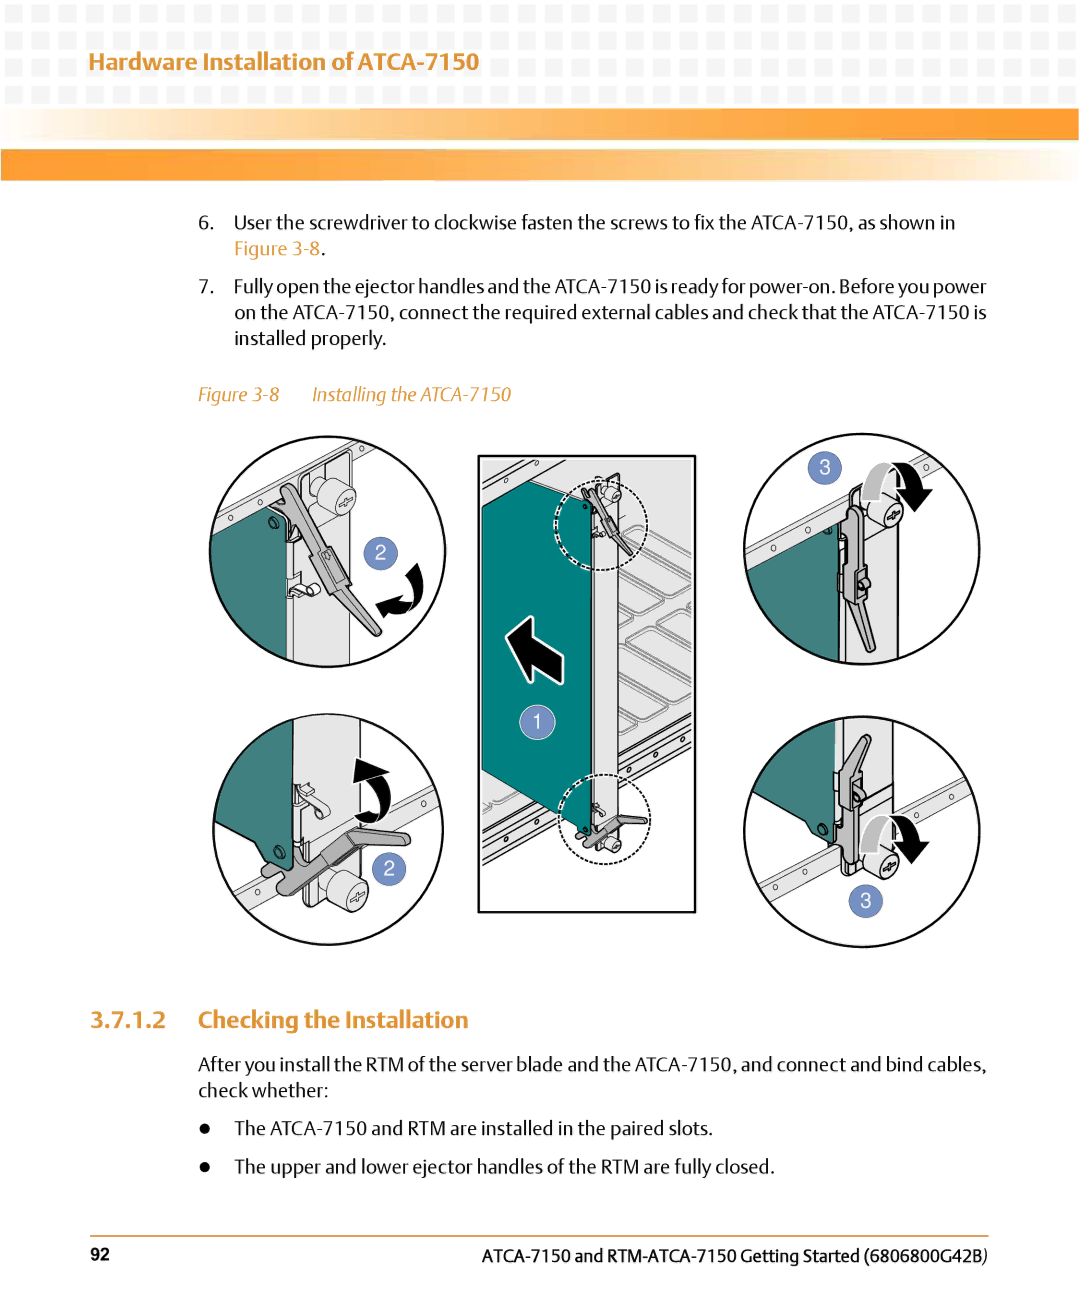
6.User the screwdriver to clockwise fasten the screws to fix the ATCA-7150, as shown in Figure 3-8.

7.Fully open the ejector handles and the ATCA-7150 is ready for power-on. Before you power on the ATCA-7150, connect the required external cables and check that the ATCA-7150 is installed properly.

Figure 3-8 Installing the ATCA-7150

2

2

1

3

3

3.7.1.2Checking the Installation

After you install the RTM of the server blade and the ATCA-7150, and connect and bind cables, check whether:

zThe ATCA-7150 and RTM are installed in the paired slots.

zThe upper and lower ejector handles of the RTM are fully closed.

92

ATCA-7150 and RTM-ATCA-7150 Getting Started (6806800G42B)

Page 92
Image 92
Emerson RTM-ATCA-7150 manual Checking the Installation, Installing the ATCA-7150