3.Select the image format for the saved files from the File or File Type list.
4.If there are options for the selected file format, click Options and select the options you want.
5.Click Browse or the Save in field to choose the folder where you want to save the images.
6.Click OK to save the images to the folder, or click Cancel to cancel the operation.
Parent topic: Scanning to Online Destinations Using Easy Photo Scan
Related tasks
Scanning Using Easy Photo Scan
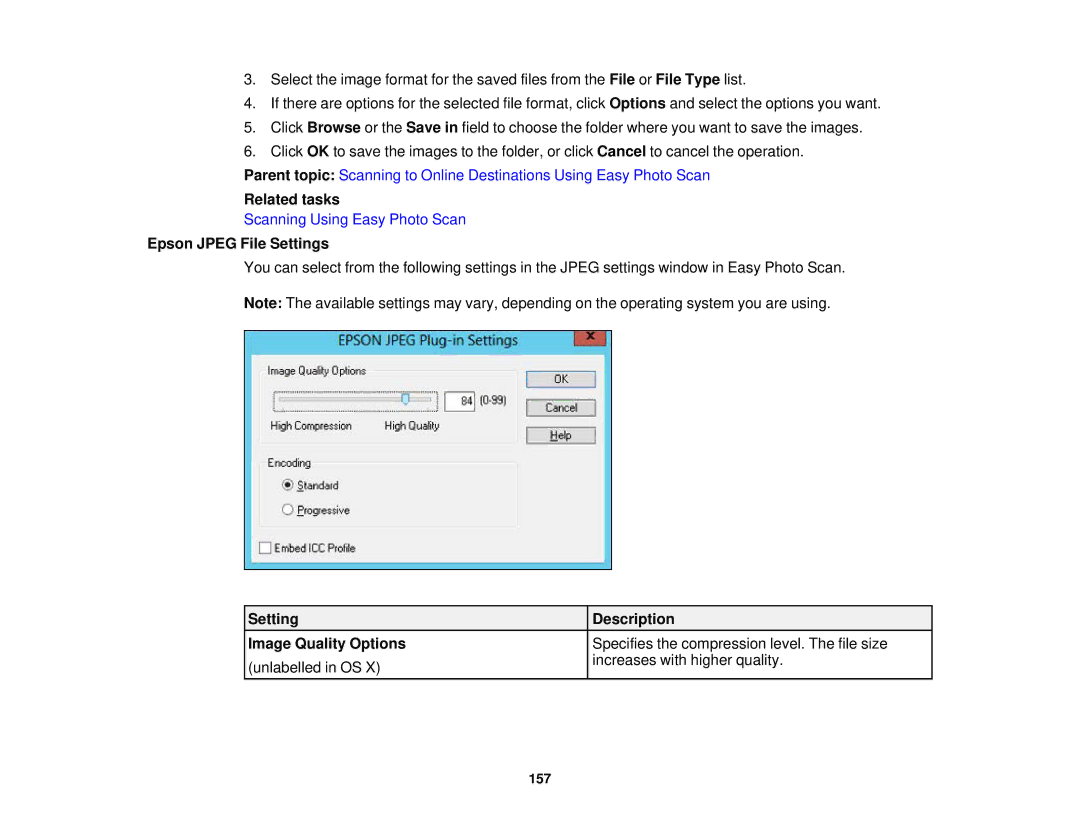
Epson JPEG File Settings
You can select from the following settings in the JPEG settings window in Easy Photo Scan.
Note: The available settings may vary, depending on the operating system you are using.
Setting | Description |
Image Quality Options | Specifies the compression level. The file size |
(unlabelled in OS X) | increases with higher quality. |
|
157
