•To resize the scan area, place your cursor over the edge or corner of the marquee, then click and drag the edge where you want it.
Note: Manually adjusting the marquee will not change the target size of the scanned file. The marquee only indicates the area of the image that will be scanned.
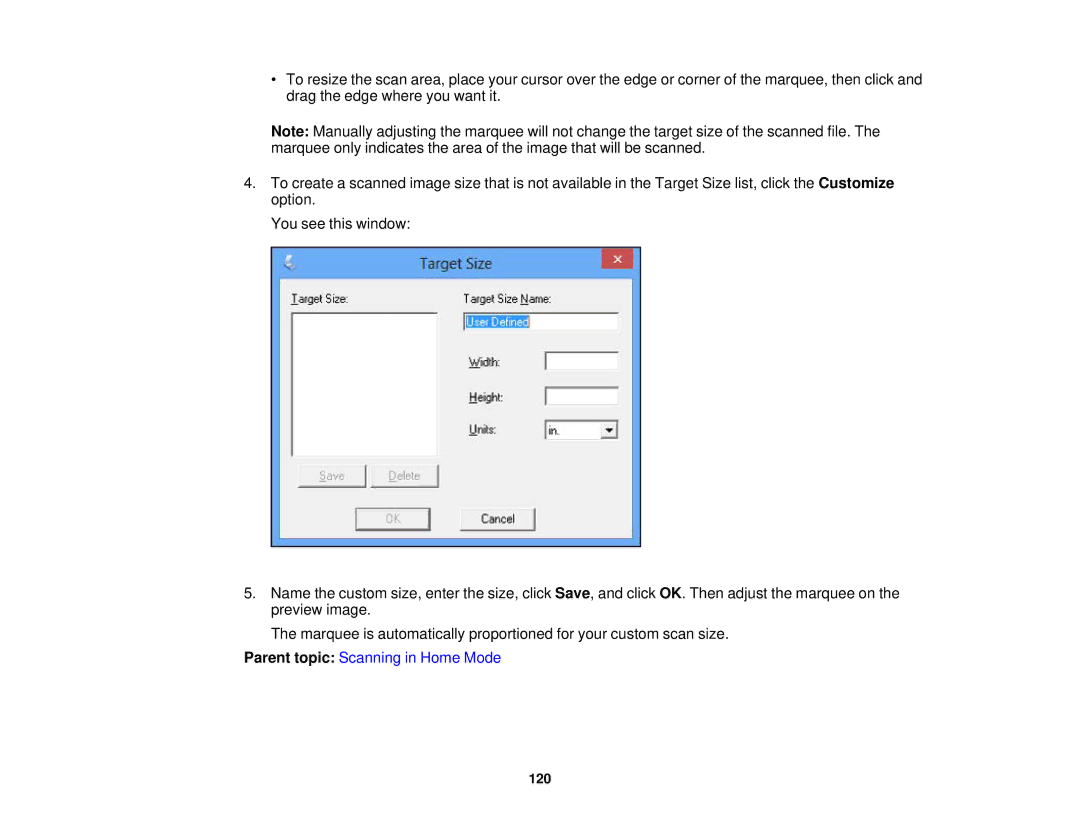
4.To create a scanned image size that is not available in the Target Size list, click the Customize option.
You see this window:
5.Name the custom size, enter the size, click Save, and click OK. Then adjust the marquee on the preview image.
The marquee is automatically proportioned for your custom scan size.
Parent topic: Scanning in Home Mode
