3. SETTING AND ADJUSTMENT
Scanner setting
1.Open the INITIALIZE menu described on page
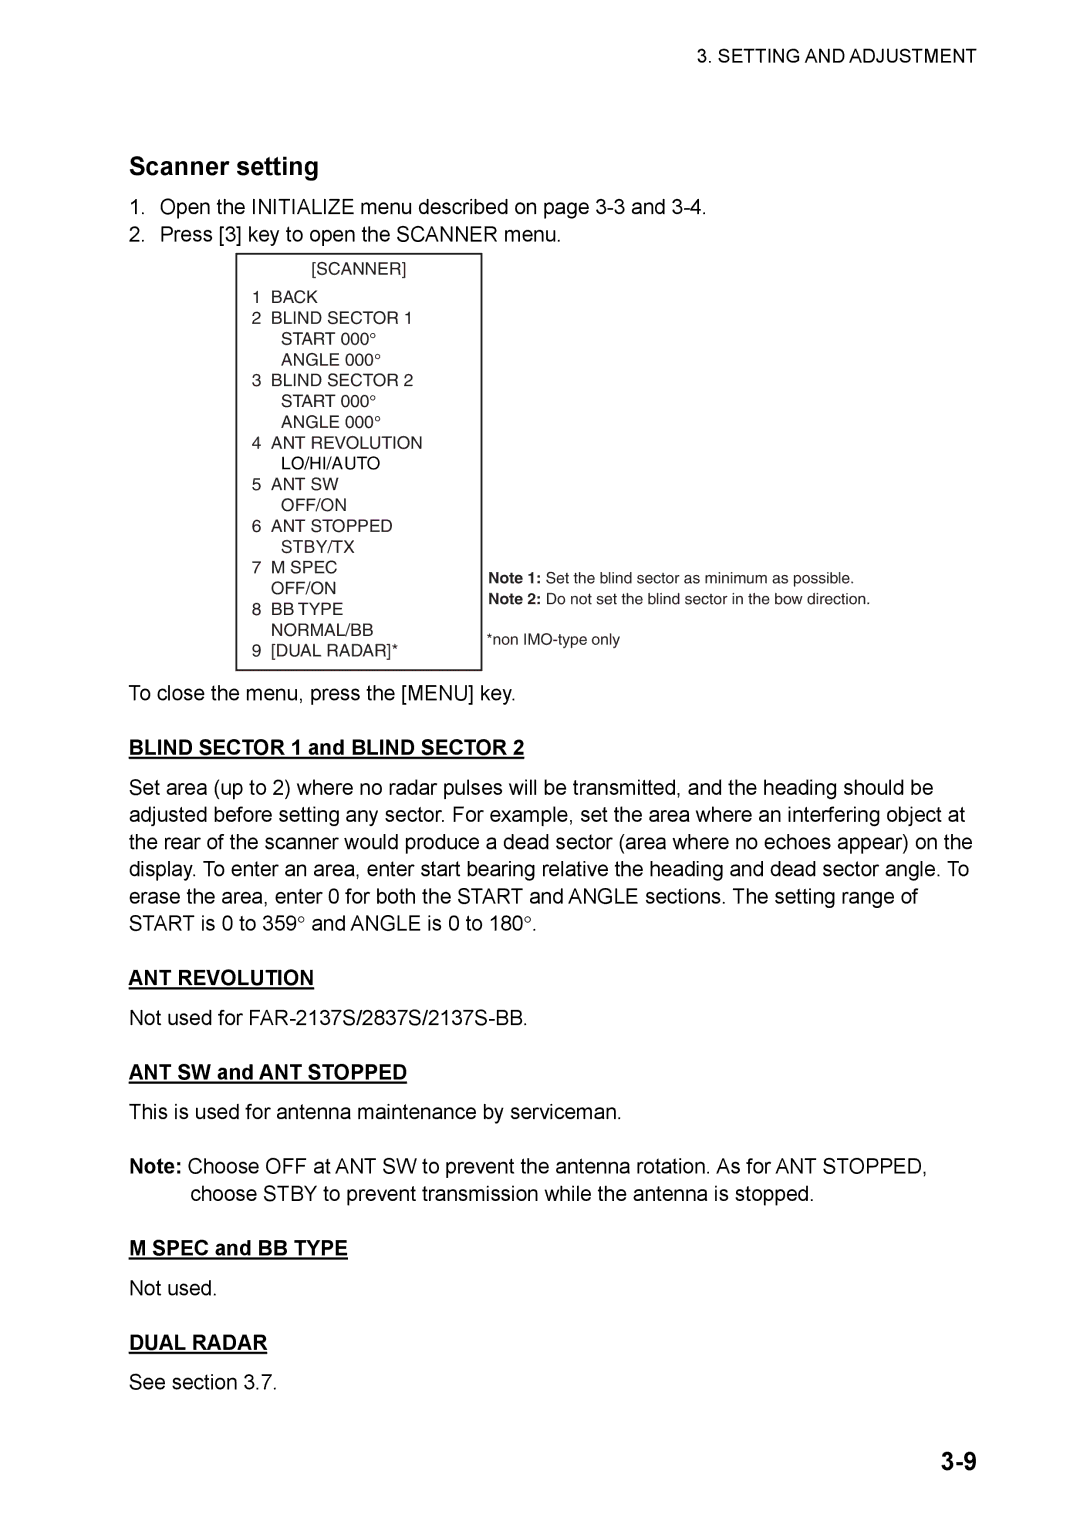
2.Press [3] key to open the SCANNER menu.
[SCANNER]
1BACK
2BLIND SECTOR 1 START 000° ANGLE 000°
3BLIND SECTOR 2 START 000° ANGLE 000°
4ANT REVOLUTION LO/HI/AUTO
5ANT SW
OFF/ON
6ANT STOPPED
STBY/TX
7M SPEC OFF/ON
8BB TYPE NORMAL/BB
9[DUAL RADAR]*
Note 1: Set the blind sector as minimum as possible.
Note 2: Do not set the blind sector in the bow direction.
*non
To close the menu, press the [MENU] key.
BLIND SECTOR 1 and BLIND SECTOR 2
Set area (up to 2) where no radar pulses will be transmitted, and the heading should be adjusted before setting any sector. For example, set the area where an interfering object at the rear of the scanner would produce a dead sector (area where no echoes appear) on the display. To enter an area, enter start bearing relative the heading and dead sector angle. To erase the area, enter 0 for both the START and ANGLE sections. The setting range of START is 0 to 359° and ANGLE is 0 to 180°.
ANT REVOLUTION
Not used for
ANT SW and ANT STOPPED
This is used for antenna maintenance by serviceman.
Note: Choose OFF at ANT SW to prevent the antenna rotation. As for ANT STOPPED, choose STBY to prevent transmission while the antenna is stopped.
M SPEC and BB TYPE
Not used.
DUAL RADAR
See section 3.7.
