Main Cover and Paper Input Assembly
1Remove the toner cartridge.
2Remove memory door.
C a u t i o n | Remove the memory door first. The door will break if you remove the Main Cover |
| without removing the memory door. |
3Remove the EP Door Assembly.
4Remove the Back Cover.
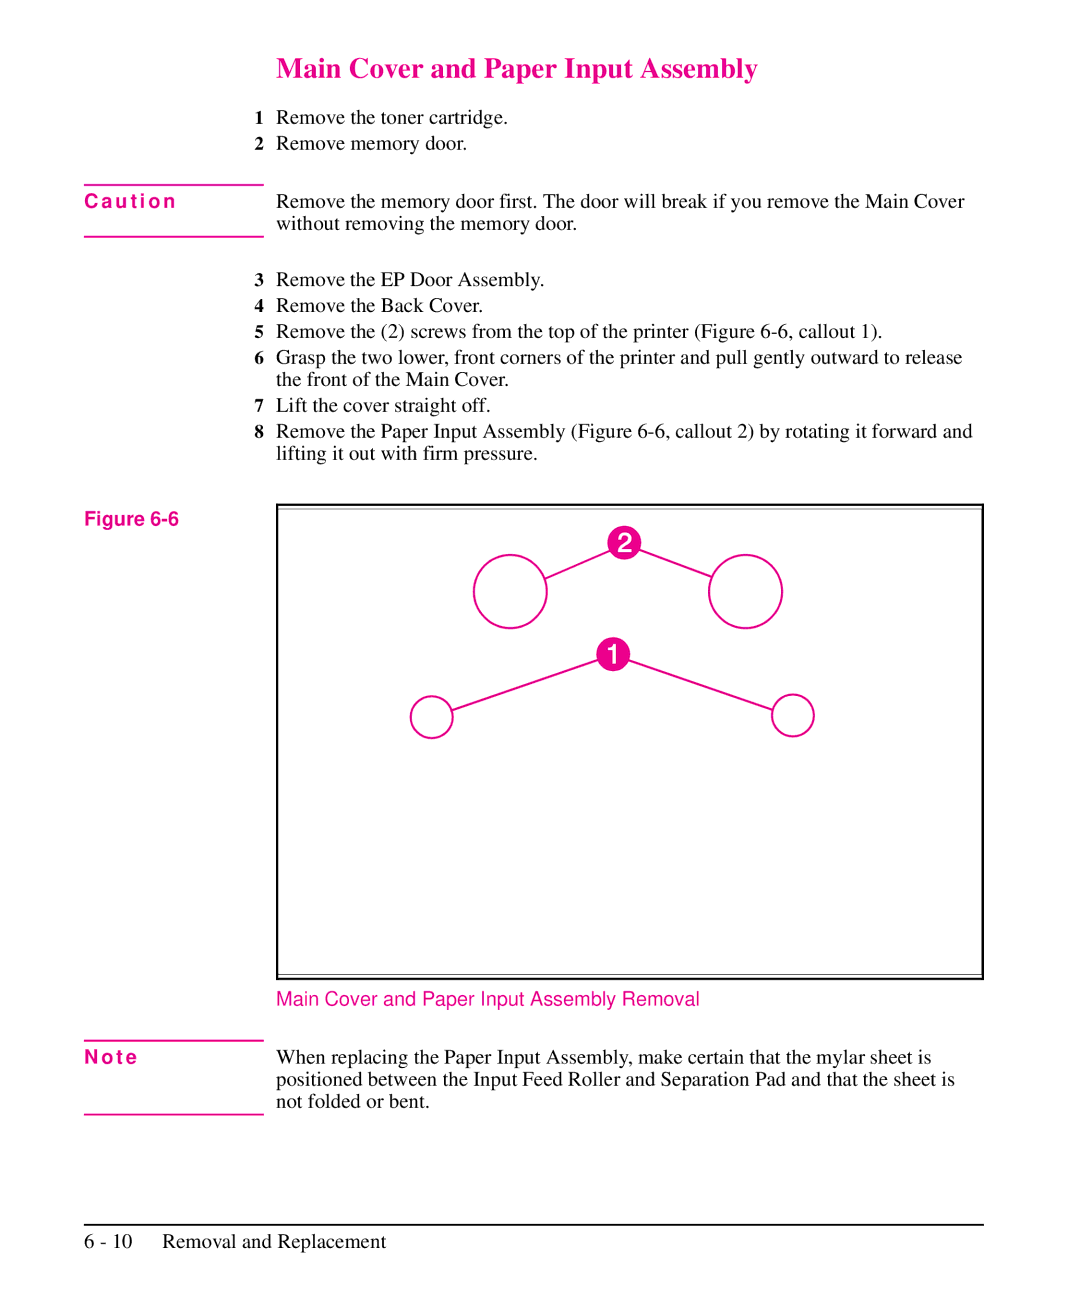
5Remove the (2) screws from the top of the printer (Figure
6Grasp the two lower, front corners of the printer and pull gently outward to release the front of the Main Cover.
7Lift the cover straight off.
8Remove the Paper Input Assembly (Figure
Figure
| Main Cover and Paper Input Assembly Removal |
|
|
N o t e | When replacing the Paper Input Assembly, make certain that the mylar sheet is |
| positioned between the Input Feed Roller and Separation Pad and that the sheet is |
| not folded or bent. |