Fuser Exit Roller Assembly
1Remove Printer Covers, Delivery Assembly (Figures
2Remove the gear from the left end of the roller shaft by pressing down on the catching mechanism with the small flathead screwdriver and pulling the gear away.
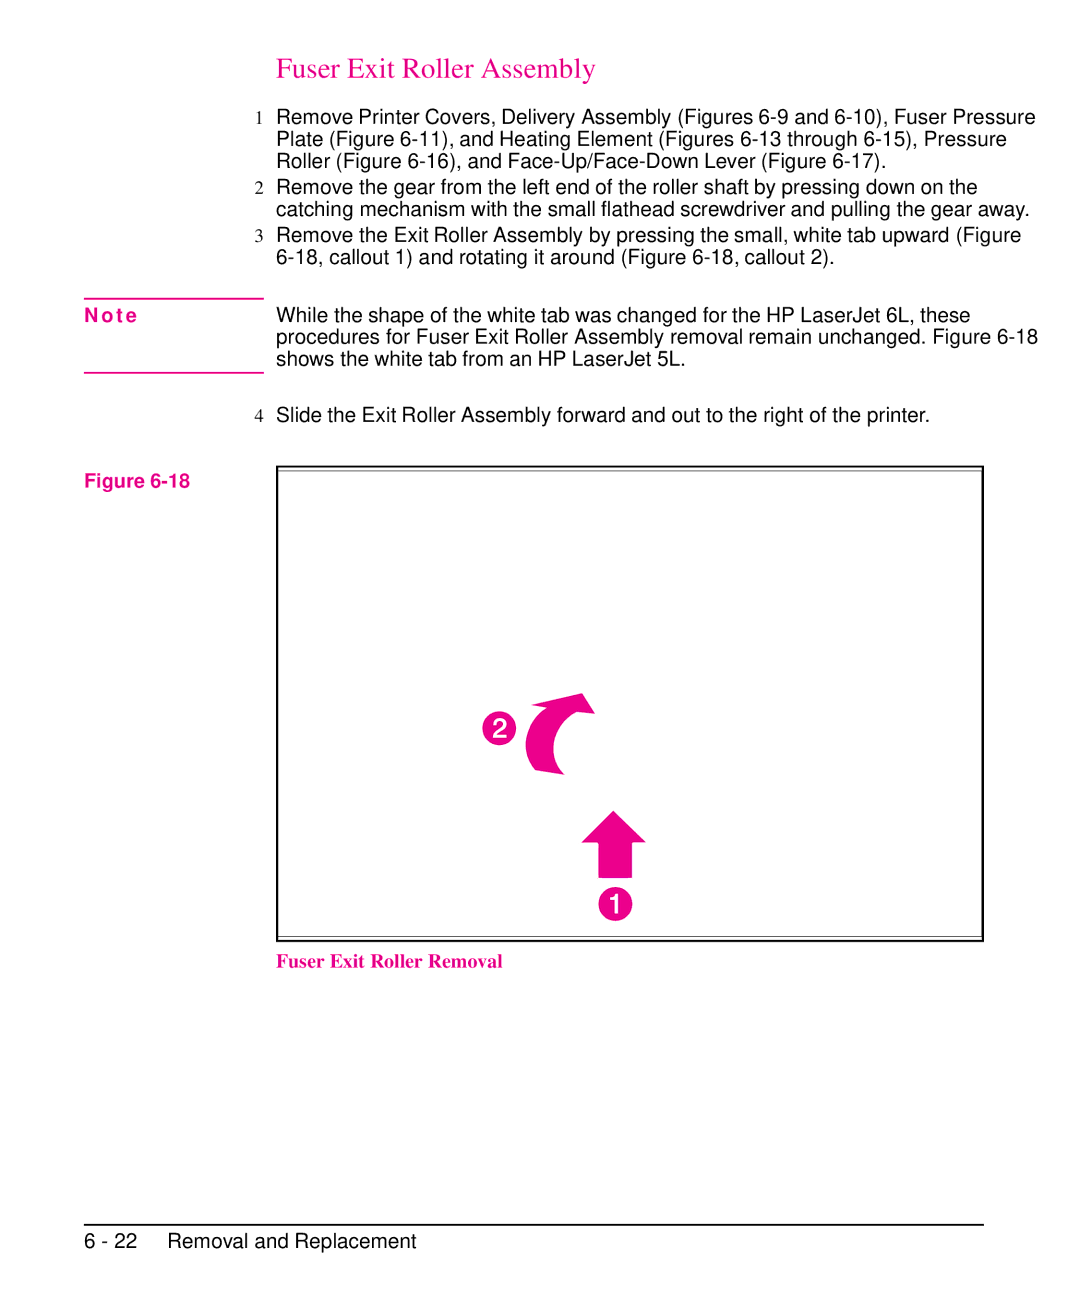
3Remove the Exit Roller Assembly by pressing the small, white tab upward (Figure
N o t e |
| While the shape of the white tab was changed for the HP LaserJet 6L, these | |
|
| procedures for Fuser Exit Roller Assembly removal remain unchanged. Figure | |
|
| shows the white tab from an HP LaserJet 5L. | |
| 4 Slide the Exit Roller Assembly forward and out to the right of the printer. | ||
Figure |
|
|
|
|
|
| |
|
|
|
|
|
|
|
|