Heat sinks – Graphics board and processor
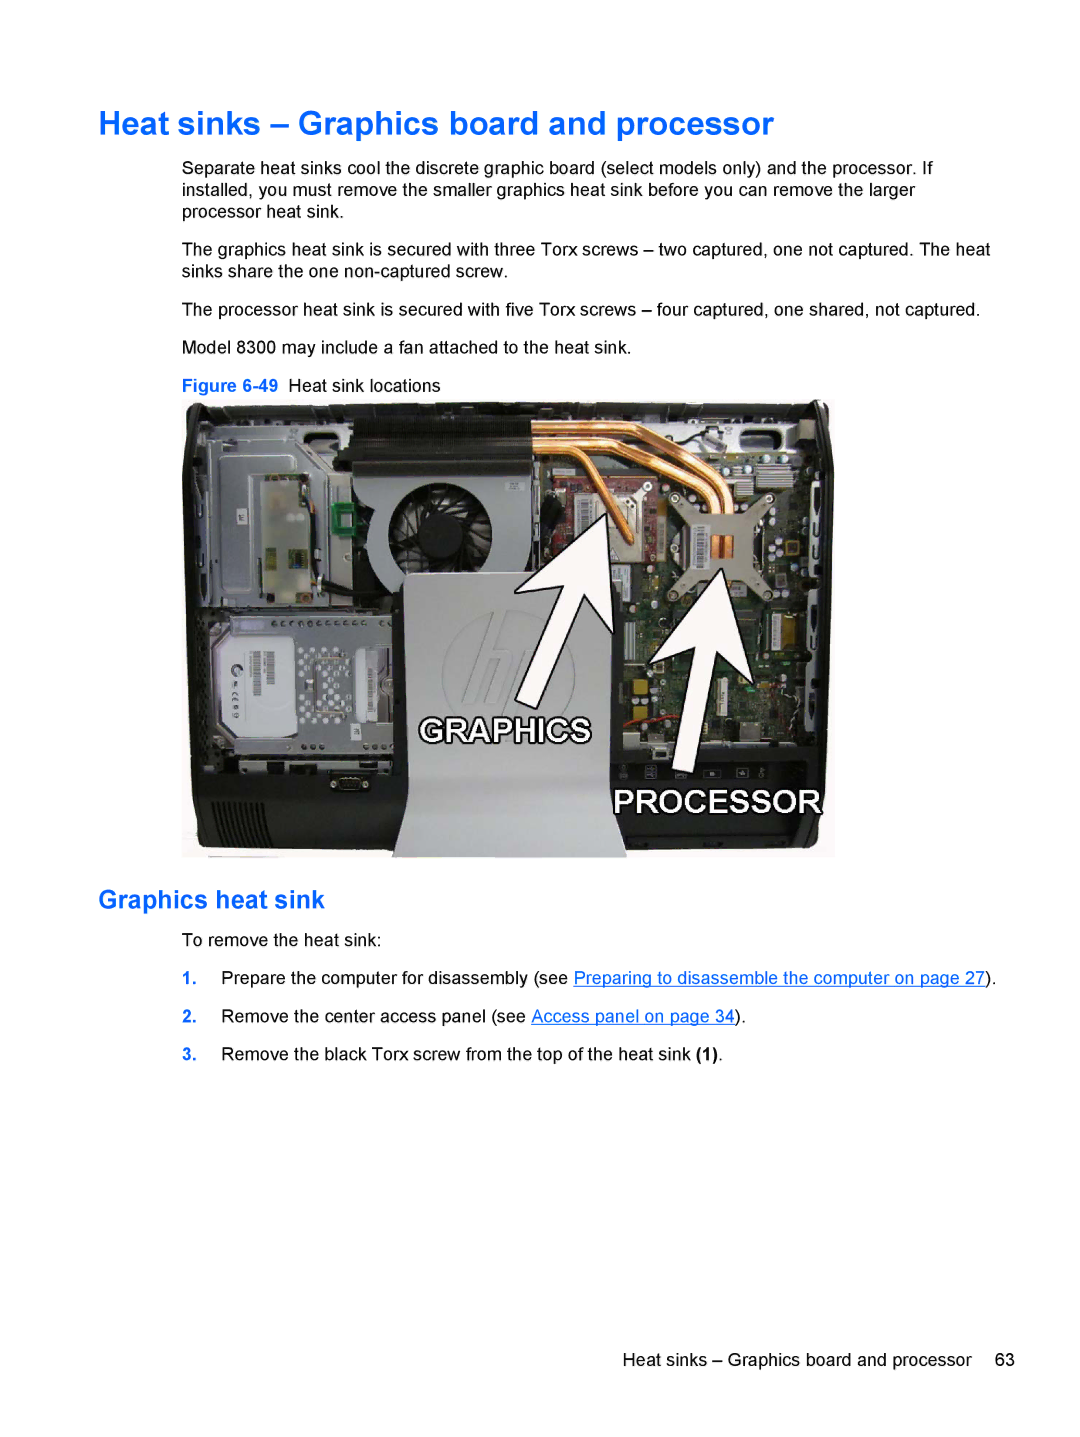
Separate heat sinks cool the discrete graphic board (select models only) and the processor. If installed, you must remove the smaller graphics heat sink before you can remove the larger processor heat sink.
The graphics heat sink is secured with three Torx screws – two captured, one not captured. The heat sinks share the one
The processor heat sink is secured with five Torx screws – four captured, one shared, not captured.
Model 8300 may include a fan attached to the heat sink.
Figure 6-49 Heat sink locations
Graphics heat sink
To remove the heat sink:
1.Prepare the computer for disassembly (see Preparing to disassemble the computer on page 27).
2.Remove the center access panel (see Access panel on page 34).
3.Remove the black Torx screw from the top of the heat sink (1).
Heat sinks – Graphics board and processor 63
