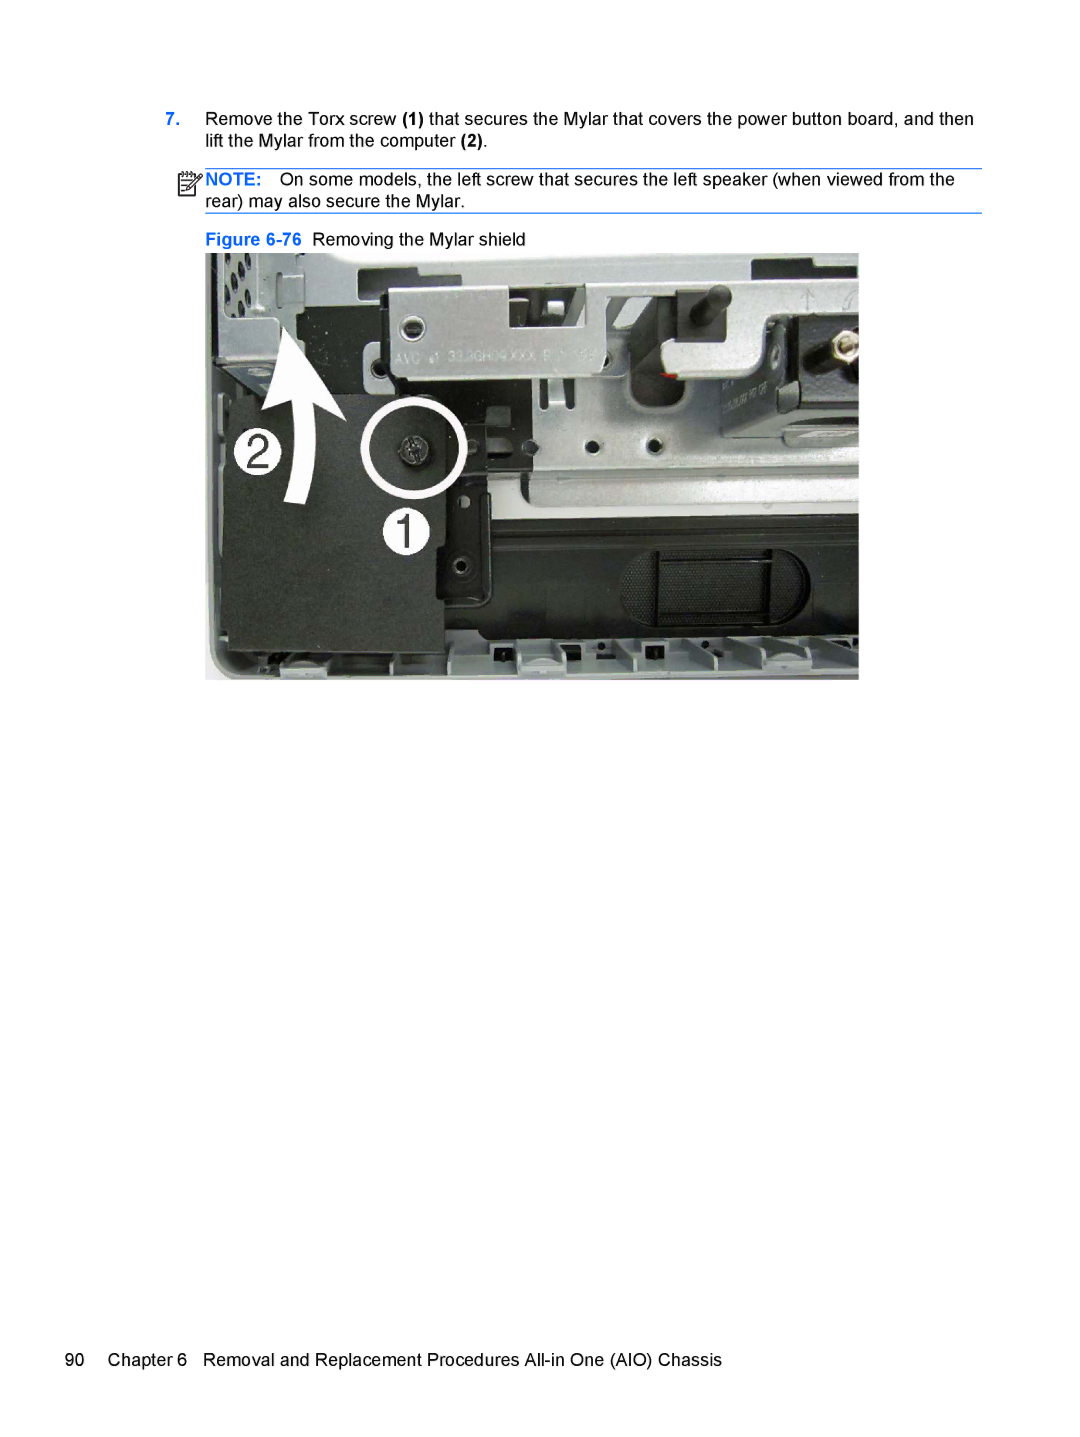
7.Remove the Torx screw (1) that secures the Mylar that covers the power button board, and then lift the Mylar from the computer (2).
![]()
![]()
![]()
![]() NOTE: On some models, the left screw that secures the left speaker (when viewed from the rear) may also secure the Mylar.
NOTE: On some models, the left screw that secures the left speaker (when viewed from the rear) may also secure the Mylar.
