MX240 Ethernet Services Router Hardware Guide
CAUTION: After removing a DPC from the chassis, wait at least 30 seconds before reinserting it, removing a DPC from a different slot, or inserting a DPC into a different slot.
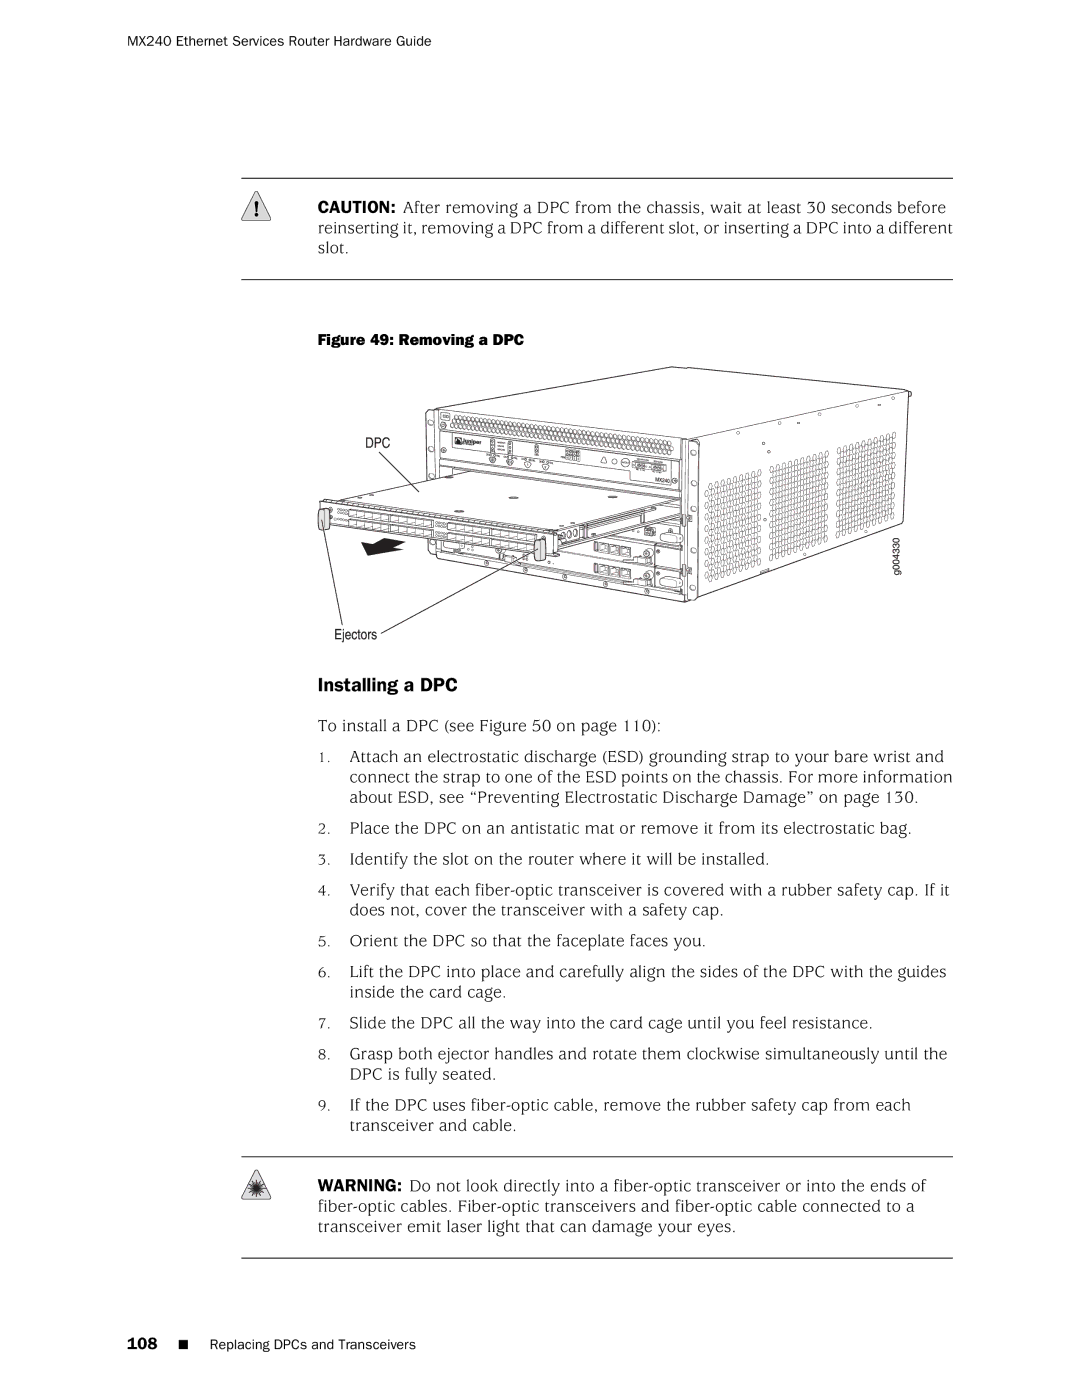
Figure 49: Removing a DPC
Installing a DPC
To install a DPC (see Figure 50 on page 110):
1.Attach an electrostatic discharge (ESD) grounding strap to your bare wrist and connect the strap to one of the ESD points on the chassis. For more information about ESD, see “Preventing Electrostatic Discharge Damage” on page 130.
2.Place the DPC on an antistatic mat or remove it from its electrostatic bag.
3.Identify the slot on the router where it will be installed.
4.Verify that each
5.Orient the DPC so that the faceplate faces you.
6.Lift the DPC into place and carefully align the sides of the DPC with the guides inside the card cage.
7.Slide the DPC all the way into the card cage until you feel resistance.
8.Grasp both ejector handles and rotate them clockwise simultaneously until the DPC is fully seated.
9.If the DPC uses
WARNING: Do not look directly into a
108■ Replacing DPCs and Transceivers