MX240 Ethernet Services Router Hardware Guide
CAUTION: Do not leave a
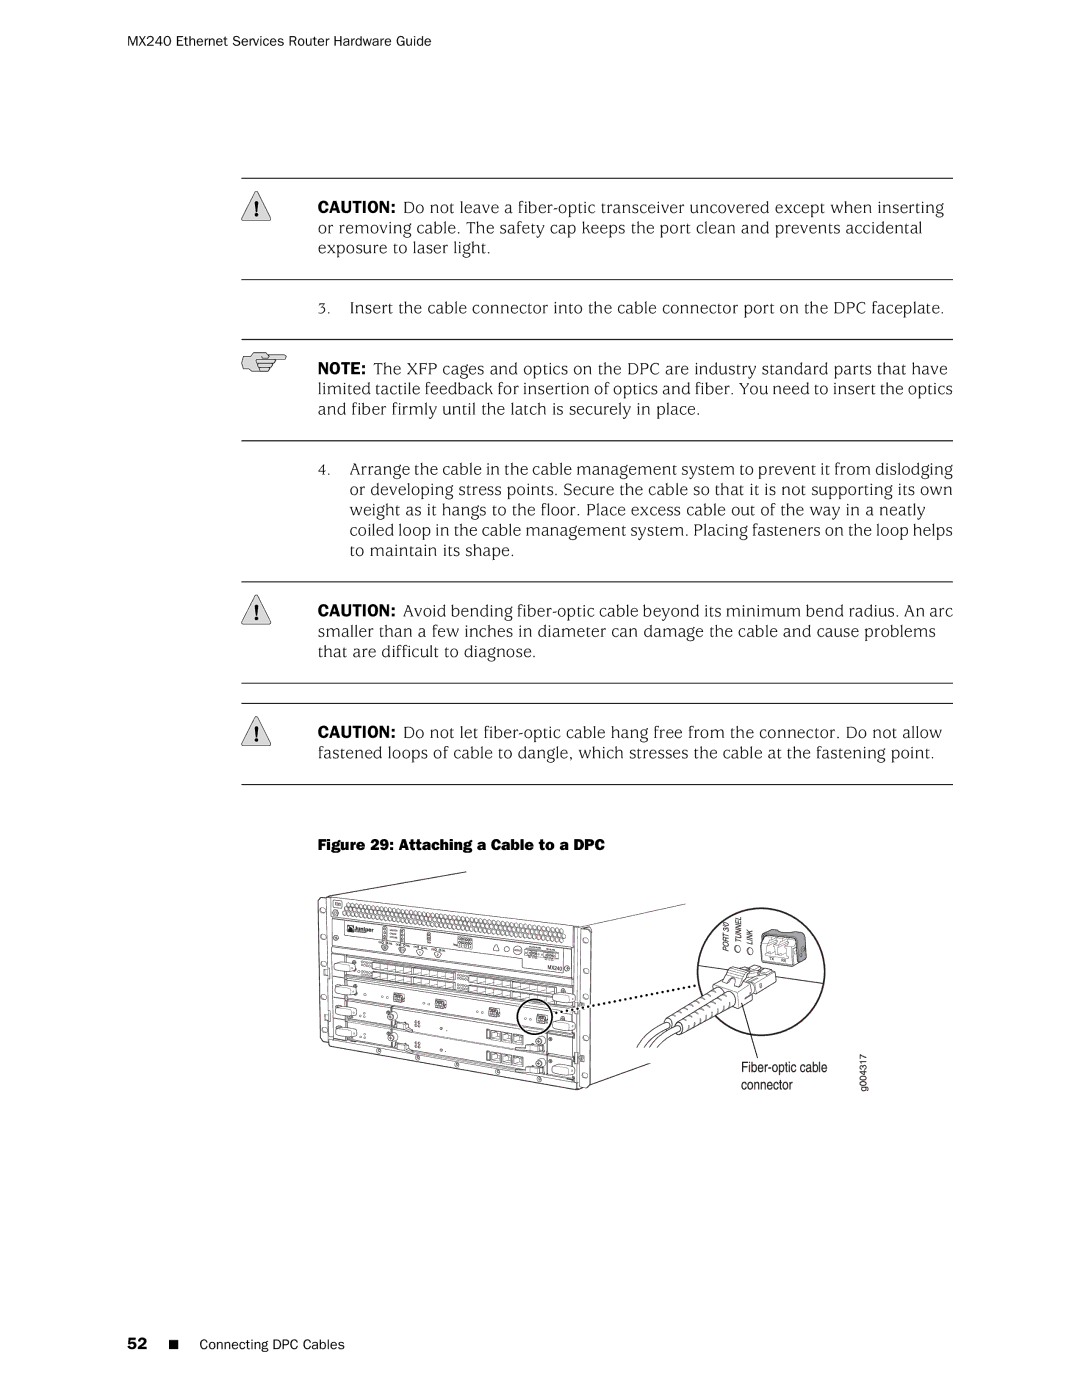
3.Insert the cable connector into the cable connector port on the DPC faceplate.
NOTE: The XFP cages and optics on the DPC are industry standard parts that have limited tactile feedback for insertion of optics and fiber. You need to insert the optics and fiber firmly until the latch is securely in place.
4.Arrange the cable in the cable management system to prevent it from dislodging or developing stress points. Secure the cable so that it is not supporting its own weight as it hangs to the floor. Place excess cable out of the way in a neatly coiled loop in the cable management system. Placing fasteners on the loop helps to maintain its shape.
CAUTION: Avoid bending
CAUTION: Do not let
Figure 29: Attaching a Cable to a DPC
52■ Connecting DPC Cables