Chapter 13: Replacing Hardware Components
NOTE: To maintain proper airflow through the chassis, do not leave an SCB installed in the chassis without a Routing Engine for extended periods of time. If a Routing Engine is removed, a replacement Routing Engine should be installed as soon as possible.
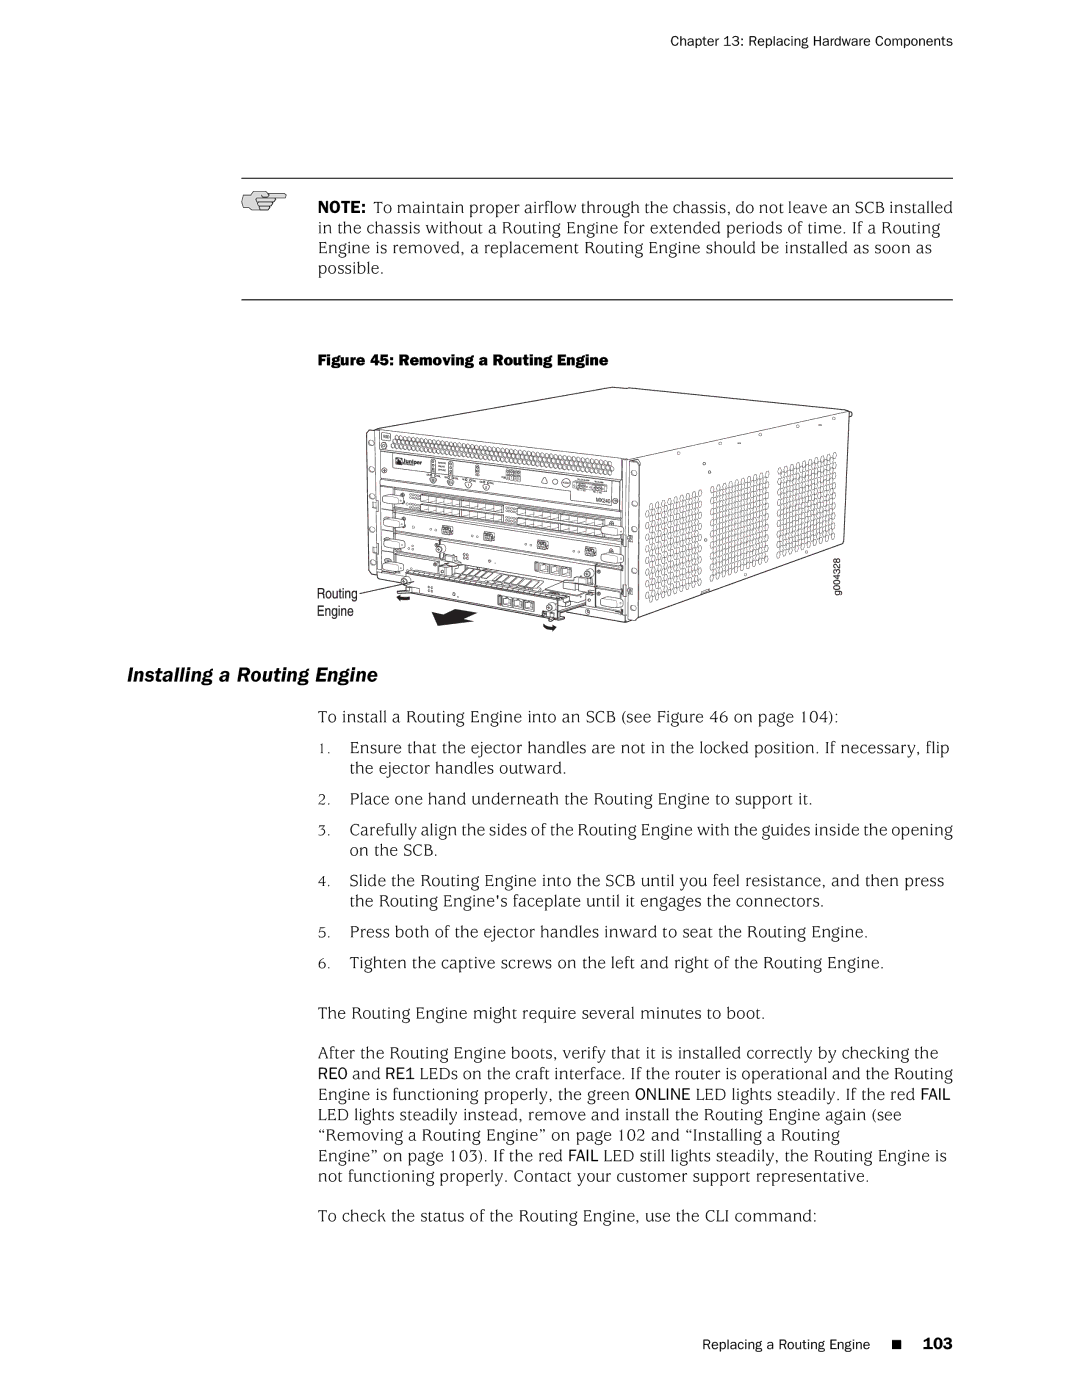
Figure 45: Removing a Routing Engine
Installing a Routing Engine
To install a Routing Engine into an SCB (see Figure 46 on page 104):
1.Ensure that the ejector handles are not in the locked position. If necessary, flip the ejector handles outward.
2.Place one hand underneath the Routing Engine to support it.
3.Carefully align the sides of the Routing Engine with the guides inside the opening on the SCB.
4.Slide the Routing Engine into the SCB until you feel resistance, and then press the Routing Engine's faceplate until it engages the connectors.
5.Press both of the ejector handles inward to seat the Routing Engine.
6.Tighten the captive screws on the left and right of the Routing Engine.
The Routing Engine might require several minutes to boot.
After the Routing Engine boots, verify that it is installed correctly by checking the RE0 and RE1 LEDs on the craft interface. If the router is operational and the Routing Engine is functioning properly, the green ONLINE LED lights steadily. If the red FAIL LED lights steadily instead, remove and install the Routing Engine again (see “Removing a Routing Engine” on page 102 and “Installing a Routing
Engine” on page 103). If the red FAIL LED still lights steadily, the Routing Engine is not functioning properly. Contact your customer support representative.
To check the status of the Routing Engine, use the CLI command:
Replacing a Routing Engine ■ 103