MX240 Ethernet Services Router Hardware Guide
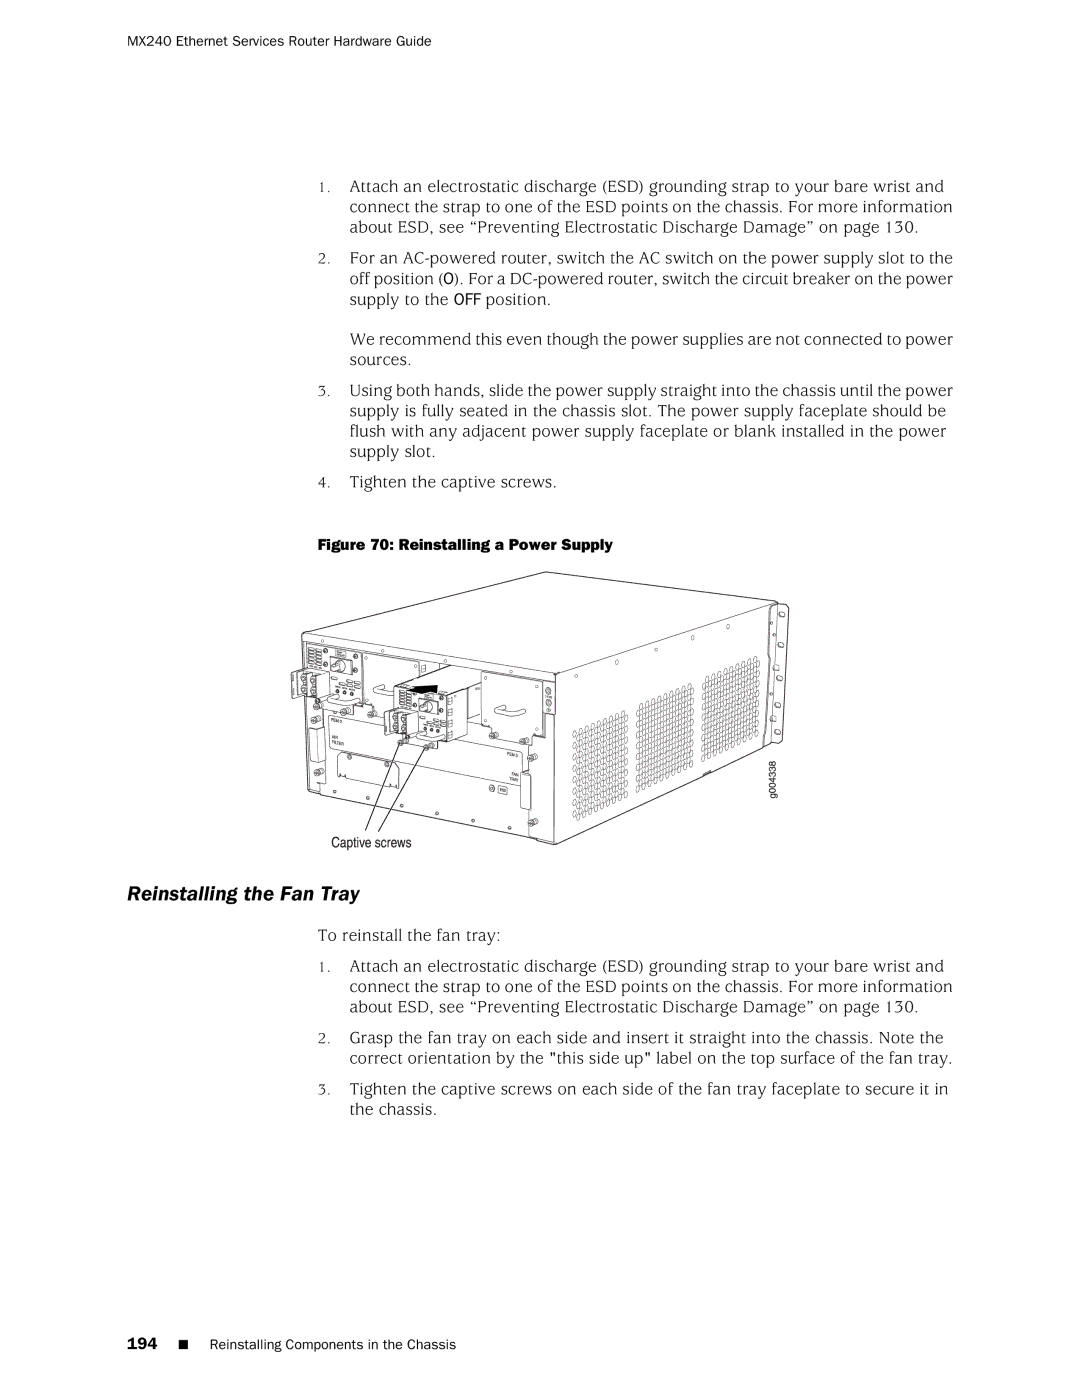
1.Attach an electrostatic discharge (ESD) grounding strap to your bare wrist and connect the strap to one of the ESD points on the chassis. For more information about ESD, see “Preventing Electrostatic Discharge Damage” on page 130.
2.For an
We recommend this even though the power supplies are not connected to power sources.
3.Using both hands, slide the power supply straight into the chassis until the power supply is fully seated in the chassis slot. The power supply faceplate should be flush with any adjacent power supply faceplate or blank installed in the power supply slot.
4.Tighten the captive screws.
Figure 70: Reinstalling a Power Supply
Reinstalling the Fan Tray
To reinstall the fan tray:
1.Attach an electrostatic discharge (ESD) grounding strap to your bare wrist and connect the strap to one of the ESD points on the chassis. For more information about ESD, see “Preventing Electrostatic Discharge Damage” on page 130.
2.Grasp the fan tray on each side and insert it straight into the chassis. Note the correct orientation by the "this side up" label on the top surface of the fan tray.
3.Tighten the captive screws on each side of the fan tray faceplate to secure it in the chassis.
194■ Reinstalling Components in the Chassis