6
Chapter 6 |
Configuring Destination for the Network Scanner Features
Configuring Destination for the Network Scanner Features
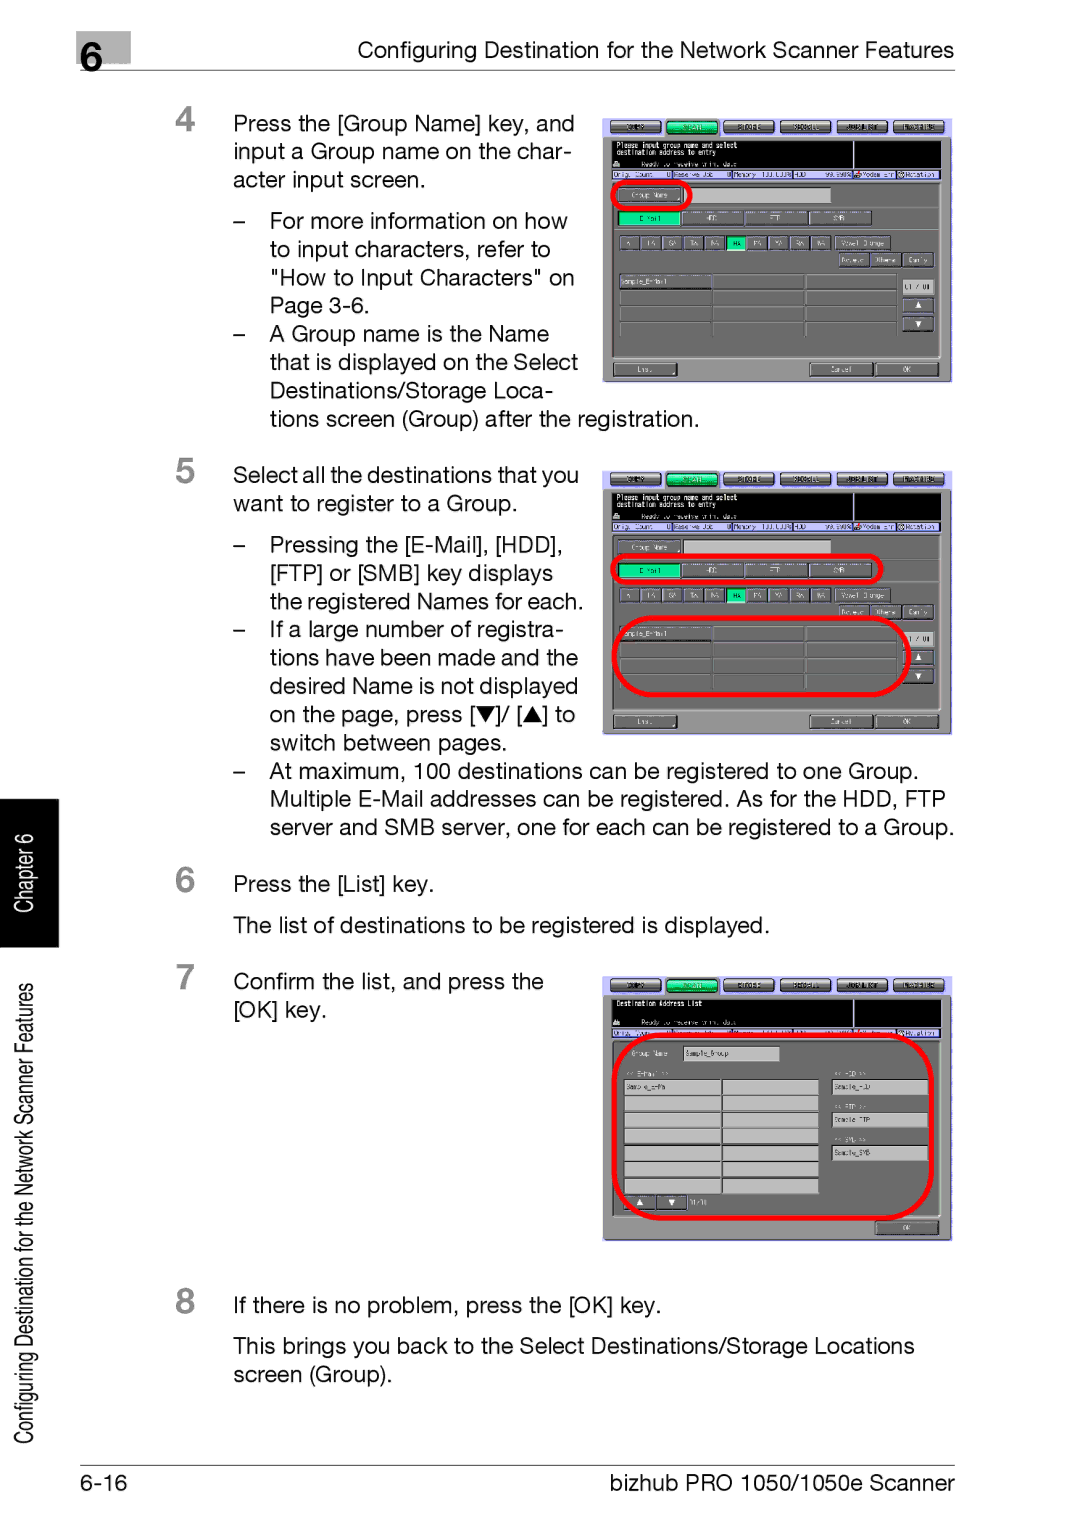
4 Press the [Group Name] key, and input a Group name on the char- acter input screen.
–For more information on how to input characters, refer to "How to Input Characters" on Page
–A Group name is the Name that is displayed on the Select Destinations/Storage Loca-
tions screen (Group) after the registration.
5 Select all the destinations that you want to register to a Group.
–Pressing the
[FTP] or [SMB] key displays the registered Names for each.
– If a large number of registra- tions have been made and the desired Name is not displayed on the page, press [▼]/ [▲] to switch between pages.
–At maximum, 100 destinations can be registered to one Group. Multiple
6 Press the [List] key.
The list of destinations to be registered is displayed.
7 Confirm the list, and press the [OK] key.
8 If there is no problem, press the [OK] key.
This brings you back to the Select Destinations/Storage Locations screen (Group).
bizhub PRO 1050/1050e Scanner |