Using the Network Scanner Features | 7 |
|
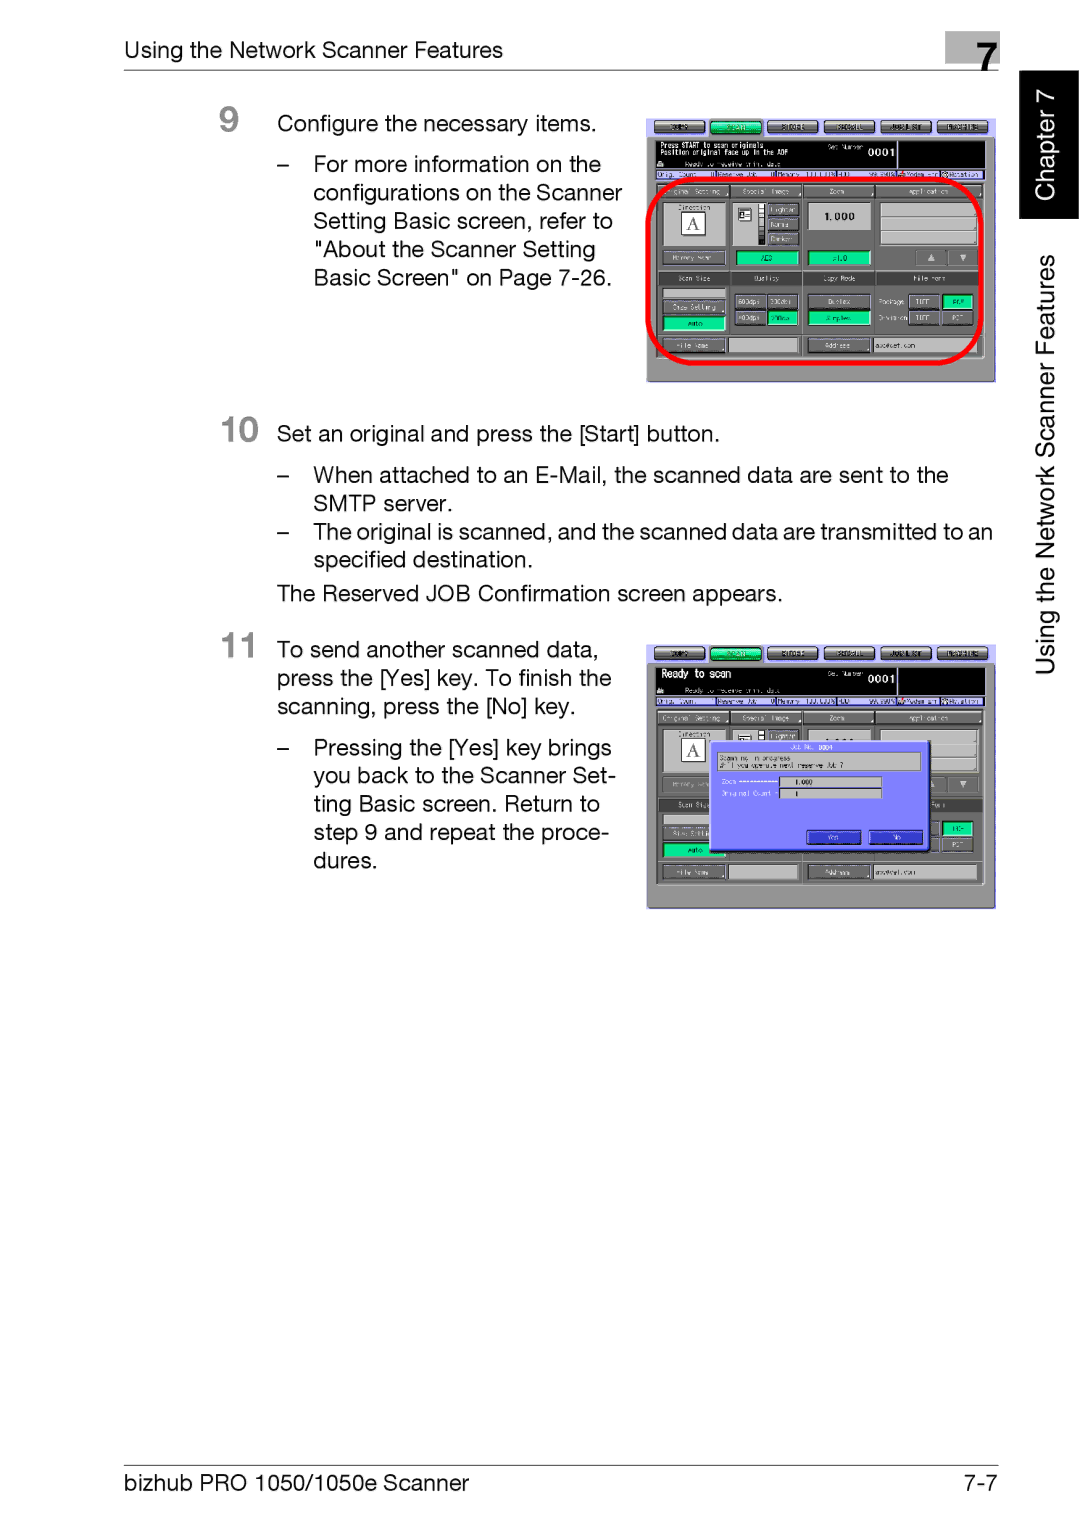
9 Configure the necessary items.
–For more information on the configurations on the Scanner Setting Basic screen, refer to "About the Scanner Setting Basic Screen" on Page
10 Set an original and press the [Start] button.
–When attached to an
–The original is scanned, and the scanned data are transmitted to an specified destination.
The Reserved JOB Confirmation screen appears.
11 To send another scanned data, press the [Yes] key. To finish the scanning, press the [No] key.
–Pressing the [Yes] key brings you back to the Scanner Set- ting Basic screen. Return to step 9 and repeat the proce- dures.
Chapter 7 |
Using the Network Scanner Features
bizhub PRO 1050/1050e Scanner |