Chapter 7 |
Using the Network Scanner Features
7
Using the Network Scanner Features
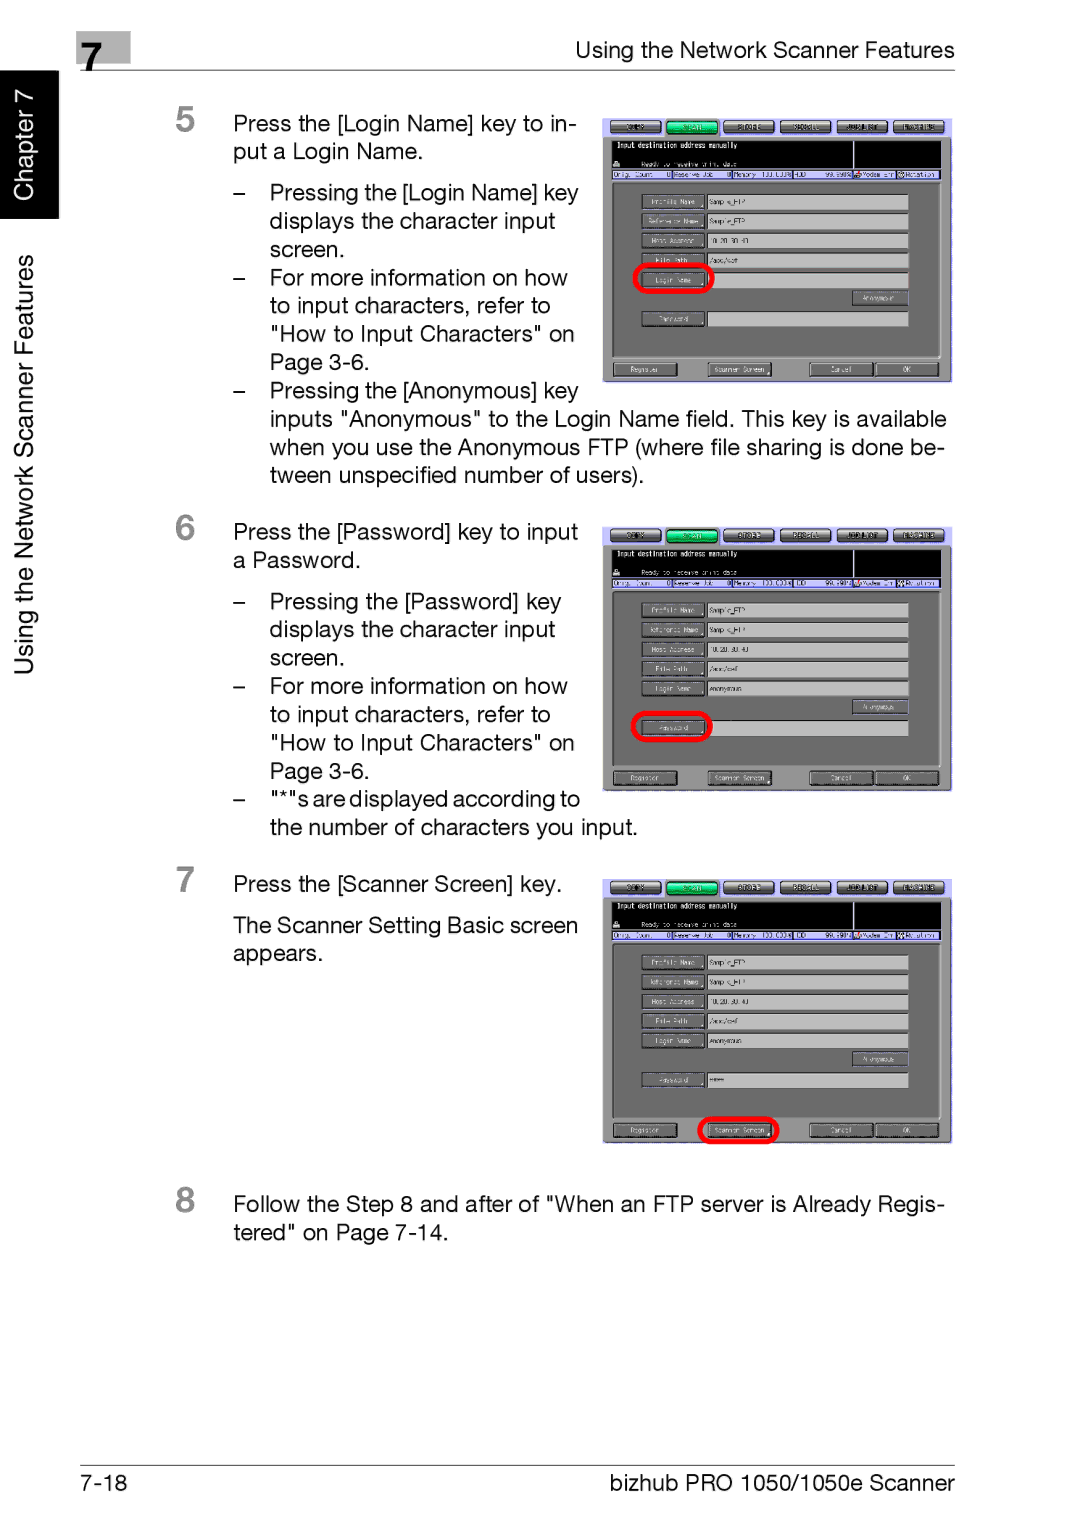
5 Press the [Login Name] key to in- put a Login Name.
–Pressing the [Login Name] key displays the character input screen.
– For more information on how to input characters, refer to "How to Input Characters" on Page
–Pressing the [Anonymous] key
inputs "Anonymous" to the Login Name field. This key is available when you use the Anonymous FTP (where file sharing is done be- tween unspecified number of users).
6 Press the [Password] key to input a Password.
–Pressing the [Password] key displays the character input screen.
–For more information on how to input characters, refer to "How to Input Characters" on Page
–"*"s are displayed according to
the number of characters you input.
7 Press the [Scanner Screen] key.
The Scanner Setting Basic screen appears.
8 Follow the Step 8 and after of "When an FTP server is Already Regis- tered" on Page
bizhub PRO 1050/1050e Scanner |