Using the Network Scanner Features
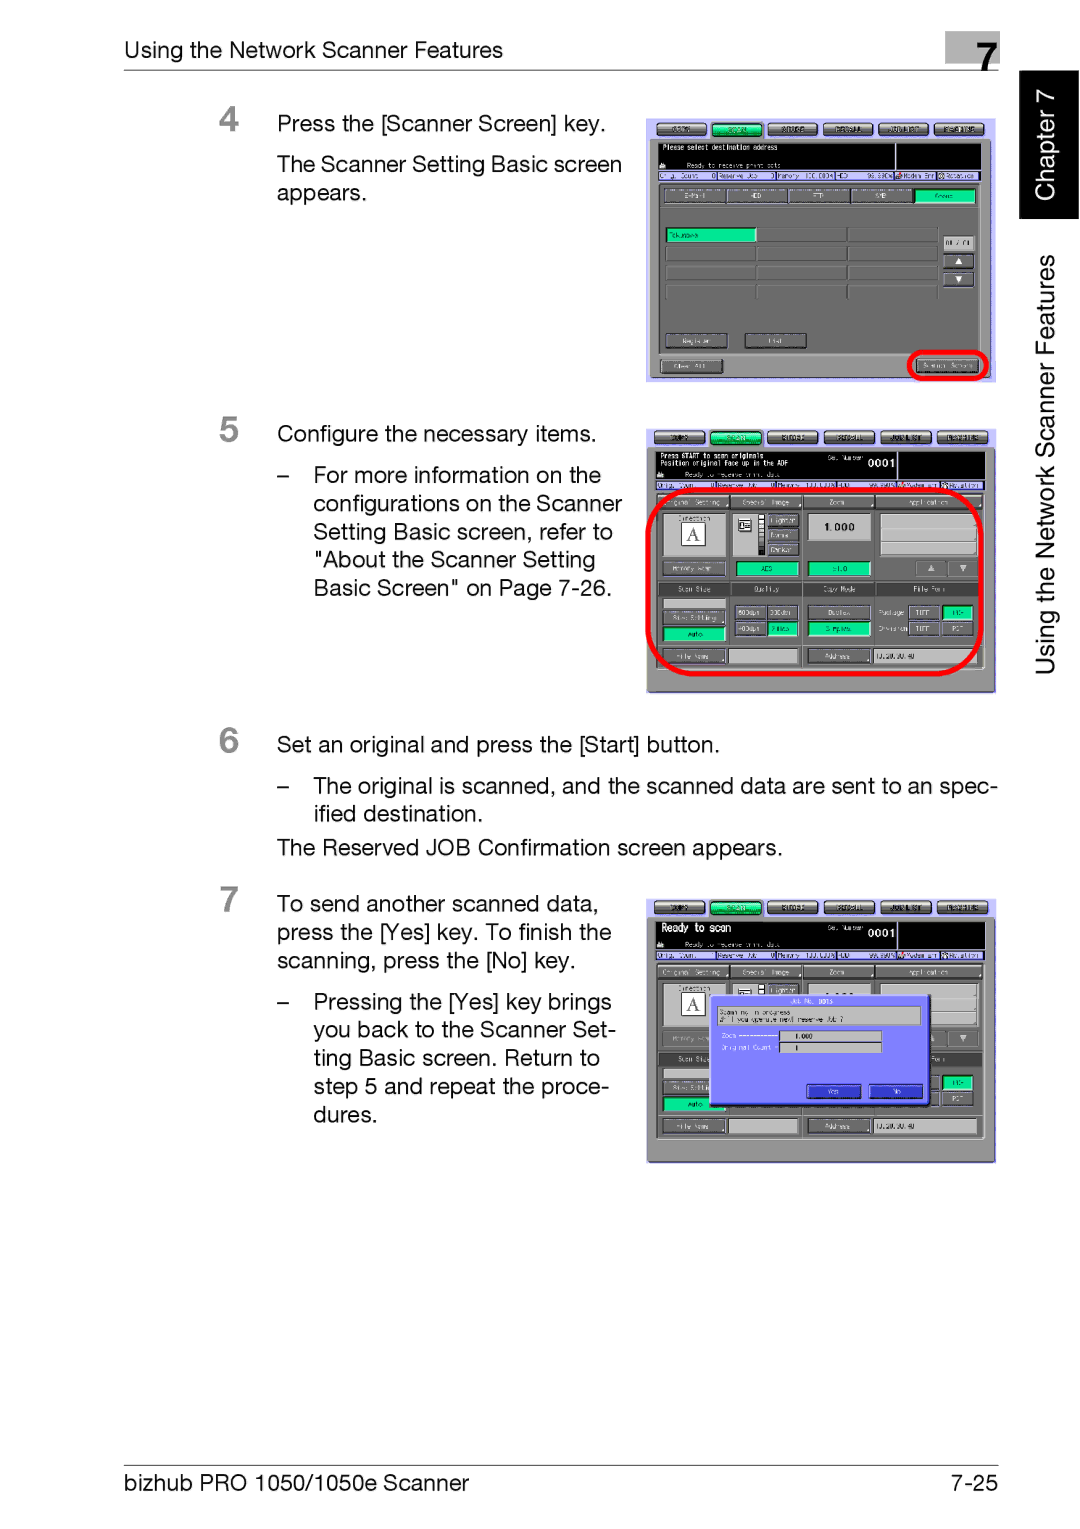
4 Press the [Scanner Screen] key.
The Scanner Setting Basic screen appears.
5 Configure the necessary items.
–For more information on the configurations on the Scanner Setting Basic screen, refer to "About the Scanner Setting Basic Screen" on Page
7
Chapter 7 |
Using the Network Scanner Features
6 Set an original and press the [Start] button.
–The original is scanned, and the scanned data are sent to an spec- ified destination.
The Reserved JOB Confirmation screen appears.
7 To send another scanned data, press the [Yes] key. To finish the scanning, press the [No] key.
–Pressing the [Yes] key brings you back to the Scanner Set- ting Basic screen. Return to step 5 and repeat the proce- dures.
bizhub PRO 1050/1050e Scanner |