Chapter 7 |
Using the Network Scanner Features
7
Using the Network Scanner Features
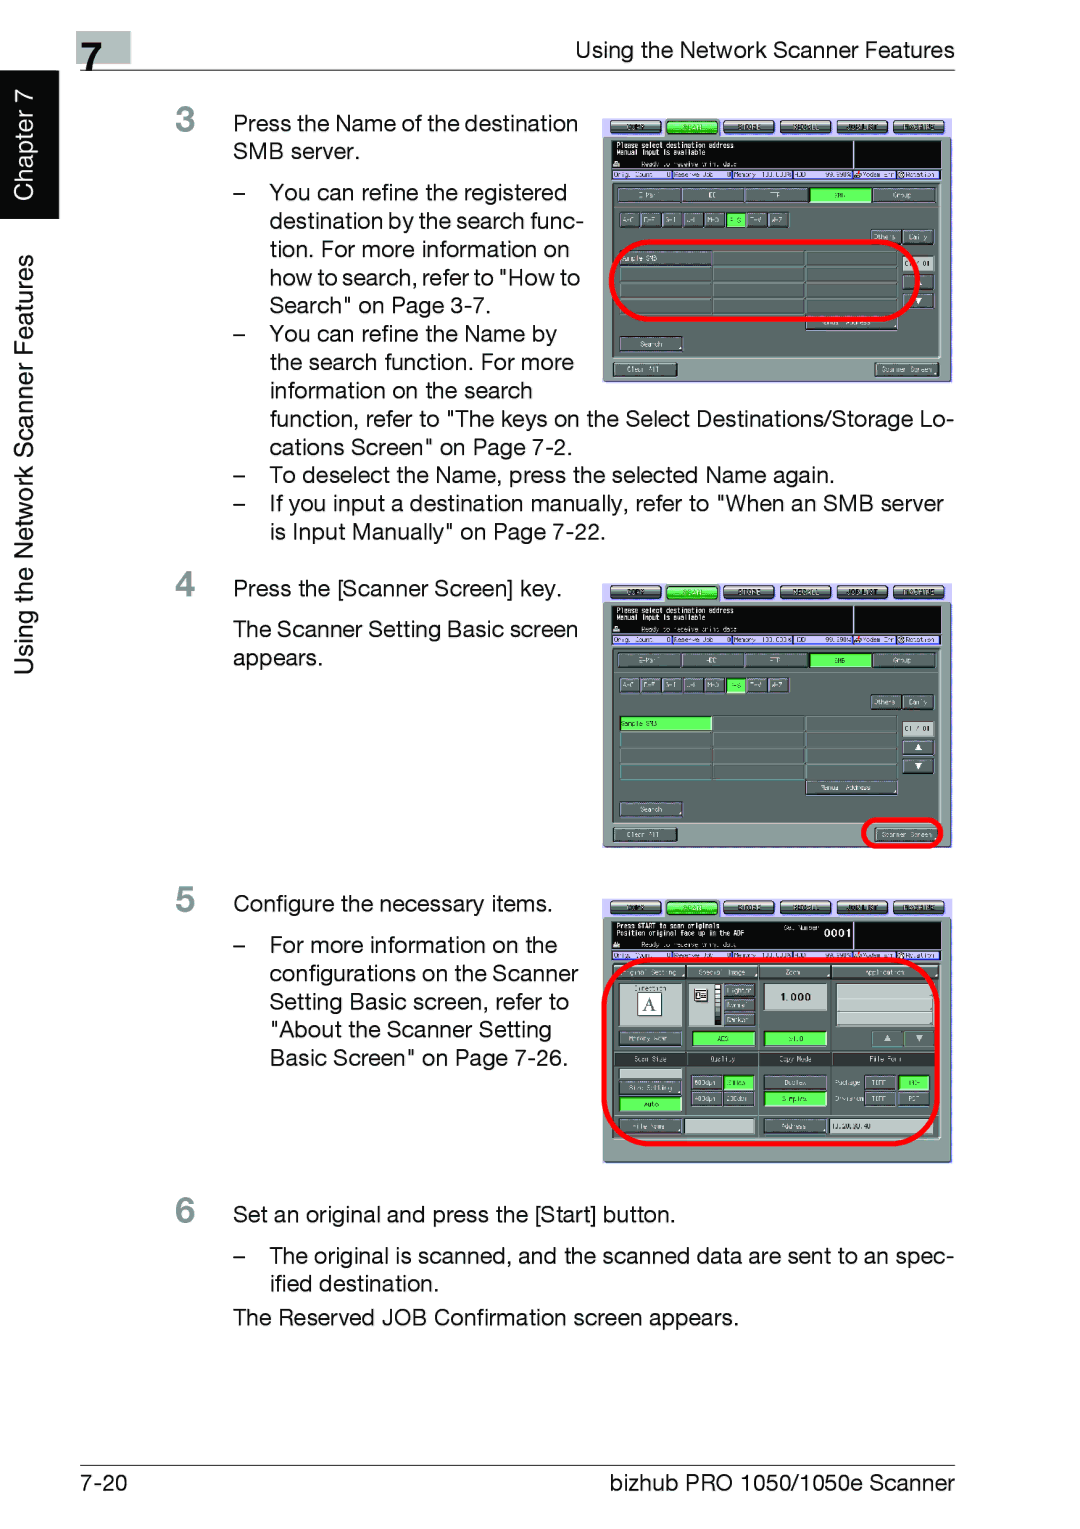
3 Press the Name of the destination SMB server.
–You can refine the registered destination by the search func-
tion. For more information on how to search, refer to "How to Search" on Page
–You can refine the Name by the search function. For more information on the search
function, refer to "The keys on the Select Destinations/Storage Lo- cations Screen" on Page
–To deselect the Name, press the selected Name again.
–If you input a destination manually, refer to "When an SMB server is Input Manually" on Page
4 Press the [Scanner Screen] key.
The Scanner Setting Basic screen appears.
5 Configure the necessary items.
–For more information on the configurations on the Scanner Setting Basic screen, refer to "About the Scanner Setting Basic Screen" on Page
6 Set an original and press the [Start] button.
–The original is scanned, and the scanned data are sent to an spec- ified destination.
The Reserved JOB Confirmation screen appears.
bizhub PRO 1050/1050e Scanner |