Chapter 5: Using the TV Menu
Main Menu Choices
Setup Menu
Figure 1
Use the Setup menu to select English or Spanish as the language for the menus and
Adjust Color Balance Automatically or manually (PerfectColor™). Color Balance uses six colors, Magenta, Red, Yellow, Green, Cyan and Blue to obtain color balance. Reset the Color Balance to the factory default settings.
Choose Side Bar Color of black or gray. View the media center’s software version on this screen.
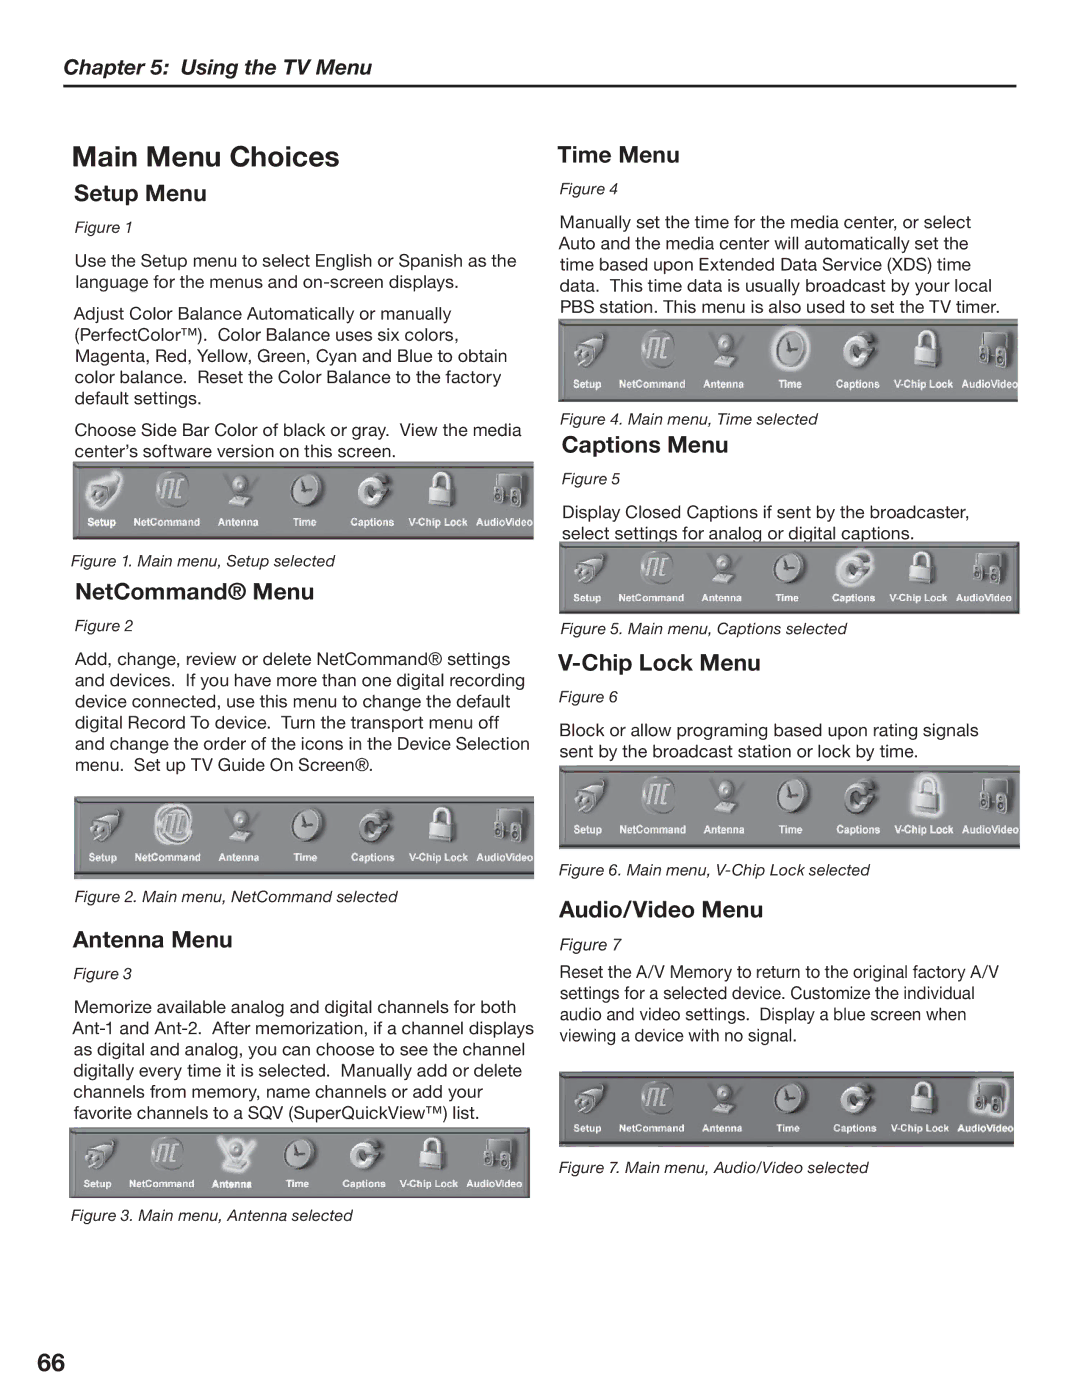
Figure 1. Main menu, Setup selected
NetCommand® Menu
Figure 2
Add, change, review or delete NetCommand® settings and devices. If you have more than one digital recording device connected, use this menu to change the default digital Record To device. Turn the transport menu off and change the order of the icons in the Device Selection menu. Set up TV Guide On Screen®.
Figure 2. Main menu, NetCommand selected
Antenna Menu
Figure 3
Memorize available analog and digital channels for both
Figure 3. Main menu, Antenna selected
Time Menu
Figure 4
Manually set the time for the media center, or select Auto and the media center will automatically set the time based upon Extended Data Service (XDS) time data. This time data is usually broadcast by your local PBS station. This menu is also used to set the TV timer.
Figure 4. Main menu, Time selected
Captions Menu
Figure 5
Display Closed Captions if sent by the broadcaster, select settings for analog or digital captions.
Figure 5. Main menu, Captions selected
V-Chip Lock Menu
Figure 6
Block or allow programing based upon rating signals sent by the broadcast station or lock by time.
Figure 6. Main menu, V-Chip Lock selected
Audio/Video Menu
Figure 7
Reset the A/V Memory to return to the original factory A/V settings for a selected device. Customize the individual audio and video settings. Display a blue screen when viewing a device with no signal.
Figure 7. Main menu, Audio/Video selected
66