R
PROGRAMMING INSTRUCTIONS
Publicly traded on NASDAQ Symbol: NSSC
HARDWIREWIRELESS
G E M - P 3 2 0 0
CONTROL PANEL/COMMUNICATOR
Programming the
"Classic"
GEMINI
SYSTEM READY 01/01/06 12:00 AM
|
|
|
| S |
|
|
|
|
| TU |
| ||
|
| TA |
|
|
| |
| D | S |
|
|
|
|
| ME |
|
|
|
| NEXT/YES |
R |
|
|
|
| ||
A |
|
| A 1 2 3 | |||
|
|
| E | |||
DPRIOR/NO
B 4 5 6 F
AREA
C 7 8 9 0 G
COMPUTERIZED SECURITY SYSTEM
"Classic"
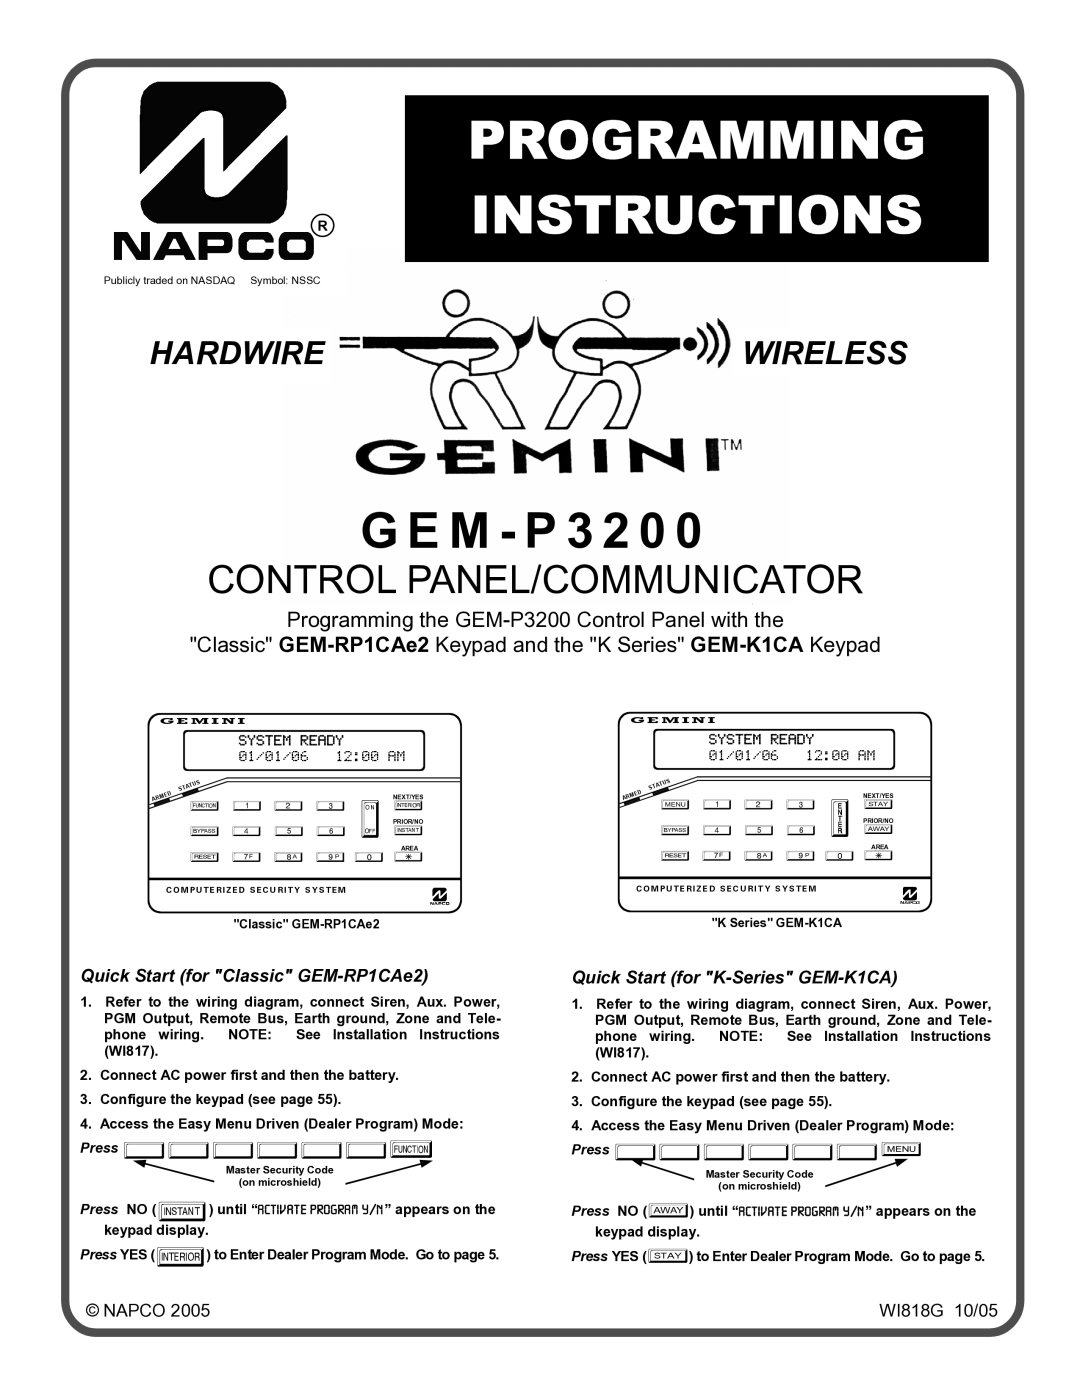
Quick Start (for "Classic" GEM-RP1CAe2)
1.Refer to the wiring diagram, connect Siren, Aux. Power, PGM Output, Remote Bus, Earth ground, Zone and Tele- phone wiring. NOTE: See Installation Instructions (WI817).
2.Connect AC power first and then the battery.
3.Configure the keypad (see page 55).
4.Access the Easy Menu Driven (Dealer Program) Mode:
Press EEEEEEA
Master Security Code
(on microshield)
Press NO (g) until “ACTIVATE PROGRAM Y/N” appears on the keypad display.
Press YES (F) to Enter Dealer Program Mode. Go to page 5.
GEMINI
SYSTEM READY 01/01/06 12:00 AM
|
|
|
| S |
|
|
|
|
|
| TU |
| |||
|
| TA |
|
|
|
| |
| D | S |
|
|
|
|
|
E |
|
|
|
|
| NEXT/YES | |
A |
|
|
|
|
|
| |
RM |
|
| R 1 2 3 | U | P | ||
|
|
| |||||
|
|
| B 4 5 6 | PRIOR/NO | |||
|
|
| Q | ||||
AREA
C 7 8 9 0 G
COMPUTERIZED SECURITY SYSTEM
"K Series"
Quick Start (for "K-Series" GEM-K1CA)
1.Refer to the wiring diagram, connect Siren, Aux. Power, PGM Output, Remote Bus, Earth ground, Zone and Tele- phone wiring. NOTE: See Installation Instructions (WI817).
2.Connect AC power first and then the battery.
3.Configure the keypad (see page 55).
4.Access the Easy Menu Driven (Dealer Program) Mode:
Press EEEEEER
Master Security Code
(on microshield)
Press NO (Q) until “ACTIVATE PROGRAM Y/N” appears on the keypad display.
Press YES (P) to Enter Dealer Program Mode. Go to page 5.
© NAPCO 2005 |
| WI818G 10/05 |
|
|
|
