This button opens a drop down menu that lets you switch between single line view, multi line view, and sweep mode. This control duplicates the drop down at the top of the
Open the Engineering menu – which is described in full starting on page 17.
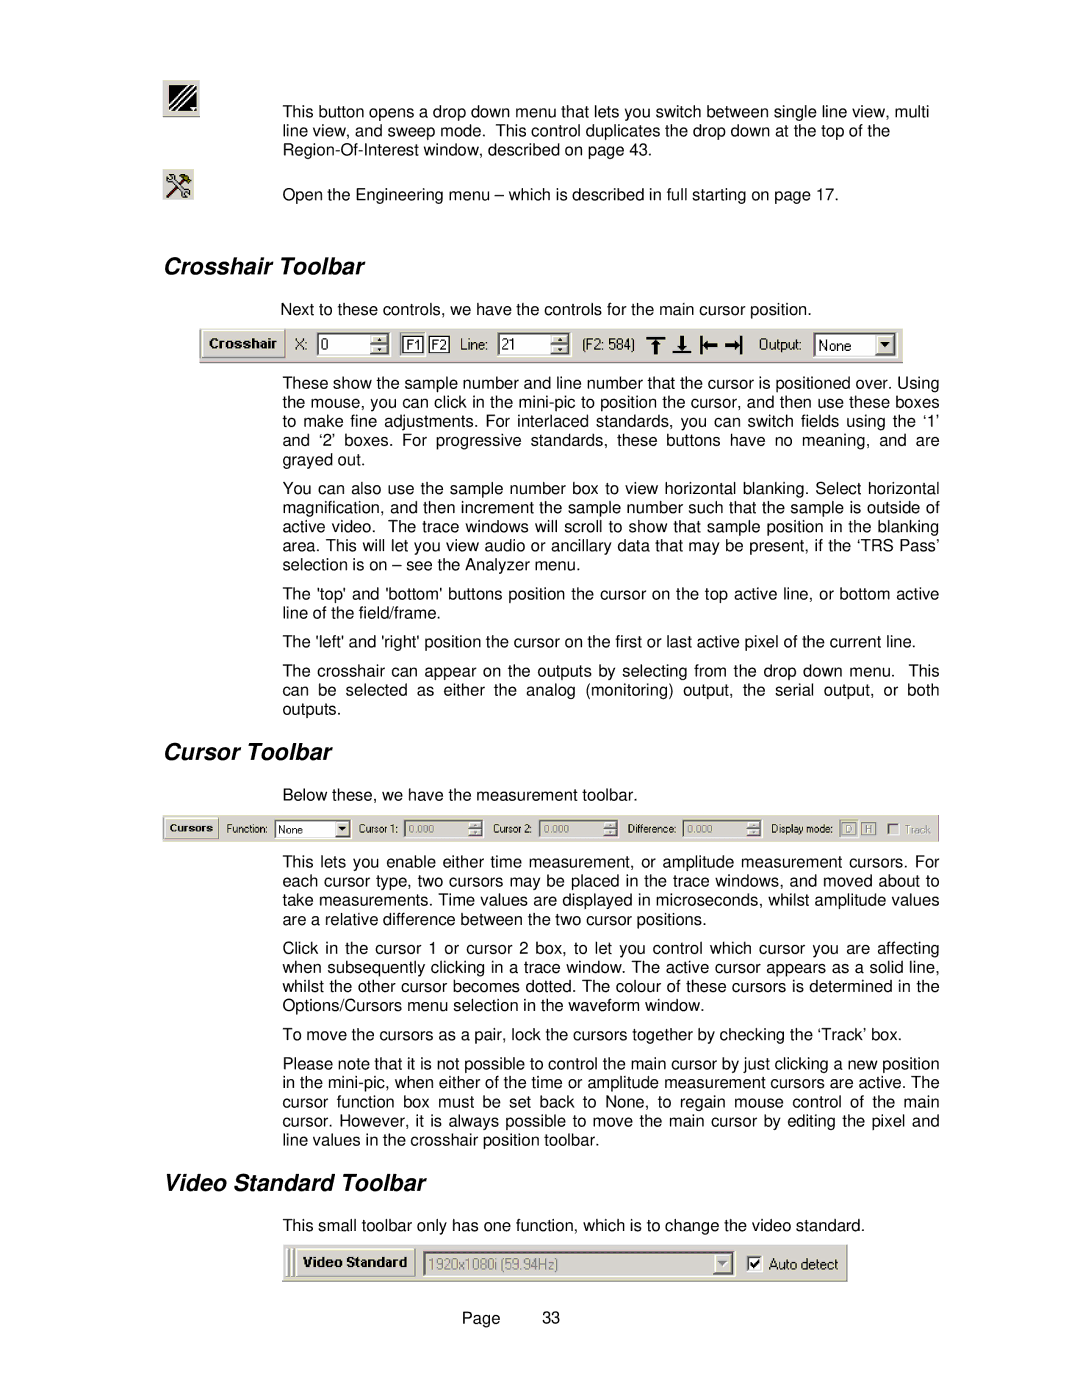
Crosshair Toolbar
Next to these controls, we have the controls for the main cursor position.
These show the sample number and line number that the cursor is positioned over. Using the mouse, you can click in the
You can also use the sample number box to view horizontal blanking. Select horizontal magnification, and then increment the sample number such that the sample is outside of active video. The trace windows will scroll to show that sample position in the blanking area. This will let you view audio or ancillary data that may be present, if the ‘TRS Pass’ selection is on – see the Analyzer menu.
The 'top' and 'bottom' buttons position the cursor on the top active line, or bottom active line of the field/frame.
The 'left' and 'right' position the cursor on the first or last active pixel of the current line.
The crosshair can appear on the outputs by selecting from the drop down menu. This can be selected as either the analog (monitoring) output, the serial output, or both outputs.
Cursor Toolbar
Below these, we have the measurement toolbar.
This lets you enable either time measurement, or amplitude measurement cursors. For each cursor type, two cursors may be placed in the trace windows, and moved about to take measurements. Time values are displayed in microseconds, whilst amplitude values are a relative difference between the two cursor positions.
Click in the cursor 1 or cursor 2 box, to let you control which cursor you are affecting when subsequently clicking in a trace window. The active cursor appears as a solid line, whilst the other cursor becomes dotted. The colour of these cursors is determined in the Options/Cursors menu selection in the waveform window.
To move the cursors as a pair, lock the cursors together by checking the ‘Track’ box.
Please note that it is not possible to control the main cursor by just clicking a new position in the
Video Standard Toolbar
This small toolbar only has one function, which is to change the video standard.
Page 33