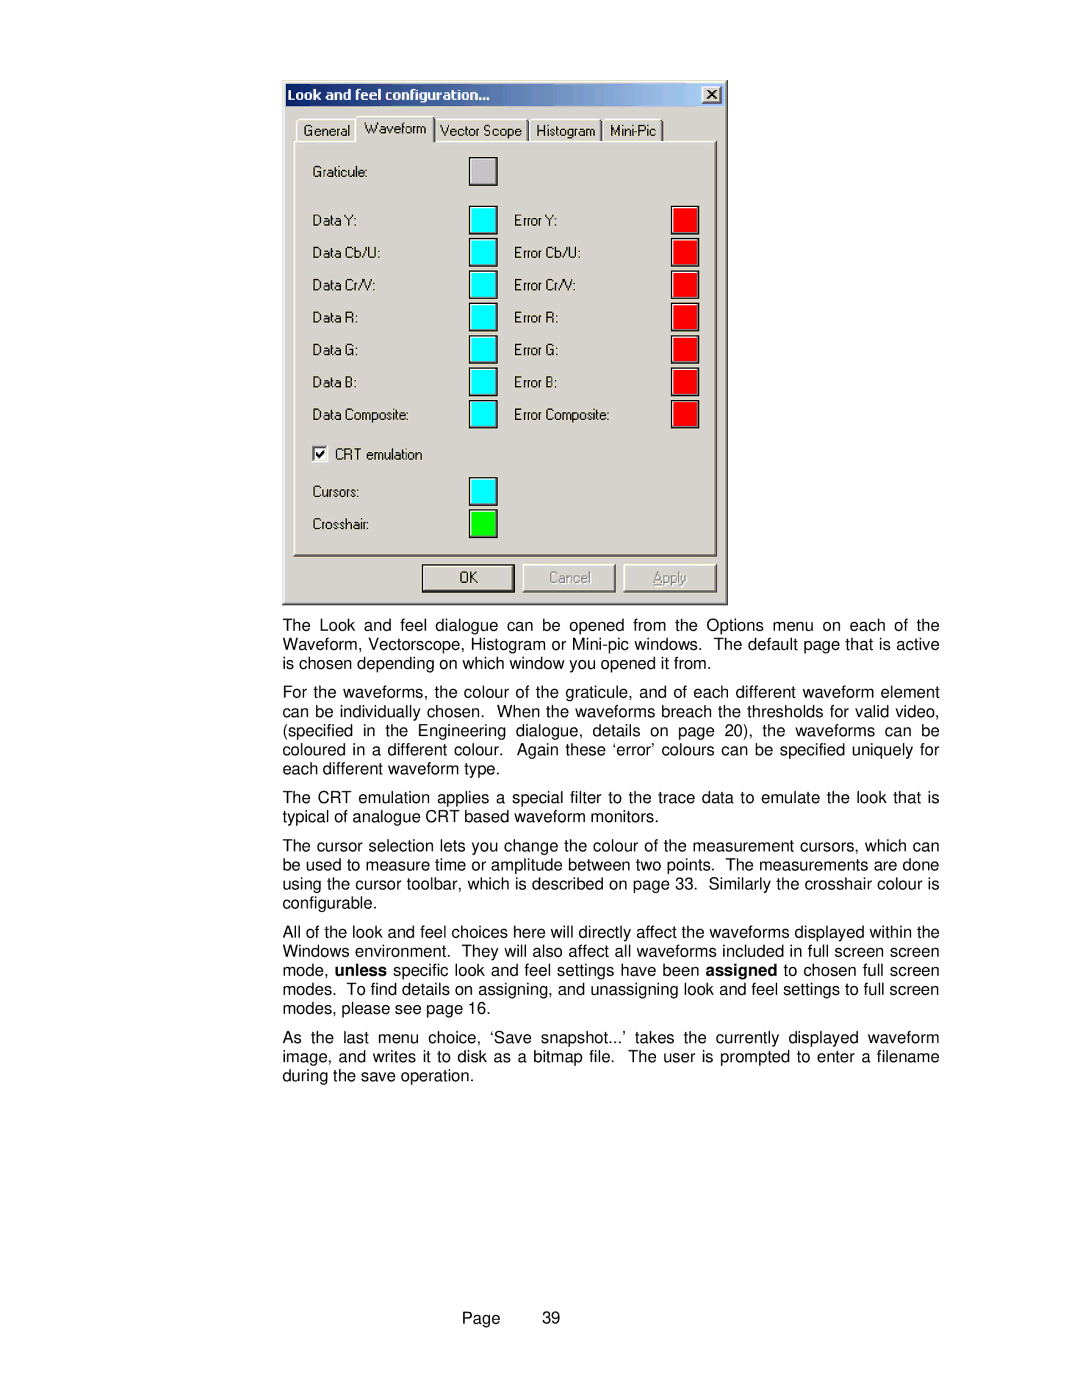
The Look and feel dialogue can be opened from the Options menu on each of the Waveform, Vectorscope, Histogram or
For the waveforms, the colour of the graticule, and of each different waveform element can be individually chosen. When the waveforms breach the thresholds for valid video, (specified in the Engineering dialogue, details on page 20), the waveforms can be coloured in a different colour. Again these ‘error’ colours can be specified uniquely for each different waveform type.
The CRT emulation applies a special filter to the trace data to emulate the look that is typical of analogue CRT based waveform monitors.
The cursor selection lets you change the colour of the measurement cursors, which can be used to measure time or amplitude between two points. The measurements are done using the cursor toolbar, which is described on page 33. Similarly the crosshair colour is configurable.
All of the look and feel choices here will directly affect the waveforms displayed within the Windows environment. They will also affect all waveforms included in full screen screen mode, unless specific look and feel settings have been assigned to chosen full screen modes. To find details on assigning, and unassigning look and feel settings to full screen modes, please see page 16.
As the last menu choice, ‘Save snapshot...’ image, and writes it to disk as a bitmap file. during the save operation.
takes the currently displayed waveform The user is prompted to enter a filename
Page 39
