4.8 Completing the
Note
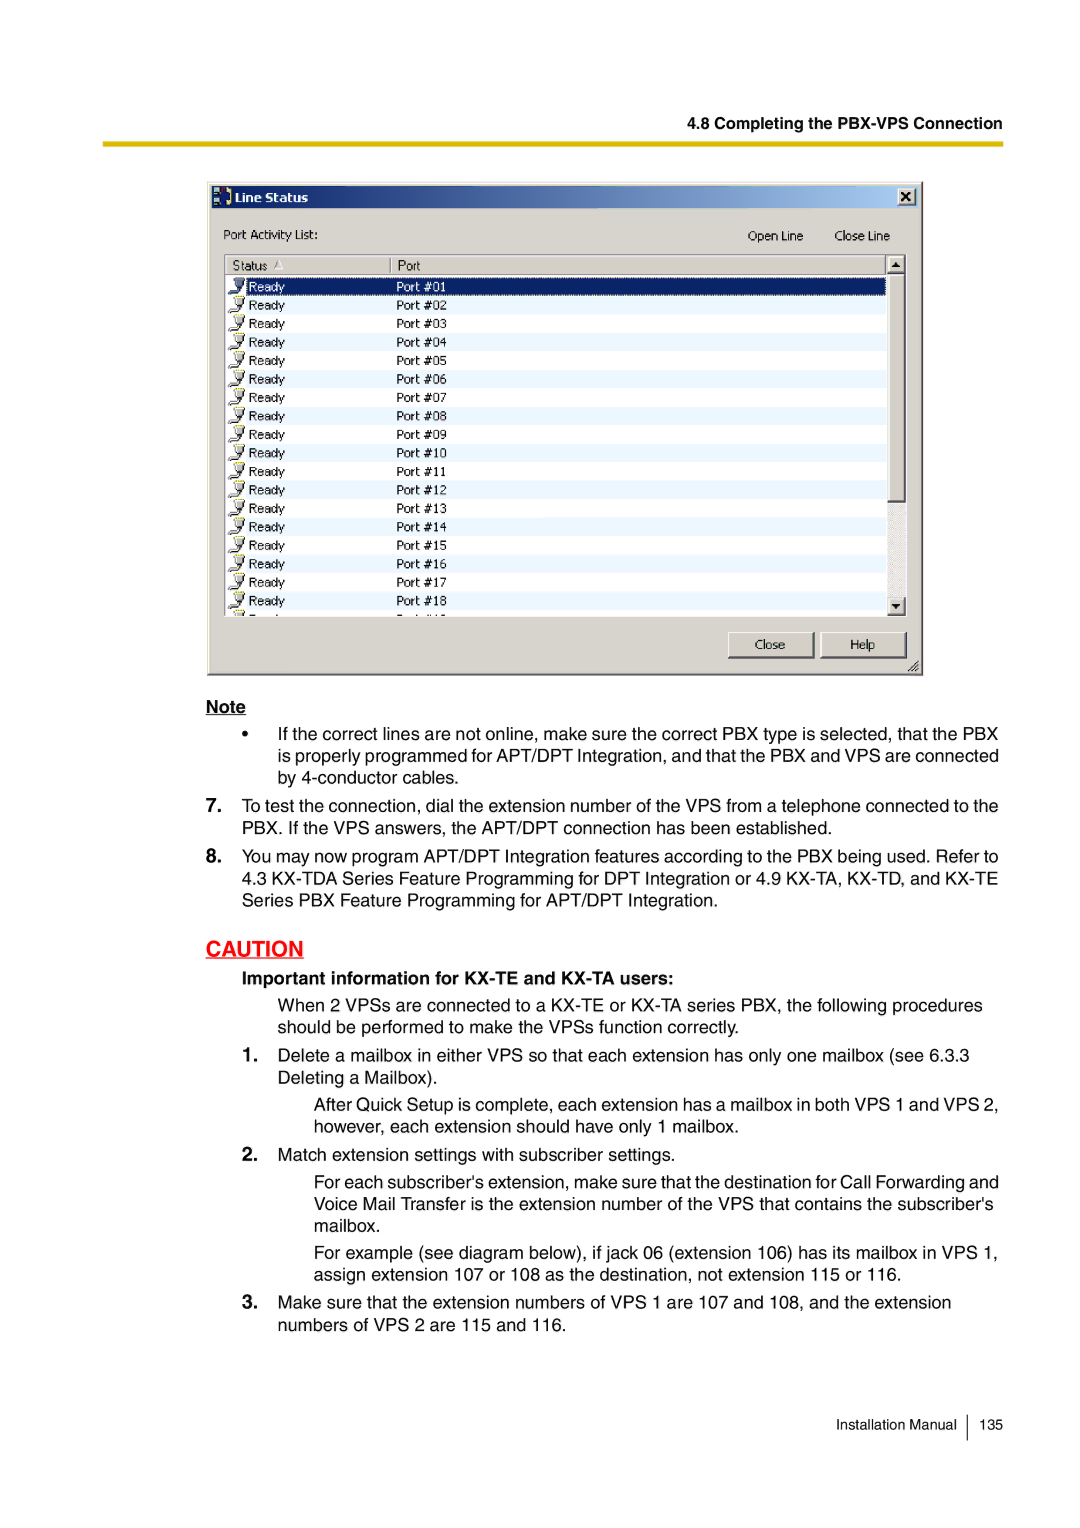
•If the correct lines are not online, make sure the correct PBX type is selected, that the PBX is properly programmed for APT/DPT Integration, and that the PBX and VPS are connected by
7.To test the connection, dial the extension number of the VPS from a telephone connected to the PBX. If the VPS answers, the APT/DPT connection has been established.
8.You may now program APT/DPT Integration features according to the PBX being used. Refer to 4.3
CAUTION
Important information for KX-TE and KX-TA users:
When 2 VPSs are connected to a
1.Delete a mailbox in either VPS so that each extension has only one mailbox (see 6.3.3 Deleting a Mailbox).
After Quick Setup is complete, each extension has a mailbox in both VPS 1 and VPS 2, however, each extension should have only 1 mailbox.
2.Match extension settings with subscriber settings.
For each subscriber's extension, make sure that the destination for Call Forwarding and Voice Mail Transfer is the extension number of the VPS that contains the subscriber's mailbox.
For example (see diagram below), if jack 06 (extension 106) has its mailbox in VPS 1, assign extension 107 or 108 as the destination, not extension 115 or 116.
3.Make sure that the extension numbers of VPS 1 are 107 and 108, and the extension numbers of VPS 2 are 115 and 116.