ASSIGNING CAMERAS TO VIEW PANES
In the Site Tree, click and drag individual cameras to a view pane. Repeat the process for up to 16 cameras.
In the Site Tree, click and drag Cameras to a pane. All cameras in the Site Tree are assigned sequentially to the panes.
NOTE: If you do not want a camera to be viewed, you must replace the camera with another one from a different remote site. If you have only one remote site, you cannot remove a camera from a pane.
LIVE MODE
CUSTOMIZING THE ON-SCREEN DISPLAY
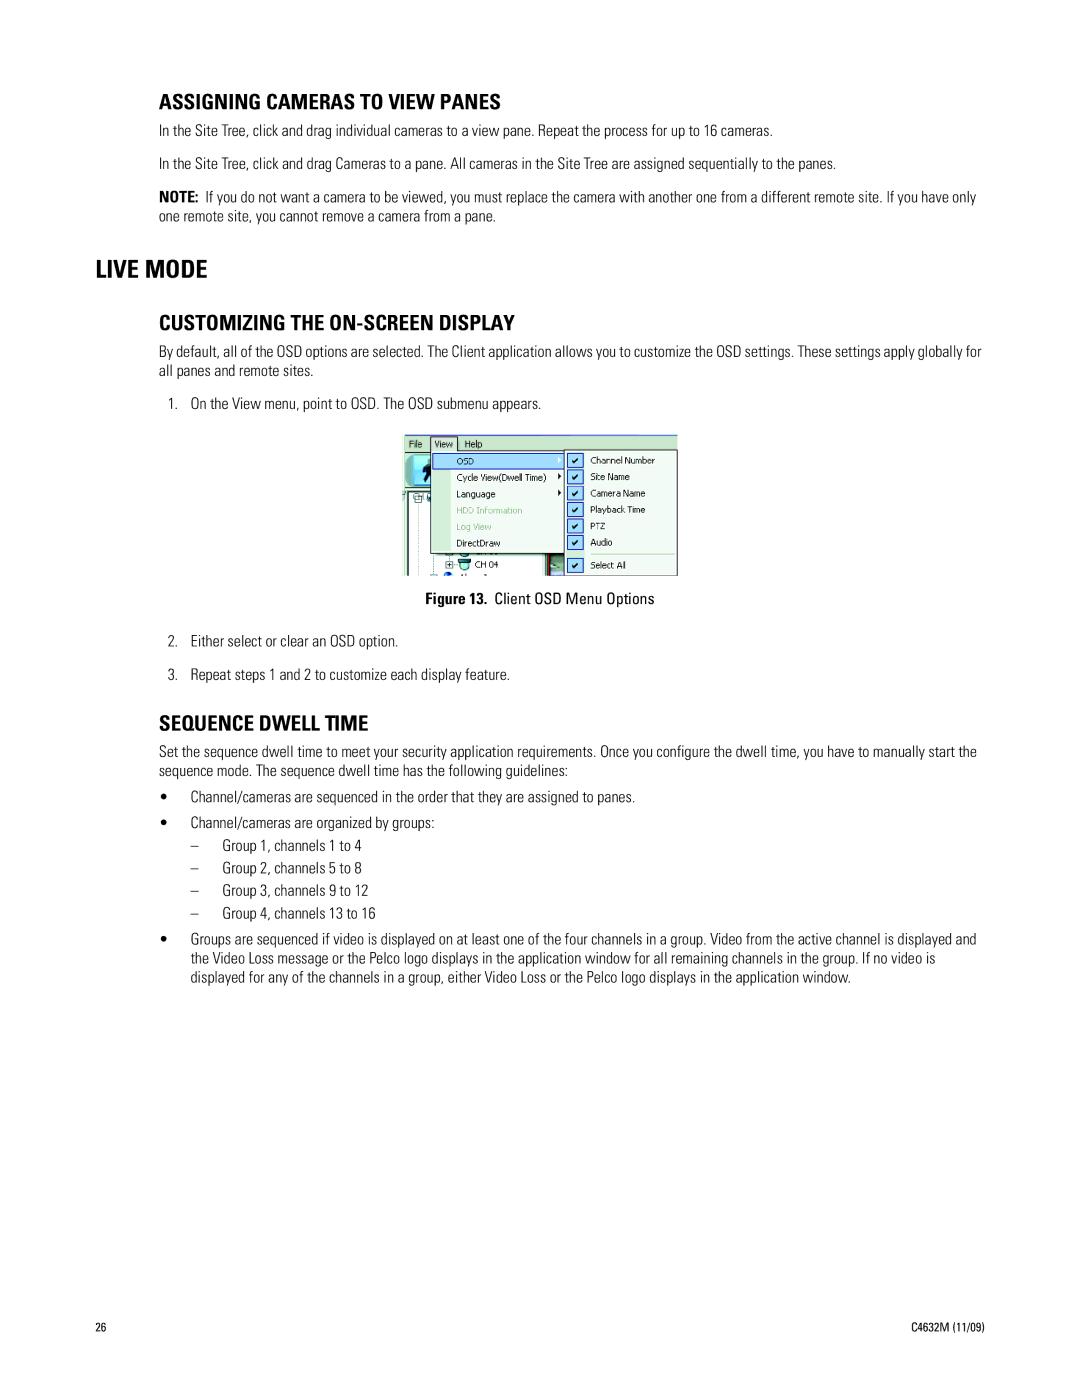
By default, all of the OSD options are selected. The Client application allows you to customize the OSD settings. These settings apply globally for all panes and remote sites.
1. On the View menu, point to OSD. The OSD submenu appears.
Figure 13. Client OSD Menu Options
2.Either select or clear an OSD option.
3.Repeat steps 1 and 2 to customize each display feature.
SEQUENCE DWELL TIME
Set the sequence dwell time to meet your security application requirements. Once you configure the dwell time, you have to manually start the sequence mode. The sequence dwell time has the following guidelines:
•Channel/cameras are sequenced in the order that they are assigned to panes.
•Channel/cameras are organized by groups:
–Group 1, channels 1 to 4
–Group 2, channels 5 to 8
–Group 3, channels 9 to 12
–Group 4, channels 13 to 16
•Groups are sequenced if video is displayed on at least one of the four channels in a group. Video from the active channel is displayed and the Video Loss message or the Pelco logo displays in the application window for all remaining channels in the group. If no video is displayed for any of the channels in a group, either Video Loss or the Pelco logo displays in the application window.
26 | C4632M (11/09) |
