SAVING A SCREEN CAPTURE TO JPEG FORMAT
The “Save to JPEG” menu command allows you to capture video. The menu command is available when video playback is paused in the Playback or Search modes. The screen capture is saved in JPEG format to a location on the remote client PC hard drive. You can specify the location or accept the default path: C:\DX4100 Exported files.
1.(Optional) Create a destination folder if you want the JPEG files stored to a specific location.
2.On the toolbar, click the Live icon ![]()
![]() .
.
3.In the Client window, click a view pane.
4.To select the date and time, on the playback timeline:
5.To find a scene:
a.On the Playback control, click the "Forward playback" button ![]() .
.
b.Click Pause ![]() when the video scene you want to capture appears.
when the video scene you want to capture appears.
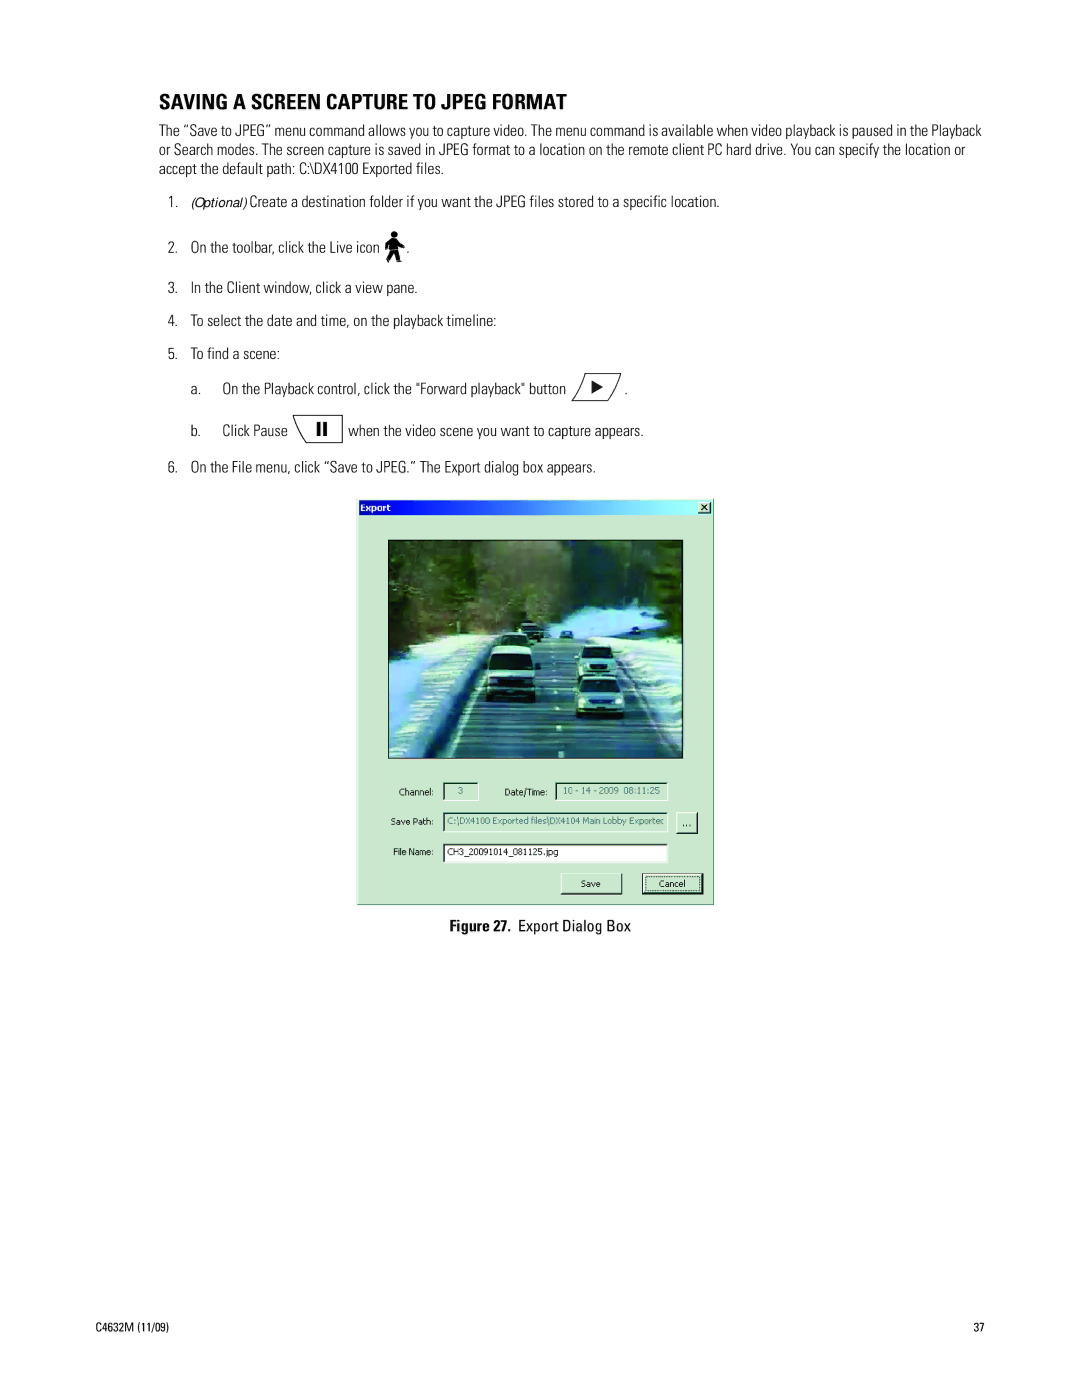
6.On the File menu, click “Save to JPEG.” The Export dialog box appears.
Figure 27. Export Dialog Box
C4632M (11/09) | 37 |