5.Repeat step 4 to configure the recording modes for the remaining cameras.
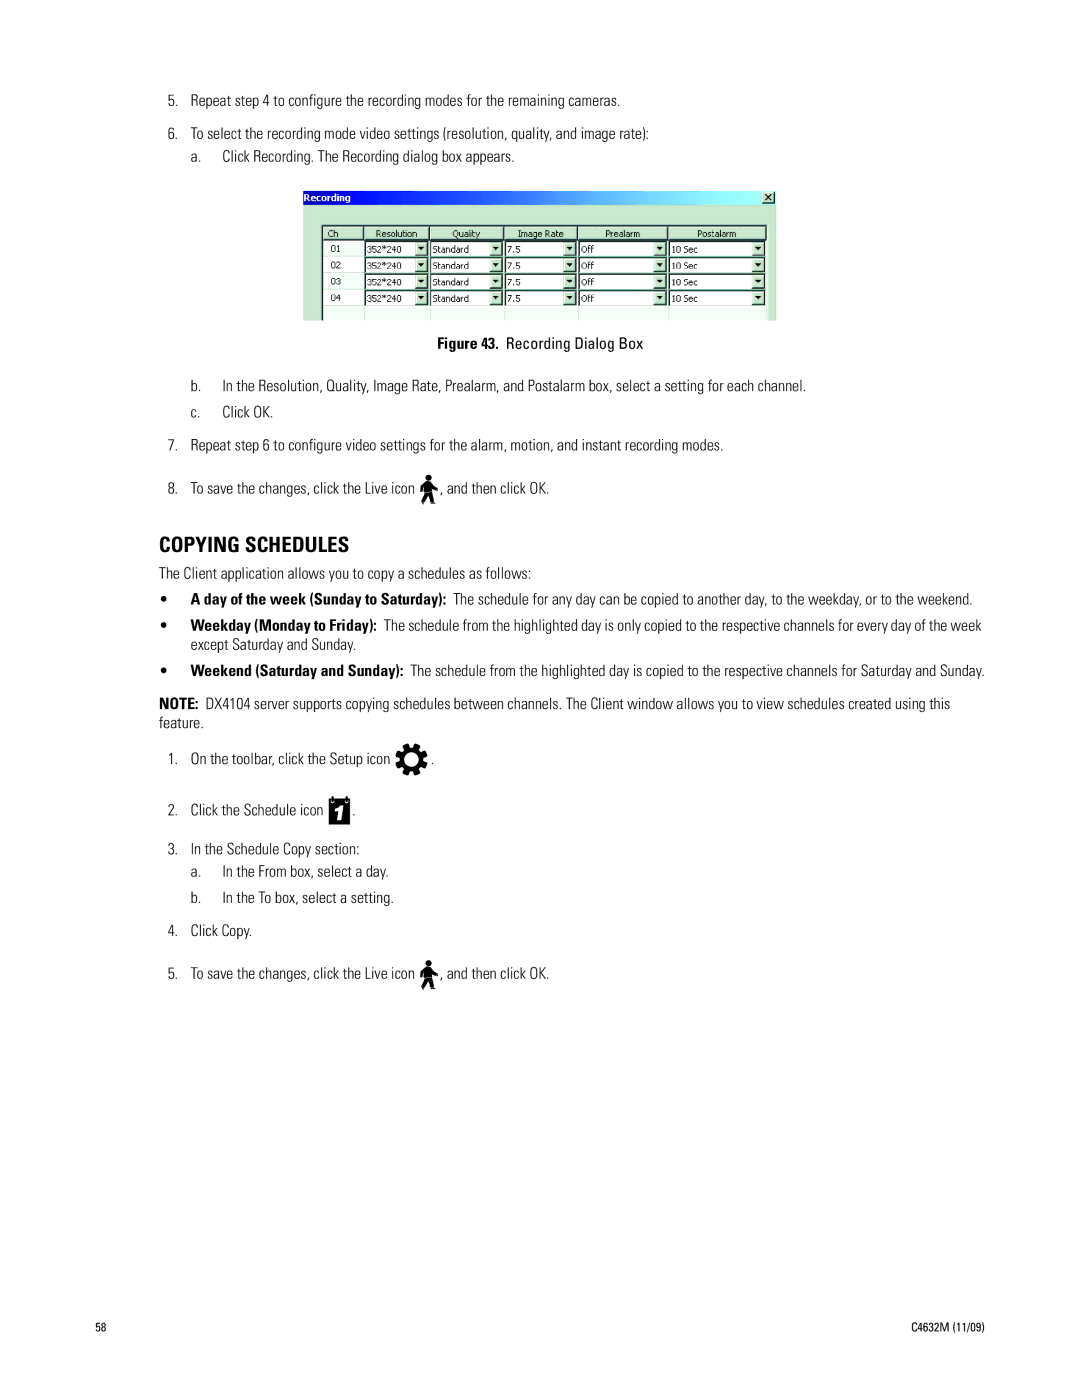
6.To select the recording mode video settings (resolution, quality, and image rate): a. Click Recording. The Recording dialog box appears.
Figure 43. Recording Dialog Box
b.In the Resolution, Quality, Image Rate, Prealarm, and Postalarm box, select a setting for each channel.
c.Click OK.
7.Repeat step 6 to configure video settings for the alarm, motion, and instant recording modes.
8.To save the changes, click the Live icon 
 , and then click OK.
COPYING SCHEDULES
The Client application allows you to copy a schedules as follows:
•A day of the week (Sunday to Saturday): The schedule for any day can be copied to another day, to the weekday, or to the weekend.
•Weekday (Monday to Friday): The schedule from the highlighted day is only copied to the respective channels for every day of the week except Saturday and Sunday.
•Weekend (Saturday and Sunday): The schedule from the highlighted day is copied to the respective channels for Saturday and Sunday.
NOTE: DX4104 server supports copying schedules between channels. The Client window allows you to view schedules created using this feature.
1.On the toolbar, click the Setup icon ![]() .
.
2.Click the Schedule icon ![]() .
.
3.In the Schedule Copy section:
a.In the From box, select a day.
b.In the To box, select a setting.
4.Click Copy.
5.To save the changes, click the Live icon ![]()
![]() , and then click OK.
, and then click OK.
58 | C4632M (11/09) |