| Chapter |
Customizing preferences | 13 |
|
|
Camera for “RearView”
[RearView] can be displayed the
![]() CAUTION
CAUTION
Pioneer recommends the use of a camera which outputs mirror reversed images, otherwise the screen image may appear reversed.
pImmediately verify whether the display changes to a rear view camera image when
the shift lever is moved to REVERSE (R) from another position.
pWhen the whole screen changes to a rear view camera image during normal driving, switch to another setting.
pInitially, this function is set to “Off”.
Adjusting the response positions of the touch panels (touch panel calibration)
If you feel that the touch panel keys on the screen deviate from the actual positions that respond to your touch, adjust the response po- sitions of the touch panel screen.
pFor adjustment, make sure to use a rela- tively soft and tapered instrument so that the screen is not scratched or damaged, and gently touch the screen. If you press the touch panel forcefully, the touch panel may be damaged. Also, do not use a sharp pointed metallic or hard tool such as a ball- point pen or a mechanical pencil. Other- wise the screen may become damaged.
1Touch [Screen Calibration] on the “Sys- tem Settings” menu.
A message confirming whether to start the ca- libration appears.
Customizing preferences
1Touch [Back Camera] on the “System Settings” menu.
=For details, refer to Displaying the “System Settings” menu on page 91.
The “Camera Input” screen appears.
2Touch [On] next to “Camera” to acti- vate the camera setting.
p Unless this setting is [On], you cannot switch to “RearView”.
3Touch [Battery] or [GND] next to
“Polarity” to select the appropriate polarity setting.
!Battery — When the polarity of the con- nected lead is positive while the shift lever is in the REVERSE (R) position
!GND — When the polarity of the connected lead is negative while the shift lever is in the REVERSE (R) position
pYou can also start the calibration by keep pressing MENU button on the “Top Menu”.
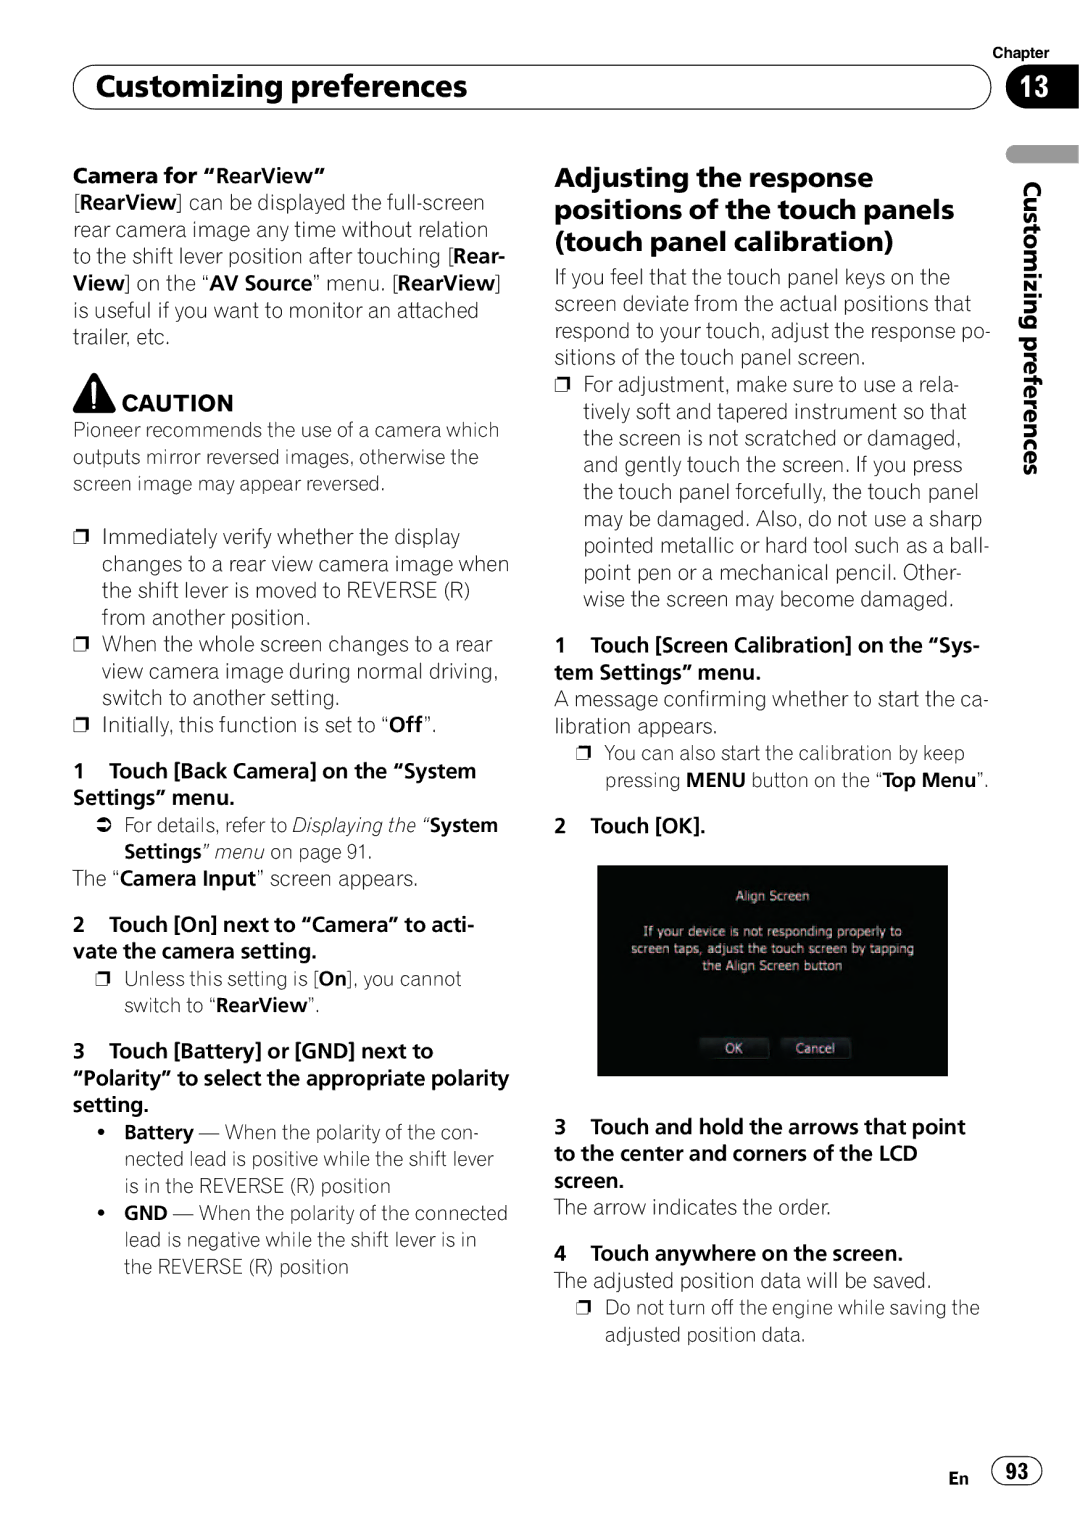
2 Touch [OK].
3Touch and hold the arrows that point to the center and corners of the LCD screen.
The arrow indicates the order.
4Touch anywhere on the screen.
The adjusted position data will be saved.
pDo not turn off the engine while saving the adjusted position data.
En ![]() 93
93![]()