Chapter
04 After the location is decided (Map Confirmation Screen)
1Touch [Route...] on the “Map Confirma- tion Screen”.
2Touch [Starting Point].
pWhen the cursor overlaps with a starting point already set, It changes to [Remove
Start]. All waypoints already set are deleted.
Viewing the information of a specified location
Locating the cursor to your desired position enables you to view detailed information about the location by using the “Map Confirmation Screen”.
1Press MAP button to display the navi- gation map screen.
2Touch and drag the screen to scroll the map to the desired position.
3Touch ![]() to display the “Map Confir- mation Screen”.
to display the “Map Confir- mation Screen”.
The “Map Confirmation Screen” appears.
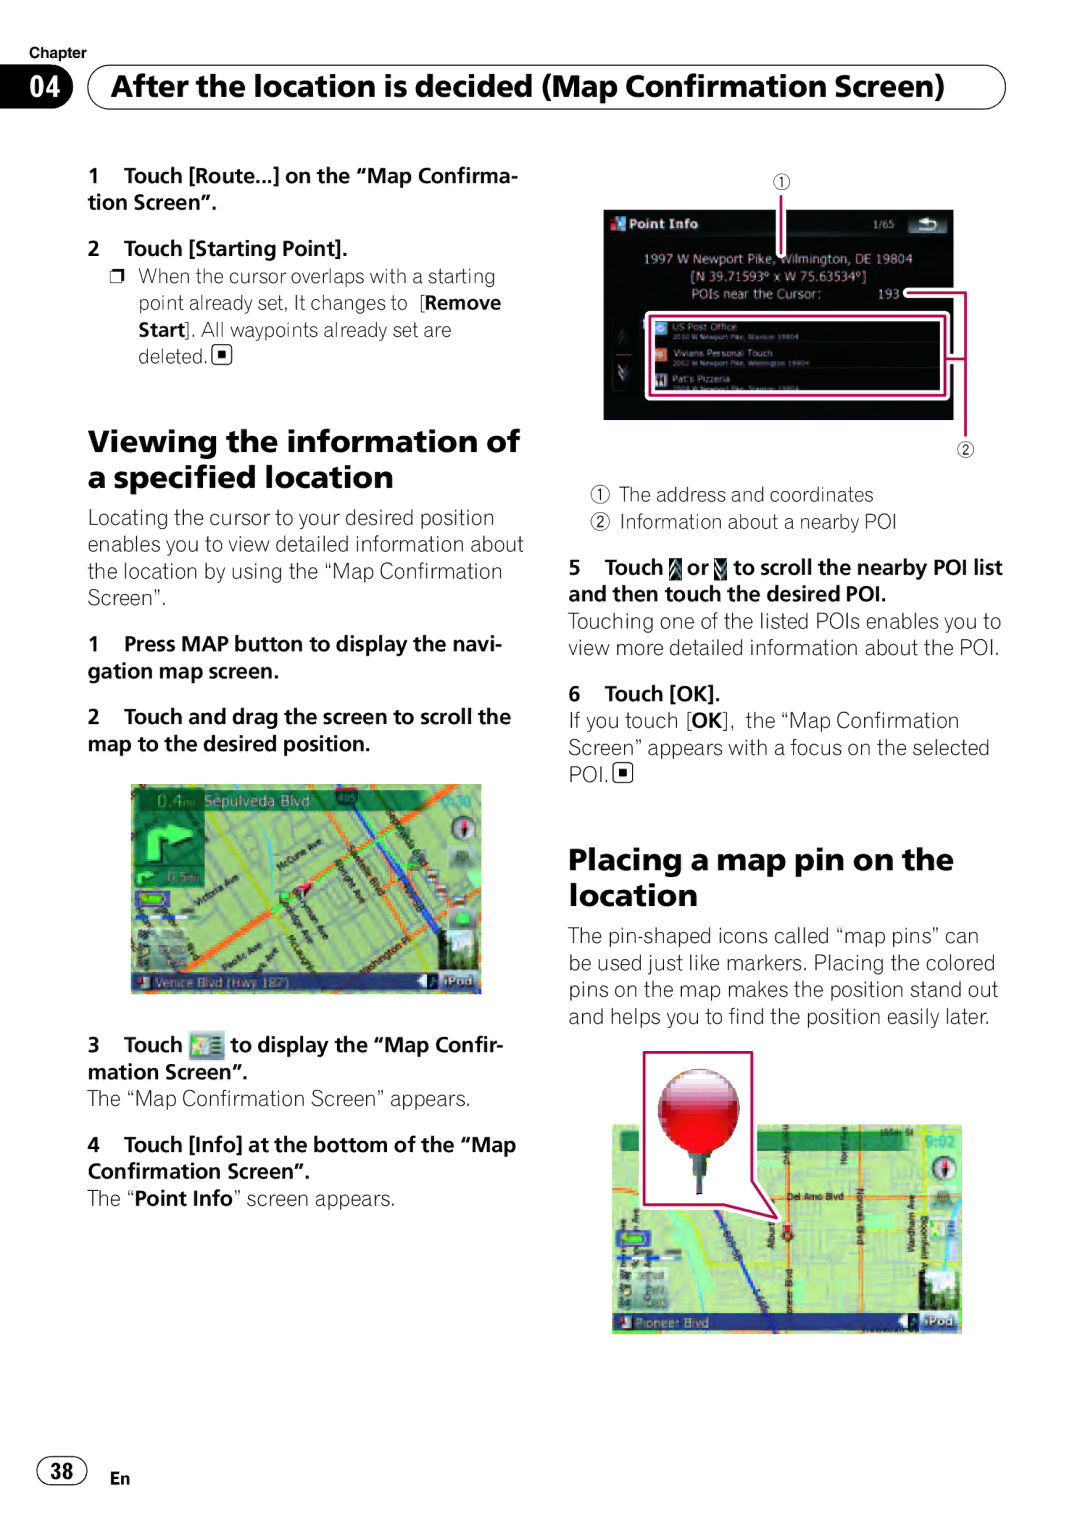
4Touch [Info] at the bottom of the “Map Confirmation Screen”.
The “Point Info” screen appears.
1
2
1The address and coordinates
2Information about a nearby POI
5Touch ![]() or
or ![]() to scroll the nearby POI list and then touch the desired POI.
to scroll the nearby POI list and then touch the desired POI.
Touching one of the listed POIs enables you to view more detailed information about the POI.
6Touch [OK].
If you touch [OK], the “Map Confirmation Screen” appears with a focus on the selected POI. ![]()
Placing a map pin on the location
The
![]() 38
38![]() En
En