Installing a KVM appliance in the rack mounting space
•Mechanical loading: Avoid a potentially hazardous condition caused by uneven mechanical loading by carefully mounting the equipment in the rack.
•Circuit overloading: Consider the connection of the equipment to the supply circuit and the effect that overloading of circuits might have on overcurrent protection and supply wiring. Observe equipment nameplate ratings for maximum current.
•Reliable earthing: Maintain reliable earthing of
2.4.2Installing a KVM appliance in the rack mounting space
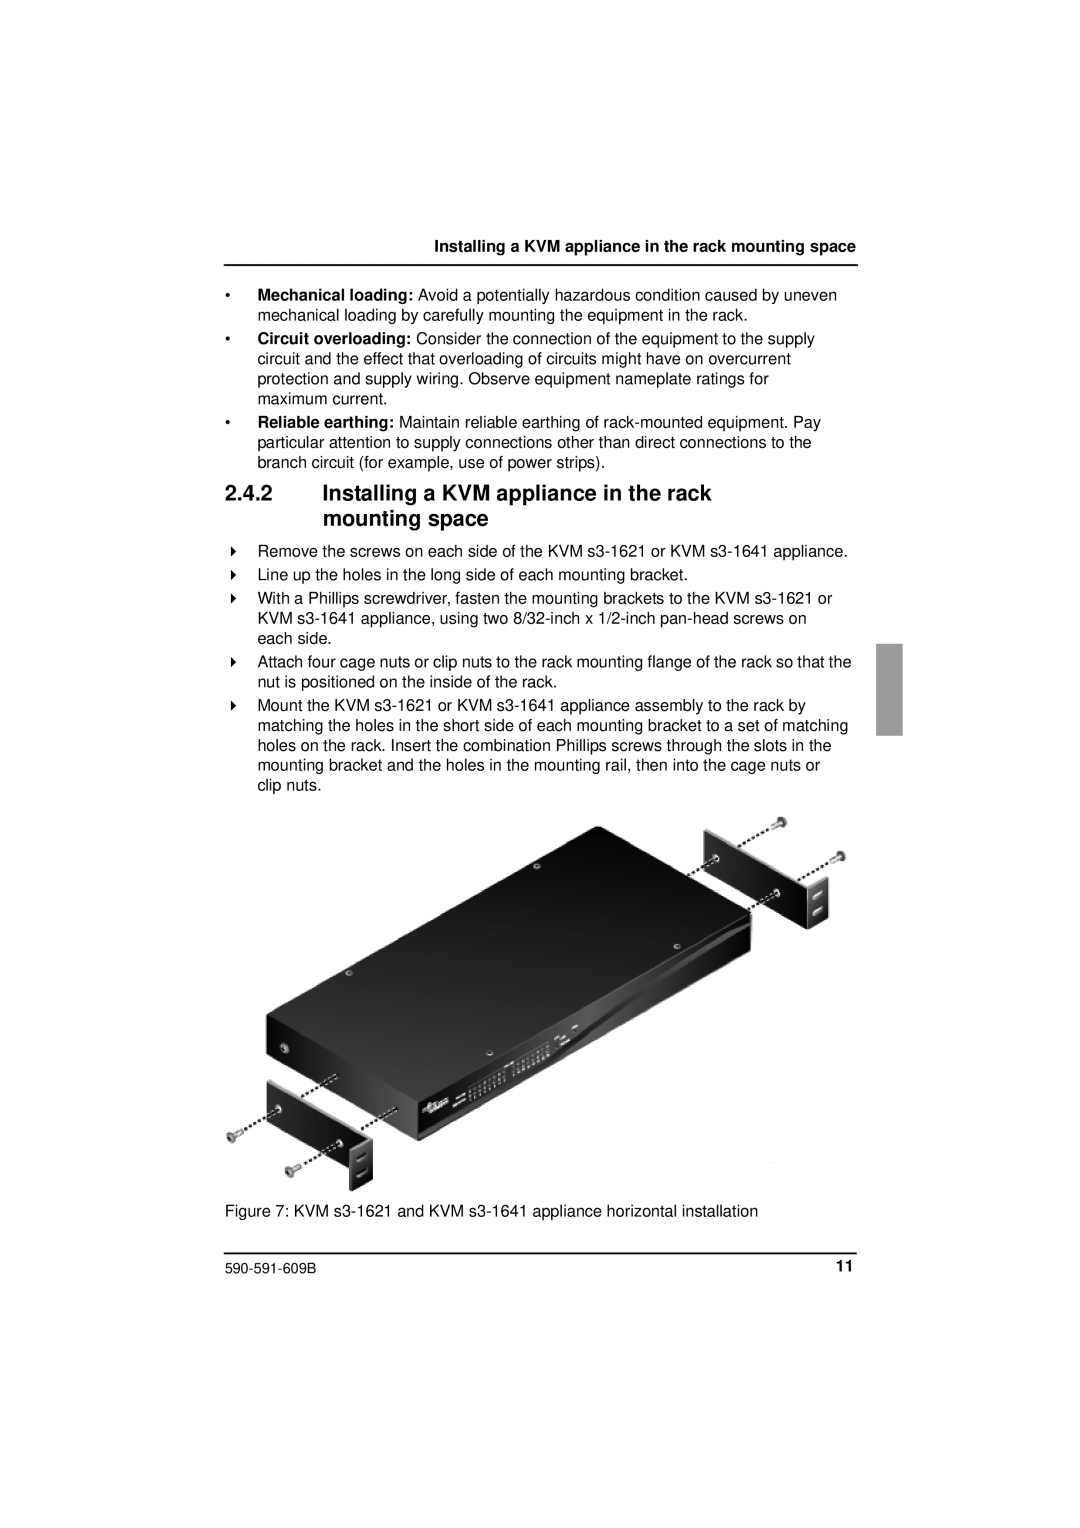
Remove the screws on each side of the KVM
Line up the holes in the long side of each mounting bracket.
With a Phillips screwdriver, fasten the mounting brackets to the KVM
Attach four cage nuts or clip nuts to the rack mounting flange of the rack so that the nut is positioned on the inside of the rack.
Mount the KVM
Figure 7: KVM s3-1621 and KVM s3-1641 appliance horizontal installation
11 |