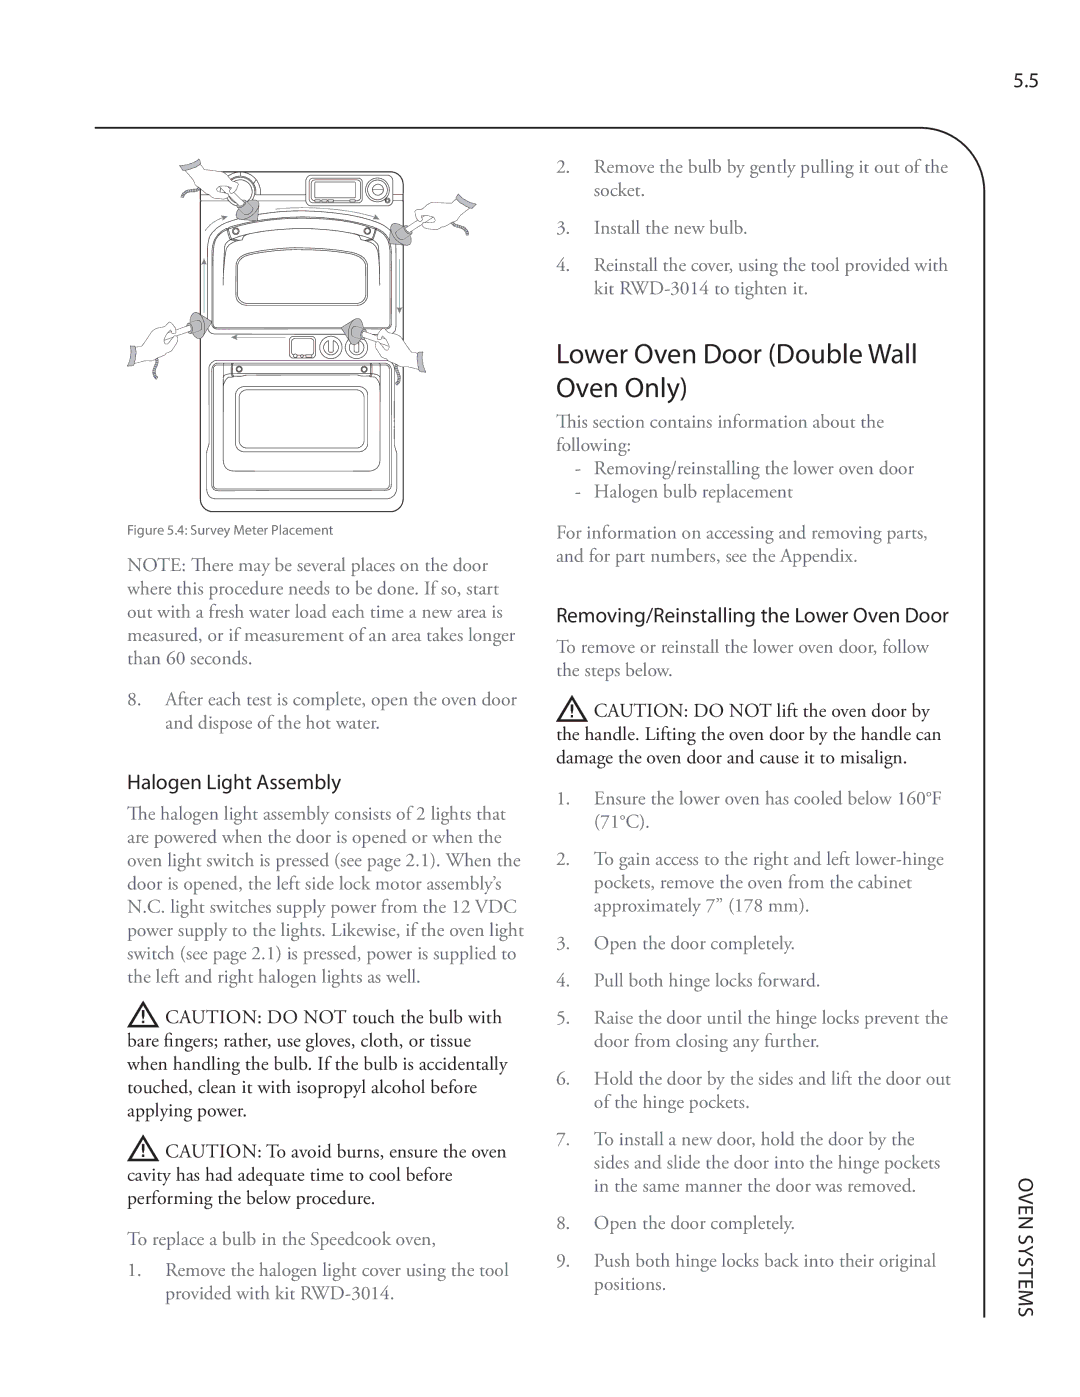
Figure 5.4: Survey Meter Placement
NOTE: There may be several places on the door where this procedure needs to be done. If so, start out with a fresh water load each time a new area is measured, or if measurement of an area takes longer than 60 seconds.
8.After each test is complete, open the oven door and dispose of the hot water.
Halogen Light Assembly
The halogen light assembly consists of 2 lights that are powered when the door is opened or when the oven light switch is pressed (see page 2.1). When the door is opened, the left side lock motor assembly’s N.C. light switches supply power from the 12 VDC power supply to the lights. Likewise, if the oven light switch (see page 2.1) is pressed, power is supplied to the left and right halogen lights as well.
![]() CAUTION: DO NOT touch the bulb with bare fingers; rather, use gloves, cloth, or tissue when handling the bulb. If the bulb is accidentally touched, clean it with isopropyl alcohol before applying power.
CAUTION: DO NOT touch the bulb with bare fingers; rather, use gloves, cloth, or tissue when handling the bulb. If the bulb is accidentally touched, clean it with isopropyl alcohol before applying power.
![]() CAUTION: To avoid burns, ensure the oven cavity has had adequate time to cool before performing the below procedure.
CAUTION: To avoid burns, ensure the oven cavity has had adequate time to cool before performing the below procedure.
To replace a bulb in the Speedcook oven,
1.Remove the halogen light cover using the tool provided with kit
2.Remove the bulb by gently pulling it out of the socket.
3.Install the new bulb.
4.Reinstall the cover, using the tool provided with kit
Lower Oven Door (Double Wall Oven Only)
This section contains information about the following:
-Removing/reinstalling the lower oven door
-Halogen bulb replacement
For information on accessing and removing parts, and for part numbers, see the Appendix.
Removing/Reinstalling the Lower Oven Door
To remove or reinstall the lower oven door, follow the steps below.
![]() CAUTION: DO NOT lift the oven door by the handle. Lifting the oven door by the handle can damage the oven door and cause it to misalign.
CAUTION: DO NOT lift the oven door by the handle. Lifting the oven door by the handle can damage the oven door and cause it to misalign.
1.Ensure the lower oven has cooled below 160°F (71°C).
2.To gain access to the right and left
3.Open the door completely.
4.Pull both hinge locks forward.
5.Raise the door until the hinge locks prevent the door from closing any further.
6.Hold the door by the sides and lift the door out of the hinge pockets.
7.To install a new door, hold the door by the sides and slide the door into the hinge pockets in the same manner the door was removed.
8.Open the door completely.
9.Push both hinge locks back into their original positions.
5.5
OVEN SYSTEMS