Configuration
SNMP ACCESS: |
| |
1. | Enable: | Off |
2. | Contact: | (undefined) |
3. | Location: | (undefined) |
4. | Community: | public |
Enter: #<CR> | to change, | |
| <ESC> | for previous menu ... |
Figure 5.19: SNMP Access Menu (Text Interface)
SNMP TRAP:
Note: The SNMP trap feature is enabled by defining at least one manager.
1. | Manager 1: |
| (undefined) |
2. | Manager 2: |
| (undefined) |
3. | Community: |
| public |
Enter: #<CR> | to change, |
| |
| <ESC> | for previous menu ... | |
Figure 5.20: SNMP Trap Menu (Text Interface)
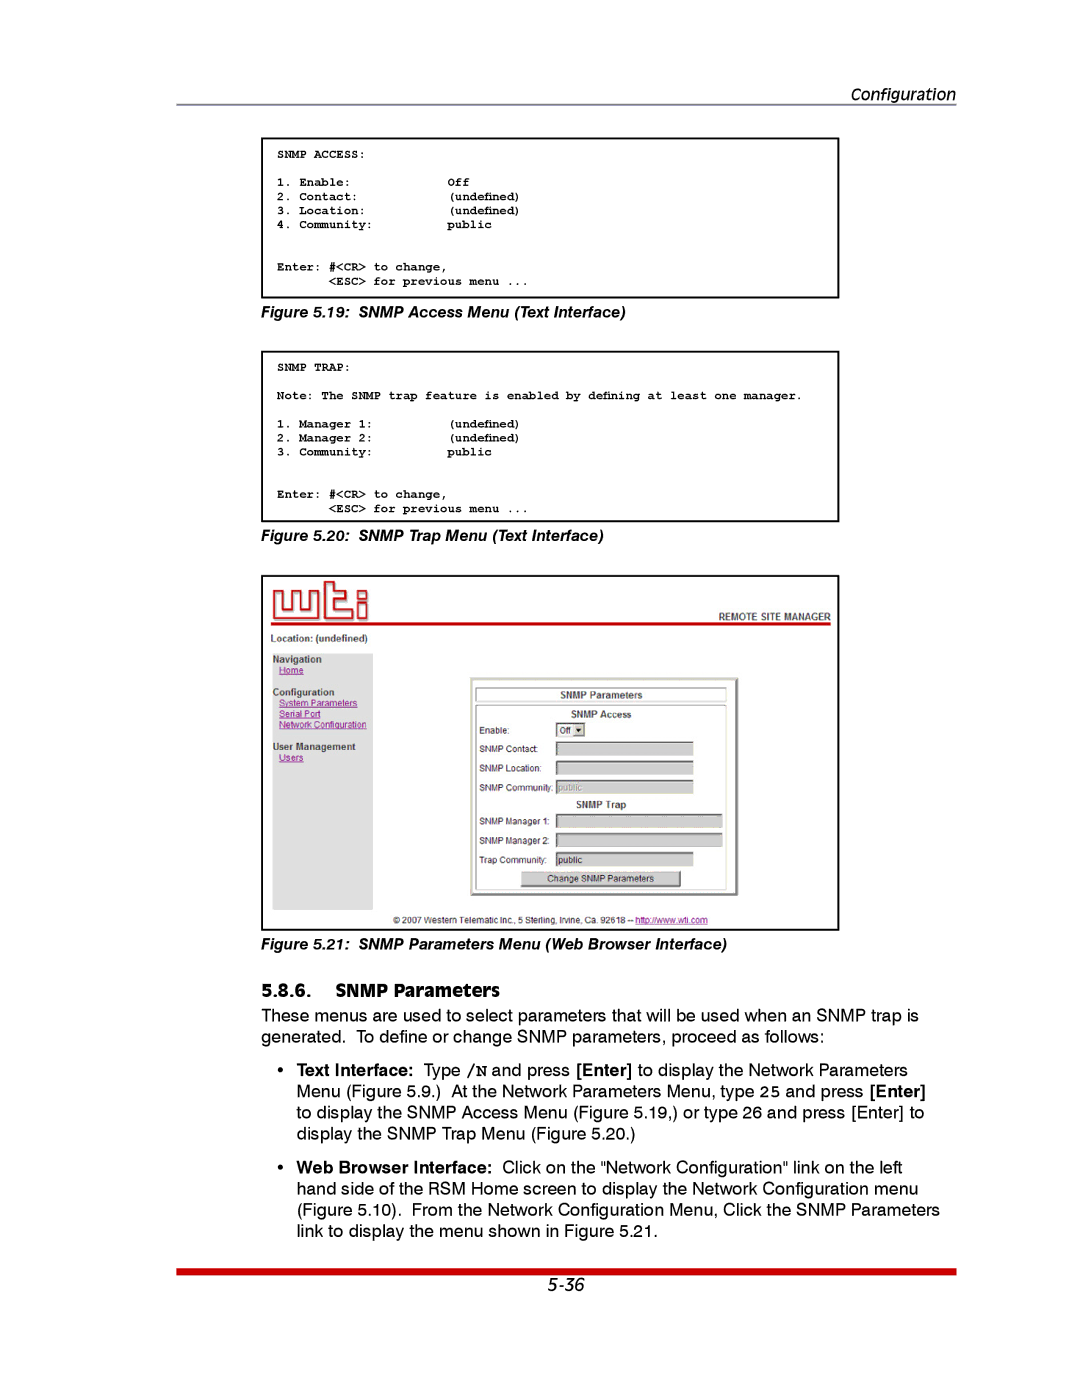
Figure 5.21: SNMP Parameters Menu (Web Browser Interface)
5.8.6.SNMP Parameters
These menus are used to select parameters that will be used when an SNMP trap is generated. To define or change SNMP parameters, proceed as follows:
•Text Interface: Type /N and press [Enter] to display the Network Parameters Menu (Figure 5.9.) At the Network Parameters Menu, type 25 and press [Enter] to display the SNMP Access Menu (Figure 5.19,) or type 26 and press [Enter] to display the SNMP Trap Menu (Figure 5.20.)
•Web Browser Interface: Click on the "Network Configuration" link on the left hand side of the RSM Home screen to display the Network Configuration menu (Figure 5.10). From the Network Configuration Menu, Click the SNMP Parameters link to display the menu shown in Figure 5.21.