Chapter 2: Installation
Installing the
Chassis Ground
Lug
A terminal lug is provided with the
To install the # 10 AWG ground wire, perform the following procedure:
1.Prepare an adequate length of stranded grounding wire (10 AWG) for the ground connection.
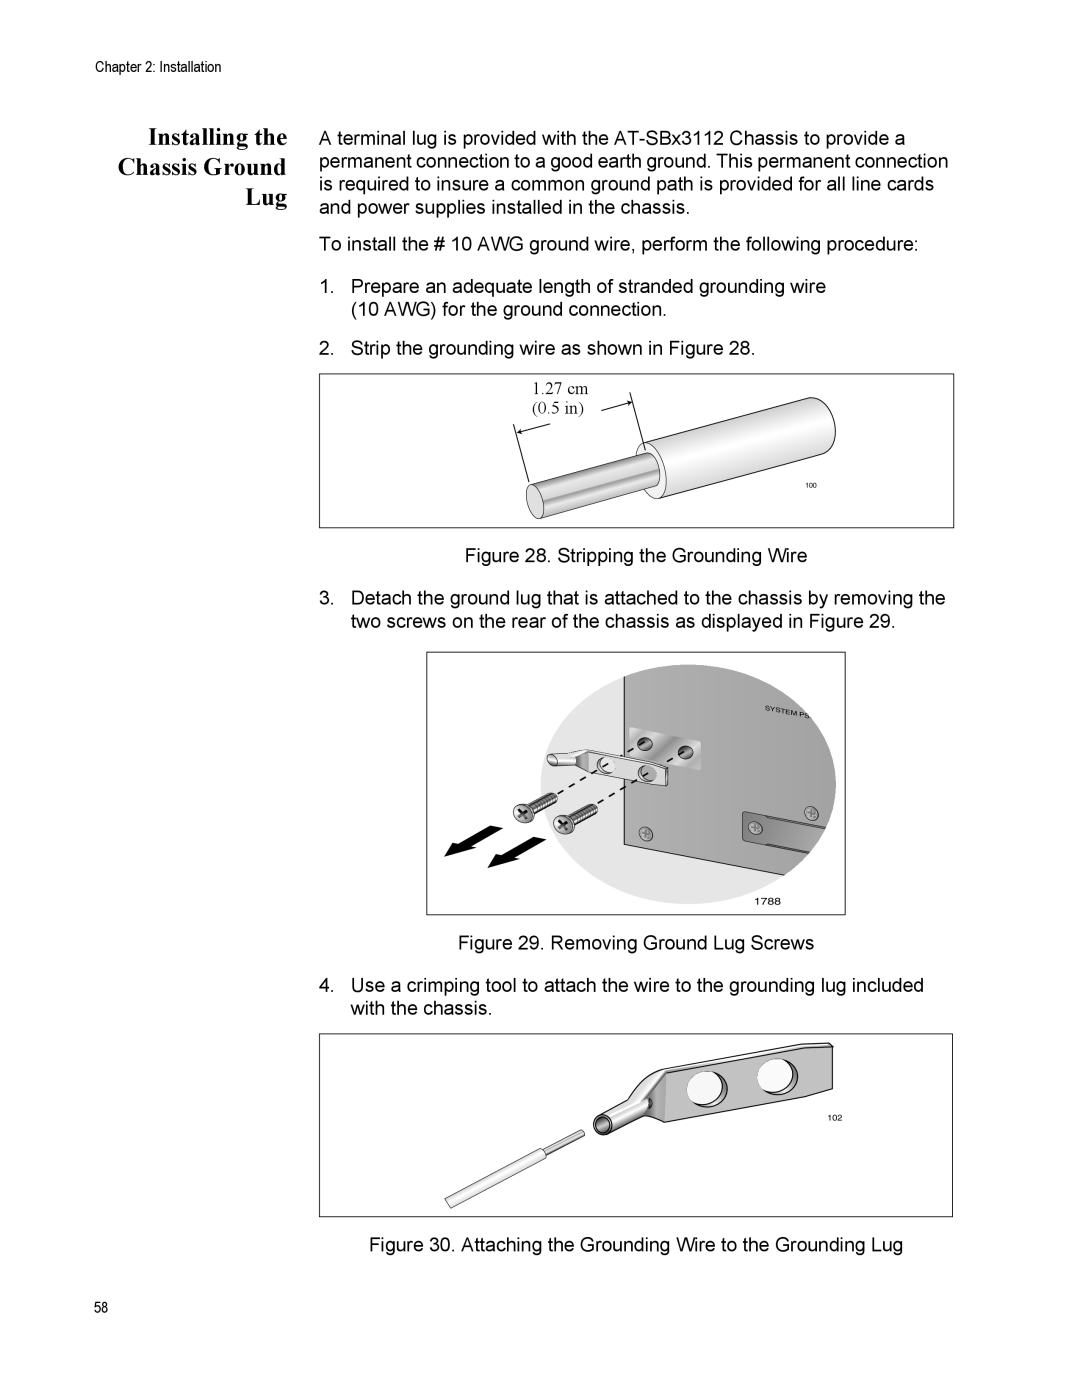
2.Strip the grounding wire as shown in Figure 28.
1.27 cm
11mm ±1mm (0.5 in)
(0.44in. ±0.03in.)
100
Figure 28. Stripping the Grounding Wire
3.Detach the ground lug that is attached to the chassis by removing the two screws on the rear of the chassis as displayed in Figure 29.
8 |
D |
SYSTEM |
PSU |
10 |
1788 |
Figure 29. Removing Ground Lug Screws
4.Use a crimping tool to attach the wire to the grounding lug included with the chassis.
102
Figure 30. Attaching the Grounding Wire to the Grounding Lug
58