Controlling the Iris
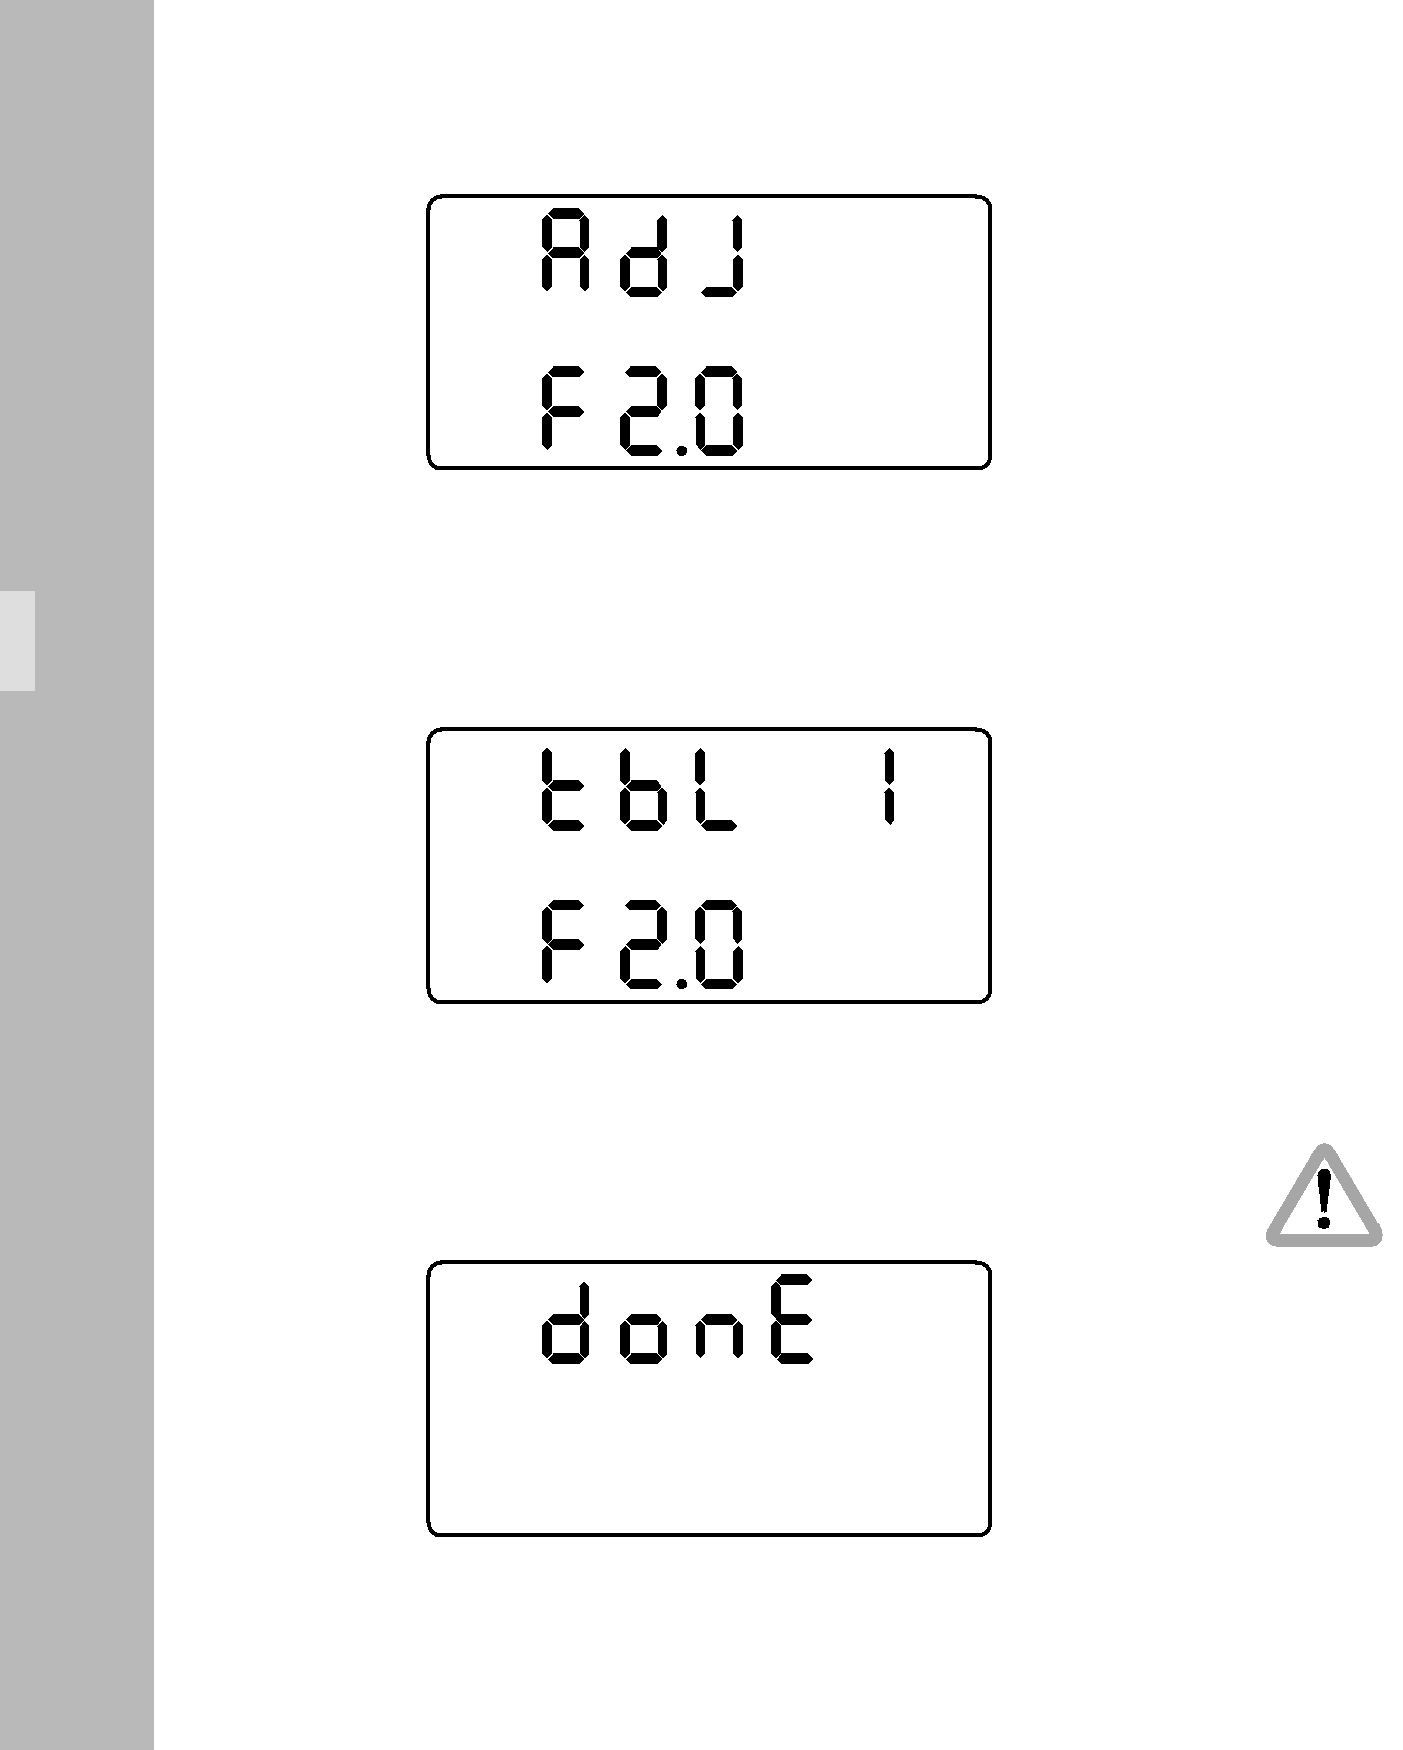
•If the lens has been successfully calibrated, ‘ADJ’ flashes in the first line of the display.
A
•Adjust the iris ring of the lens to the displayed value using the handwheel.
•The
This is indicated in the first line with an ‘I’ next to ‘TBL’. This defines the entire iris table. ‘DONE’ is displayed for one second.
•The display then shows ‘TBL’ in the first line,
and the letter ‘F’ and a
After loading the iris table, all individual
•Press the MODE button to go back to the table menu (TBL LOAD, TBL DEL, TBL EDIT, TBL STORE). To go back to the main menu press of the MODE button again.
50