Registering sender information
Setting the date and time _____________________
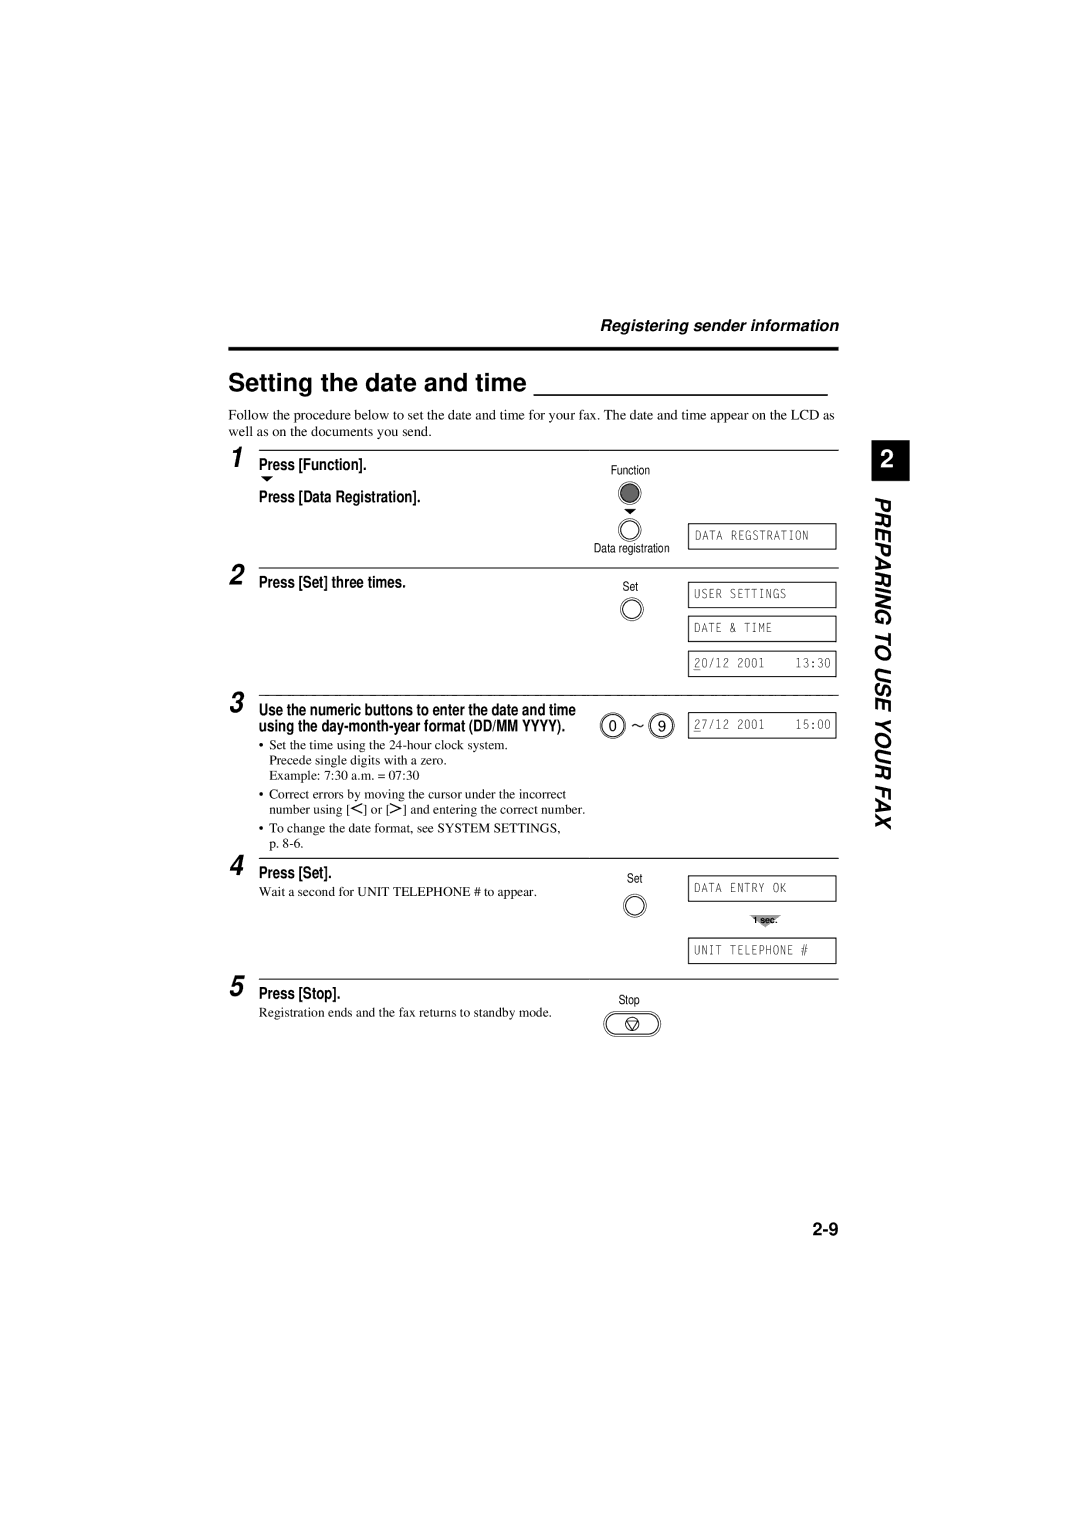
Follow the procedure below to set the date and time for your fax. The date and time appear on the LCD as well as on the documents you send.
1 Press [Function]. | Function |
| |
Press [Data Registration]. |
|
| Data registration |
DATA REGSTRATION
2
PREPARING
2 |
|
|
|
|
Press [Set] three times. | Set |
|
| |
USER SETTINGS |
| |||
|
|
|
| |
|
|
|
|
|
|
|
|
|
|
|
|
| DATE & TIME |
|
|
|
|
|
|
|
|
|
|
|
|
|
| 20/12 2001 | 13:30 |
|
|
|
|
|
TO USE
3 Use the numeric buttons to enter the date and time |
|
|
using the | 0 | 9 |
•Set the time using the
Example: 7:30 a.m. = 07:30
•Correct errors by moving the cursor under the incorrect number using [l] or [r] and entering the correct number.
•To change the date format, see SYSTEM SETTINGS, p.
27/12 2001 | 15:00 |
|
|
YOUR FAX
4 |
|
|
|
Press [Set]. | Set |
| |
| Wait a second for UNIT TELEPHONE # to appear. |
| DATA ENTRY OK |
|
|
|
|
|
|
| 1 sec. |
|
|
|
|
|
|
| UNIT TELEPHONE # |
|
|
|
|
|
|
|
|
5 Press [Stop]. | Stop |
|
Registration ends and the fax returns to standby mode.