2.1 Installing the DVI Board or SDI Board
Clarity Visual Systems ships the DVI or SDI board separately from the Bay Cat X to some customers and for field upgrades.
✎The DVI Board is the
1.If you powered up the unit to confirm proper working order upon receipt, turn off AC power to the Bay Cat X and remove the power cord.
2.Place the unit face down on a flat surface on something soft and
3.Confirm that your DVI Board package contains four (4) mounting screws (SDI Board package contains six[6] srcews), a replacement DVI or SDI cover panel, and a disposable grounding wrist strap.
4.On the back of the Bay Cat X, remove the blank cover panel.
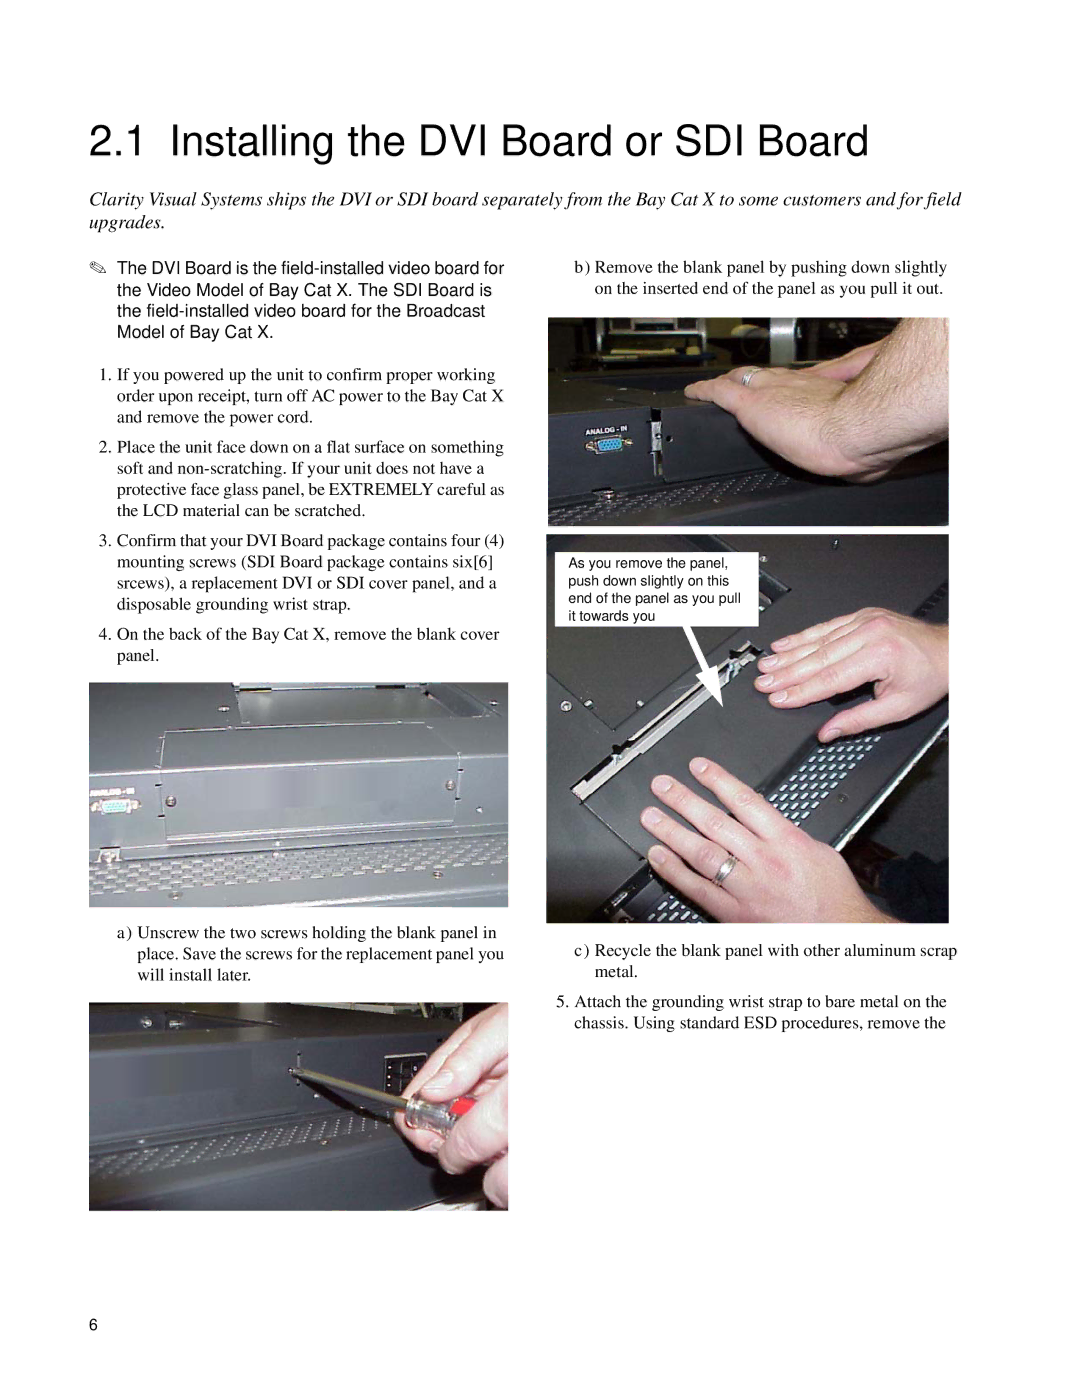
b)Remove the blank panel by pushing down slightly on the inserted end of the panel as you pull it out.
As you remove the panel, push down slightly on this end of the panel as you pull it towards you
a)Unscrew the two screws holding the blank panel in place. Save the screws for the replacement panel you will install later.
c)Recycle the blank panel with other aluminum scrap metal.
5.Attach the grounding wrist strap to bare metal on the chassis. Using standard ESD procedures, remove the
6