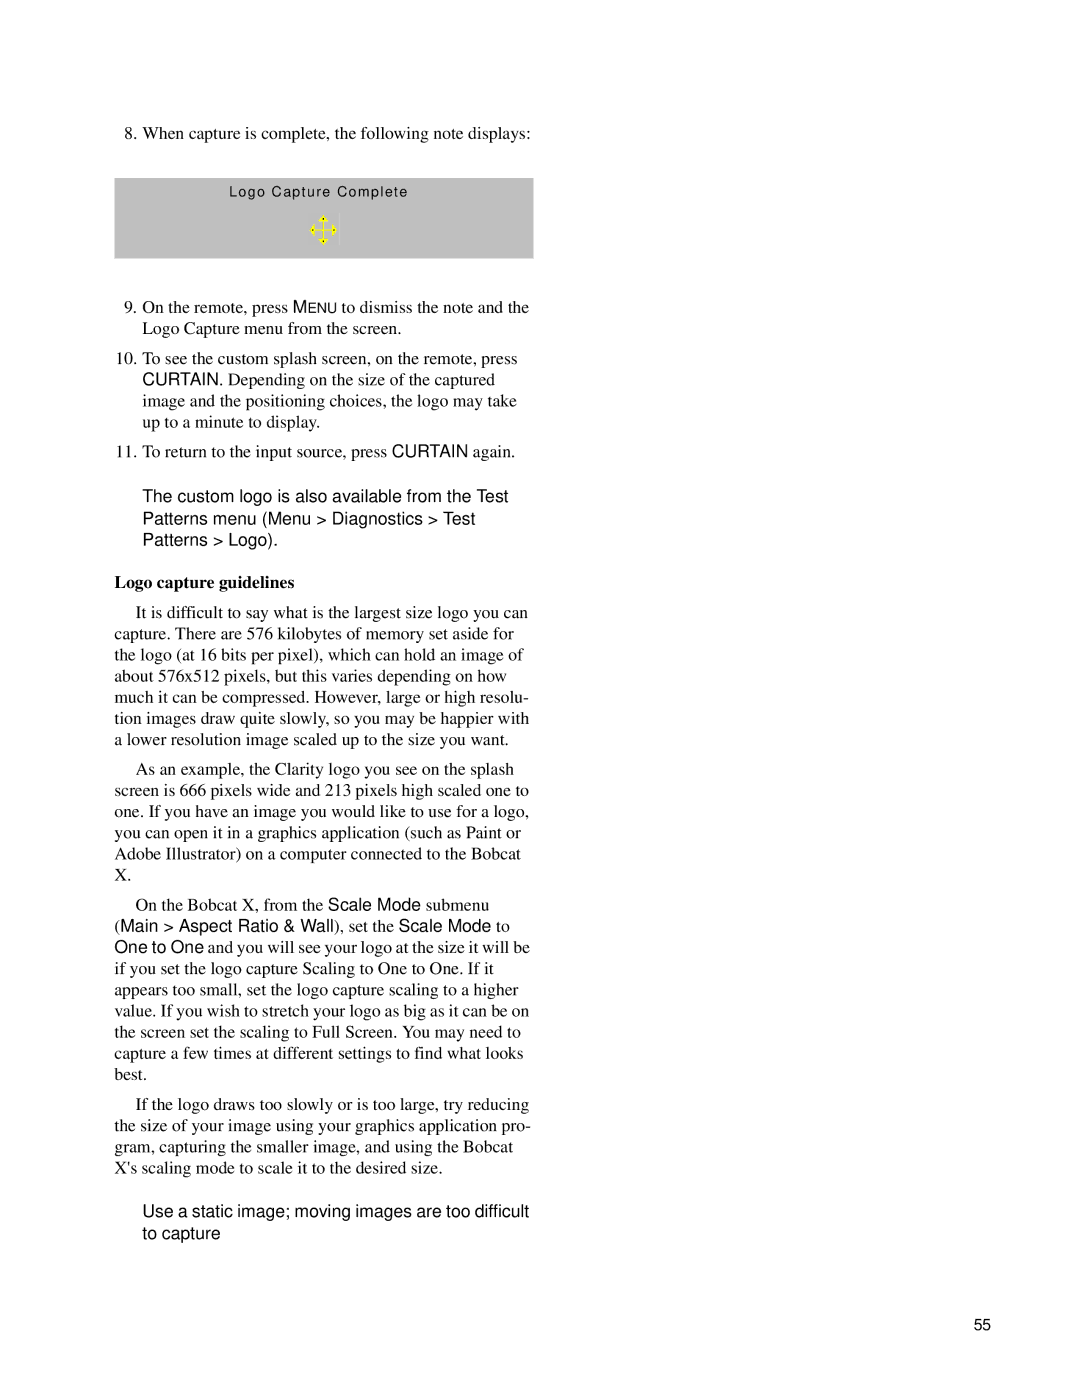
8. When capture is complete, the following note displays:
Logo Capture Complete
9.On the remote, press MENU to dismiss the note and the Logo Capture menu from the screen.
10.To see the custom splash screen, on the remote, press CURTAIN. Depending on the size of the captured image and the positioning choices, the logo may take up to a minute to display.
11.To return to the input source, press CURTAIN again.
✎The custom logo is also available from the Test Patterns menu (Menu > Diagnostics > Test Patterns > Logo).
Logo capture guidelines
It is difficult to say what is the largest size logo you can capture. There are 576 kilobytes of memory set aside for the logo (at 16 bits per pixel), which can hold an image of about 576x512 pixels, but this varies depending on how much it can be compressed. However, large or high resolu- tion images draw quite slowly, so you may be happier with a lower resolution image scaled up to the size you want.
As an example, the Clarity logo you see on the splash screen is 666 pixels wide and 213 pixels high scaled one to one. If you have an image you would like to use for a logo, you can open it in a graphics application (such as Paint or Adobe Illustrator) on a computer connected to the Bobcat X.
On the Bobcat X, from the Scale Mode submenu
(Main > Aspect Ratio & Wall), set the Scale Mode to One to One and you will see your logo at the size it will be if you set the logo capture Scaling to One to One. If it appears too small, set the logo capture scaling to a higher value. If you wish to stretch your logo as big as it can be on the screen set the scaling to Full Screen. You may need to capture a few times at different settings to find what looks best.
If the logo draws too slowly or is too large, try reducing the size of your image using your graphics application pro- gram, capturing the smaller image, and using the Bobcat X's scaling mode to scale it to the desired size.
✎Use a static image; moving images are too difficult to capture
55
