•Using the crossover cable or the ethernet hub and cables, connect the Internal interface of the DFL- 500 NPG to the computer ethernet connection.
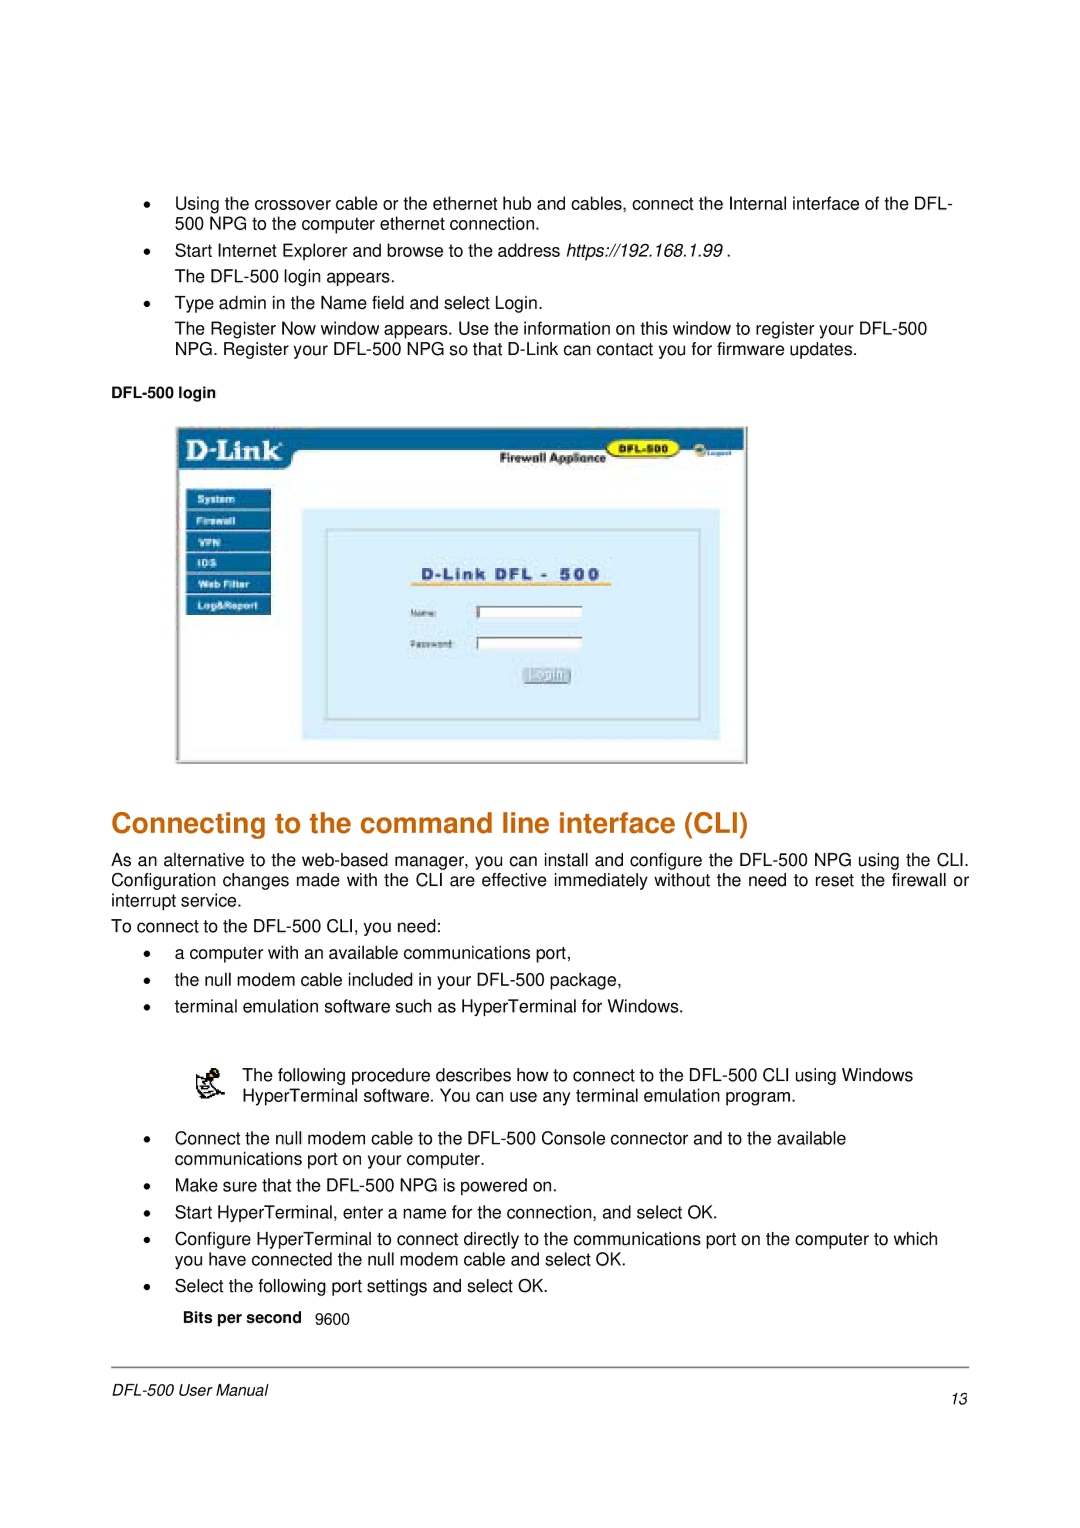
•Start Internet Explorer and browse to the address https://192.168.1.99 . The
•Type admin in the Name field and select Login.
The Register Now window appears. Use the information on this window to register your
DFL-500 login
Connecting to the command line interface (CLI)
As an alternative to the
To connect to the
•a computer with an available communications port,
•the null modem cable included in your
•terminal emulation software such as HyperTerminal for Windows.
The following procedure describes how to connect to the
•Connect the null modem cable to the
•Make sure that the
•Start HyperTerminal, enter a name for the connection, and select OK.
•Configure HyperTerminal to connect directly to the communications port on the computer to which you have connected the null modem cable and select OK.
•Select the following port settings and select OK.
Bits per second 9600
13 | |
|
