7Disconnect the control panel cable from the back of the control panel. See Figure
NOTICE: Do not pull on the cable to unseat the connector. Doing so can damage the cable.
aSqueeze the metal tabs on the ends of the cable connector.
bGently work the connector out of the socket.
8Remove the display module:
a Insert the end of a paper clip into the hole on the right side of the display module and gently pry the label off.
b Using a T10 Torx driver, remove the two screws that secure the display module to the system chassis.
c Remove the display module from the chassis cutout.
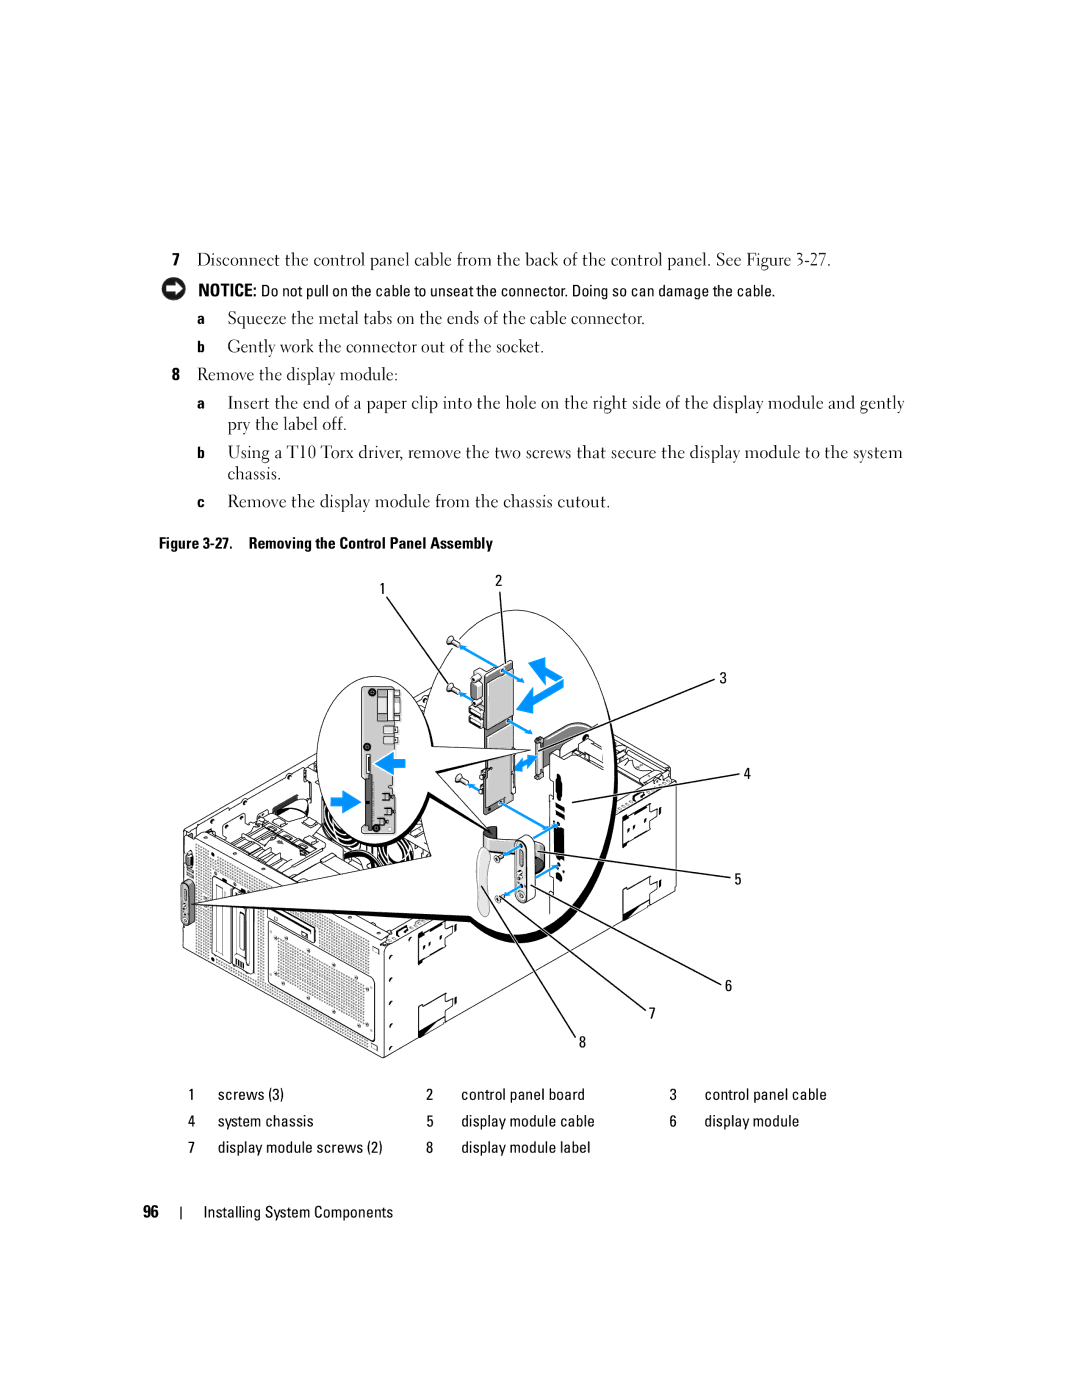
Figure 3-27. Removing the Control Panel Assembly
12
3
4 |
5
|
|
|
|
| 6 |
|
|
|
| 7 |
|
|
|
| 8 |
|
|
1 | screws (3) | 2 | control panel board | 3 | control panel cable |
4 | system chassis | 5 | display module cable | 6 | display module |
7 | display module screws (2) | 8 | display module label |
|
|
96