Using More DVR Features
Play Back a Recorded Event and Record Another Event
1.Set up the DVR receiver to make a quick recording.
Note: You can press the RECORD button or you can use any kind of event timer except a VCR event timer.
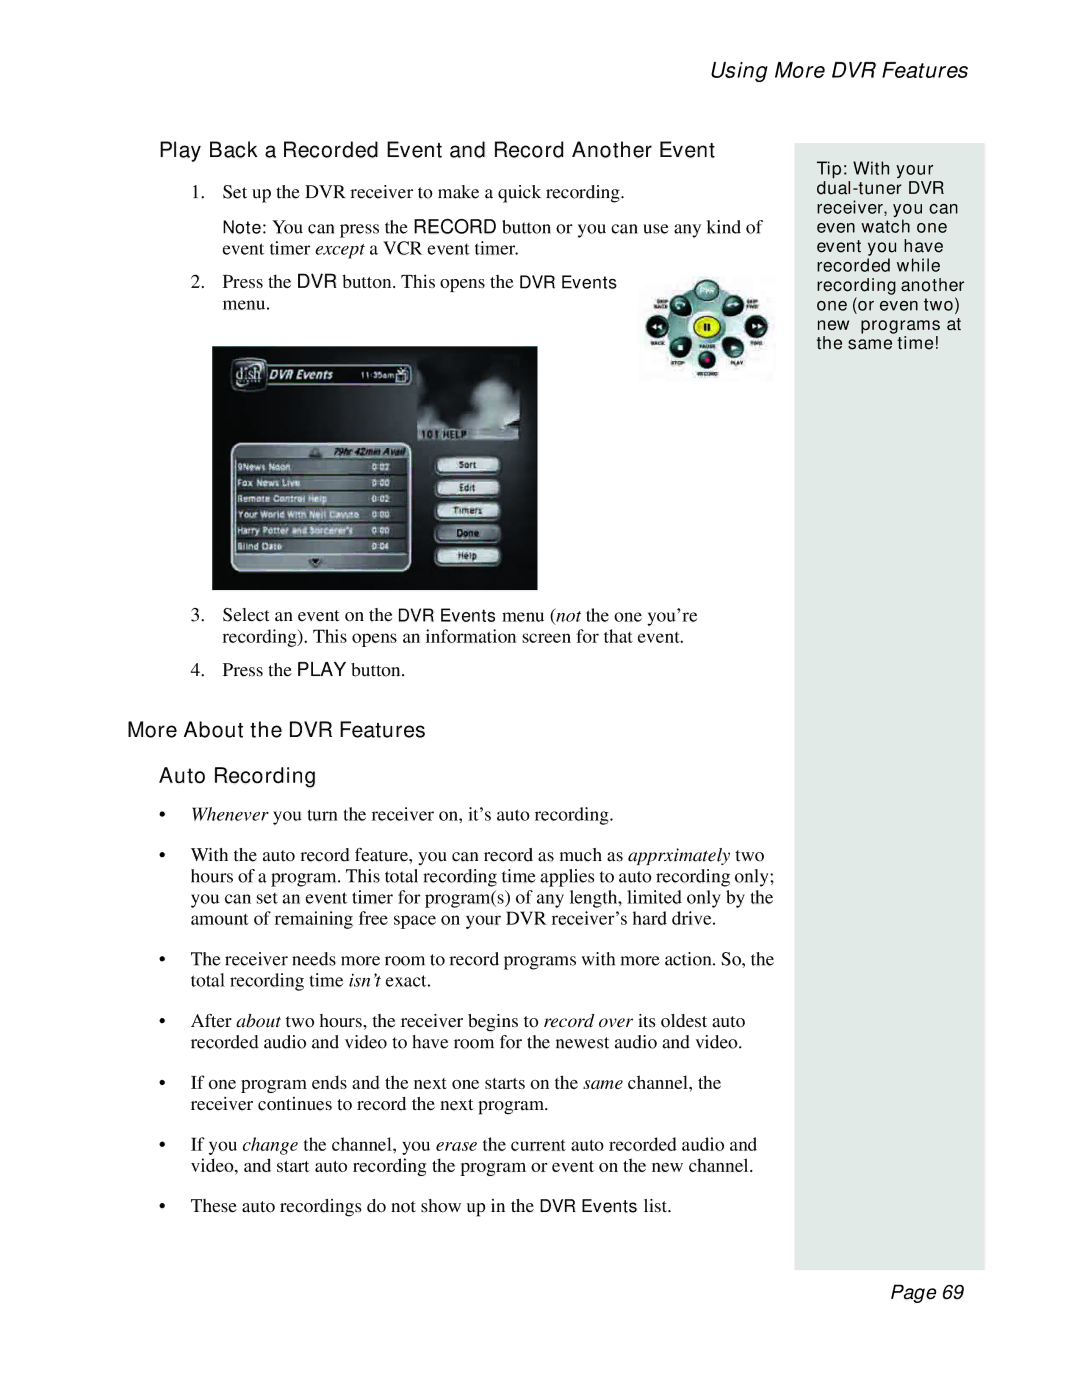
2.Press the DVR button. This opens the DVR Events menu.
3.Select an event on the DVR Events menu (not the one you’re recording). This opens an information screen for that event.
4.Press the PLAY button.
More About the DVR Features
Auto Recording
•Whenever you turn the receiver on, it’s auto recording.
•With the auto record feature, you can record as much as apprximately two hours of a program. This total recording time applies to auto recording only; you can set an event timer for program(s) of any length, limited only by the amount of remaining free space on your DVR receiver’s hard drive.
•The receiver needs more room to record programs with more action. So, the total recording time isn’t exact.
•After about two hours, the receiver begins to record over its oldest auto recorded audio and video to have room for the newest audio and video.
•If one program ends and the next one starts on the same channel, the receiver continues to record the next program.
•If you change the channel, you erase the current auto recorded audio and video, and start auto recording the program or event on the new channel.
•These auto recordings do not show up in the DVR Events list.
Tip: With your
Page 69
