Testing the System
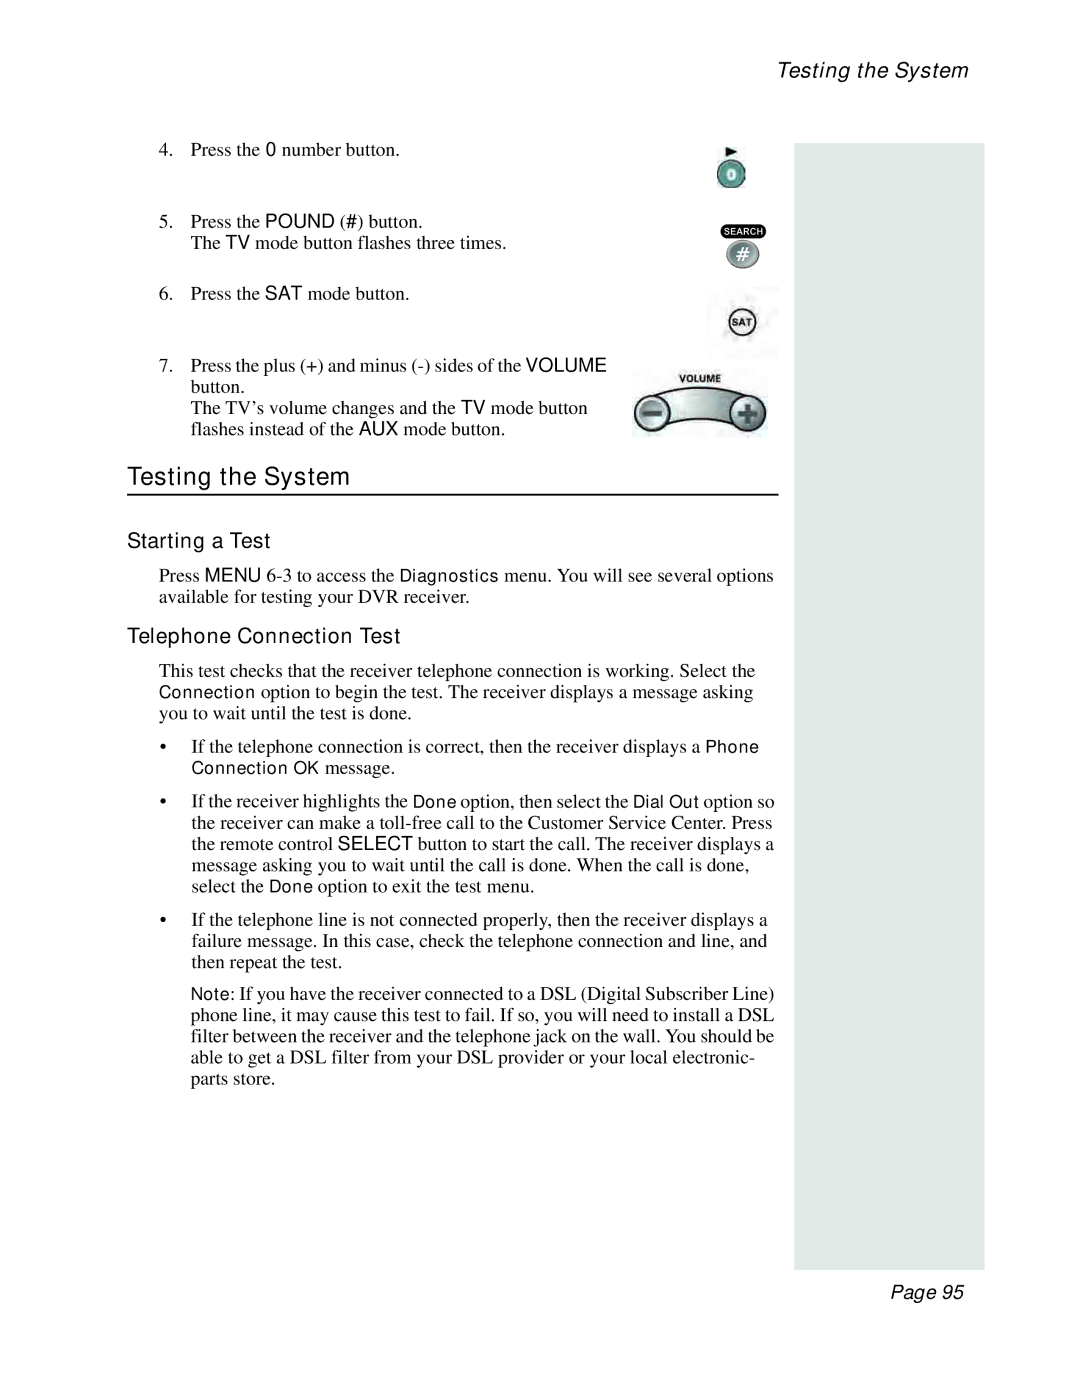
4.Press the 0 number button.
5.Press the POUND (#) button.
The TV mode button flashes three times.
6.Press the SAT mode button.
7.Press the plus (+) and minus
The TV’s volume changes and the TV mode button flashes instead of the AUX mode button.
Testing the System
Starting a Test
Press MENU
Telephone Connection Test
This test checks that the receiver telephone connection is working. Select the Connection option to begin the test. The receiver displays a message asking you to wait until the test is done.
•If the telephone connection is correct, then the receiver displays a Phone Connection OK message.
•If the receiver highlights the Done option, then select the Dial Out option so the receiver can make a
•If the telephone line is not connected properly, then the receiver displays a failure message. In this case, check the telephone connection and line, and then repeat the test.
Note: If you have the receiver connected to a DSL (Digital Subscriber Line) phone line, it may cause this test to fail. If so, you will need to install a DSL filter between the receiver and the telephone jack on the wall. You should be able to get a DSL filter from your DSL provider or your local electronic- parts store.
Page 95