Maintenance 6
CALIBRATION
6-10. Basic Calibration Procedure
The basic calibration procedure consists of the following four parts. These parts must be performed in the order shown.
1.Initial Procedure.
2.A/D Calibration.
3.Offset and Gain Calibration for each function and range.
4.
Normally, it is recommended that the entire calibration procedure be performed. However, under some circumstances the earlier parts may be omitted. For example, if installing the True RMS AC option, it may be necessary only to perform Offset and Gain Calibration for the ac functions, followed by
Some of the calibration calculations are complex and take the 8842A some time to execute. For example, when you store the zero input during the Offset and Gain Calibration for the VDC function, it takes around 22 seconds before the next prompt appears. (The 8842A automatically uses this input to calibrate the offset for all ranges.) While the 8842A is executing a calibration step, it ignores all of the front panel buttons and postpones execution of all remote commands.
6-11. INITIAL PROCEDURE
Always begin the calibration procedure as follows:
1.Allow the 8842A to stabilize in an environment with ambient temperature of 18°C to 28°C and relative humidity less than 75%.
2.Turn the 8842A on and allow it to warm up for at least 1 hour.
3.Enable the calibration mode by pressing the CAL ENABLE switch with a small
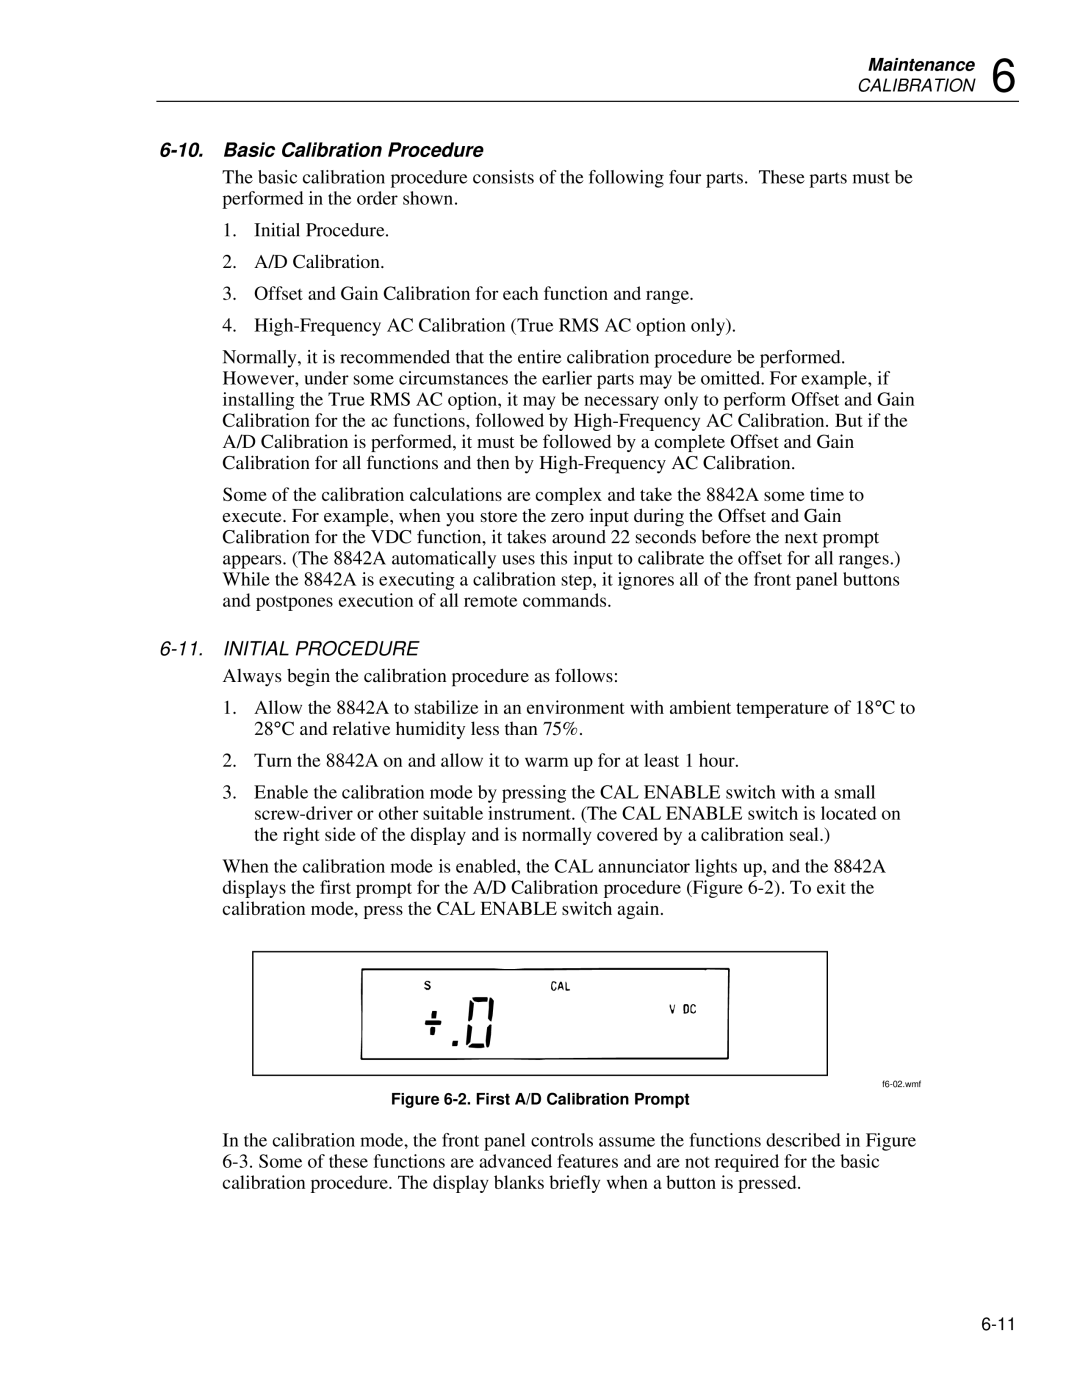
When the calibration mode is enabled, the CAL annunciator lights up, and the 8842A displays the first prompt for the A/D Calibration procedure (Figure
Figure 6-2. First A/D Calibration Prompt
In the calibration mode, the front panel controls assume the functions described in Figure