Appendix A
Installation Specifications
The following table summarizes the installation specifications of ScanSnap.
| Item |
| Specifications |
| |
|
|
|
|
|
|
Dimensions |
|
| Width | Depth | Height |
(Note) |
|
|
|
|
|
| Minimum | 284 mm | 157 mm | 158 mm | |
|
| ||||
|
|
| 11.18 in. | 6.18 in. | 6.22 in. |
|
|
|
|
|
|
|
| Maximum | 284 mm | 436.7 mm | 299.5 mm |
|
|
| 11.18 in. | 17.19 in. | 11.79 in. |
|
|
|
|
|
|
Weight |
|
| 2.7 kg (approxiamtely 5.95 lb) |
| |
|
|
|
|
|
|
Input power |
| Voltage | 100 - 240 V |
|
|
supply |
|
|
|
|
|
| Number of |
|
| ||
|
|
|
| ||
|
| phases |
|
|
|
|
|
|
|
|
|
|
| Frequency | 50/60 Hz |
|
|
|
|
|
|
|
|
Power con- |
| During | 28 W or less |
|
|
sumption |
| operation |
|
|
|
|
|
|
|
|
|
|
| During standby | 6 W or less |
|
|
|
|
|
|
|
|
Temperature/ |
| Scanner state | During operation | During standby | During storage/ |
Humidity |
|
|
|
| transportation |
Allowable |
|
|
|
|
|
| Temperature | 5 to 35 (°C) | |||
Ranges |
| ||||
|
| 41 to 95 (°F) | |||
|
|
| |||
|
|
|
|
|
|
|
| Humidity (%) | |||
|
|
|
|
|
|
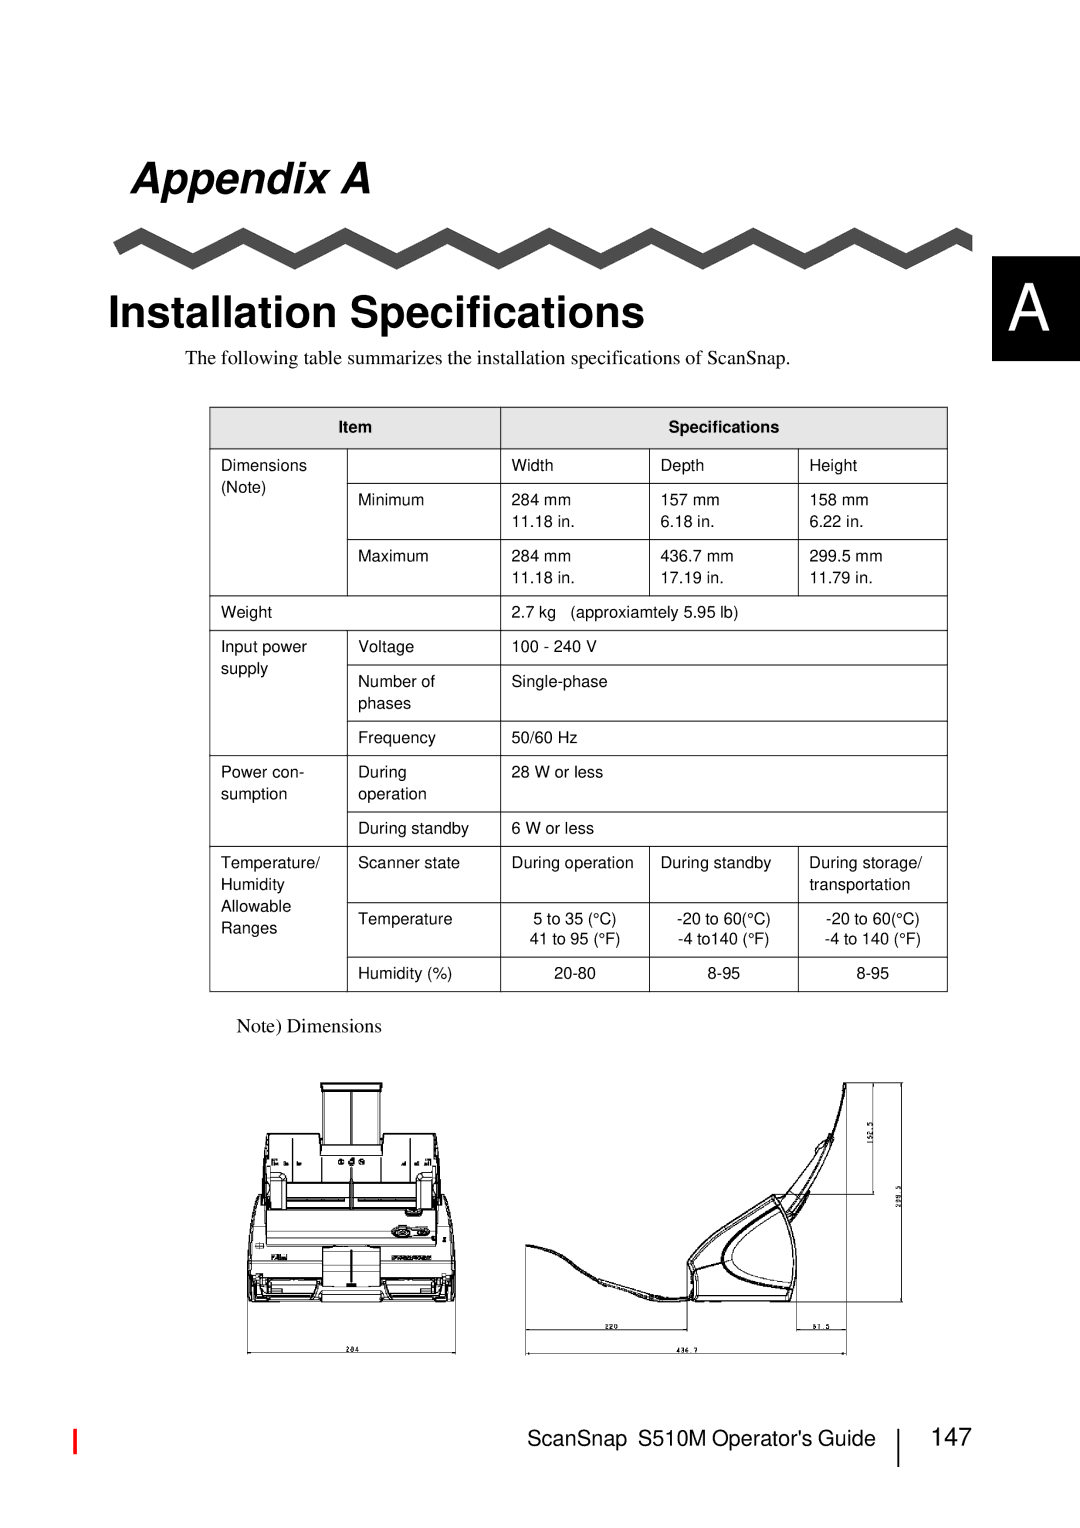
Note) Dimensions
A |