NetWare Configuration Chapter 4
4.2 Configuring NetWare 4.x — Bindery Emulation
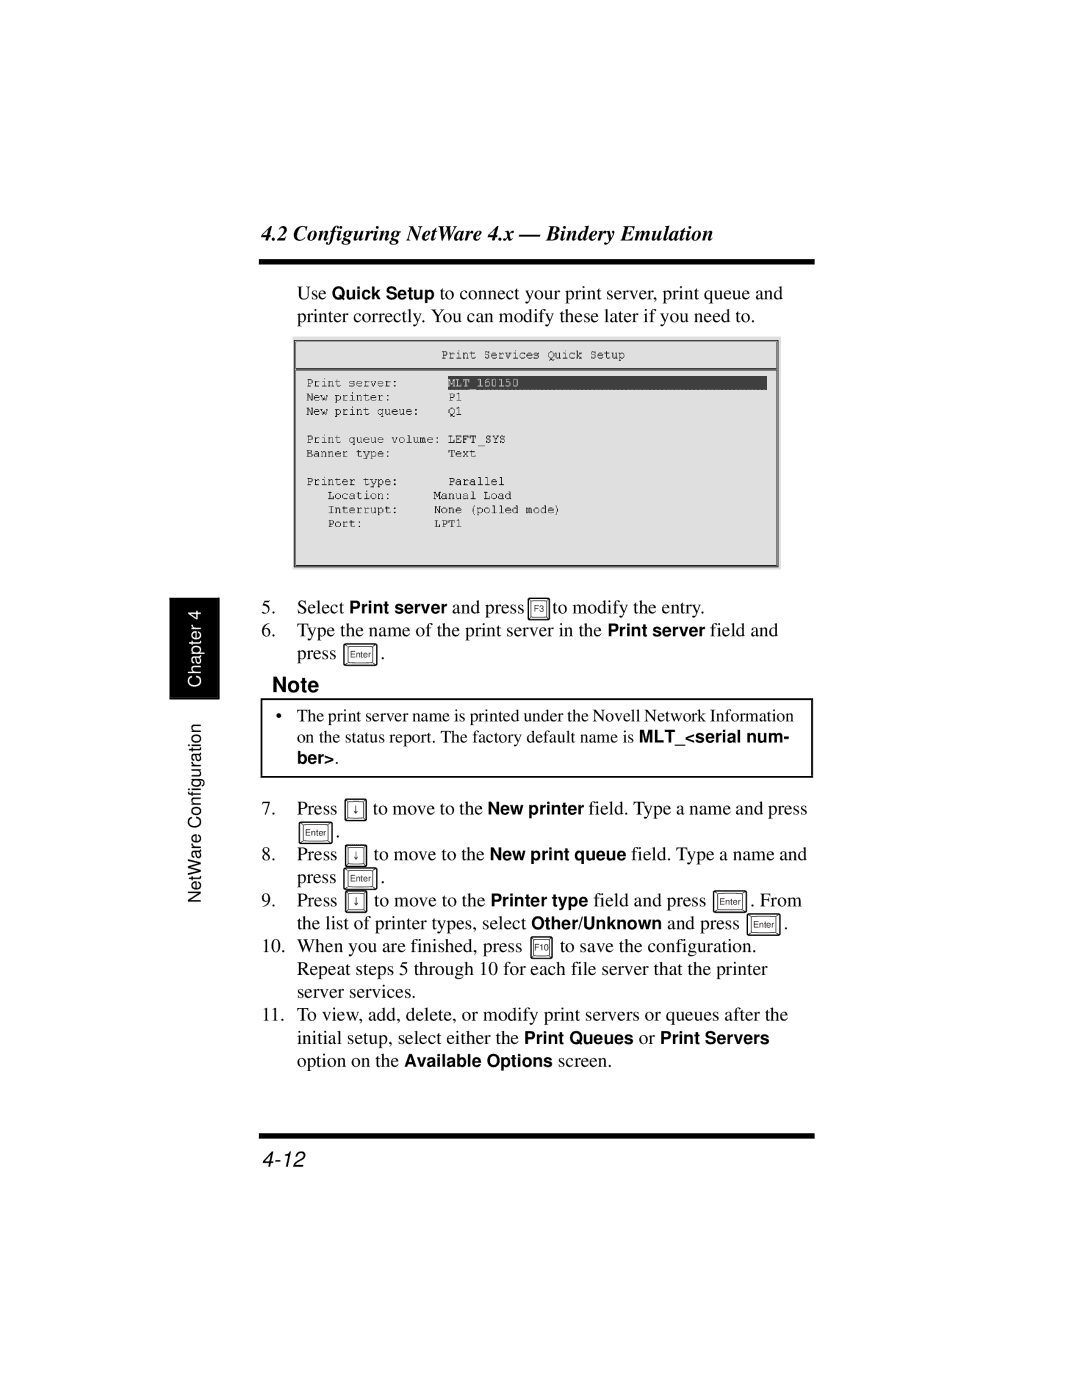
Use Quick Setup to connect your print server, print queue and printer correctly. You can modify these later if you need to.
5.Select Print server and press F3 to modify the entry.
6.Type the name of the print server in the Print server field and press Enter .
Note
•The print server name is printed under the Novell Network Information on the status report. The factory default name is MLT_<serial num- ber>.
7.Press ![]() to move to the New printer field. Type a name and press
to move to the New printer field. Type a name and press
Enter .
8.Press ![]() to move to the New print queue field. Type a name and press Enter .
to move to the New print queue field. Type a name and press Enter .
9.Press ![]() to move to the Printer type field and press Enter . From the list of printer types, select Other/Unknown and press Enter .
to move to the Printer type field and press Enter . From the list of printer types, select Other/Unknown and press Enter .
10.When you are finished, press F10 to save the configuration. Repeat steps 5 through 10 for each file server that the printer server services.
11.To view, add, delete, or modify print servers or queues after the initial setup, select either the Print Queues or Print Servers option on the Available Options screen.