Configuration
To change the time format, highlight the box beside Time Format and then press # . The DVR toggles between 12 Hours (AM/PM) and 24 Hours (military time).
To save your changes, highlight OK and then press # . Select Cancel to exit the screen without saving the changes.
System Check Screen
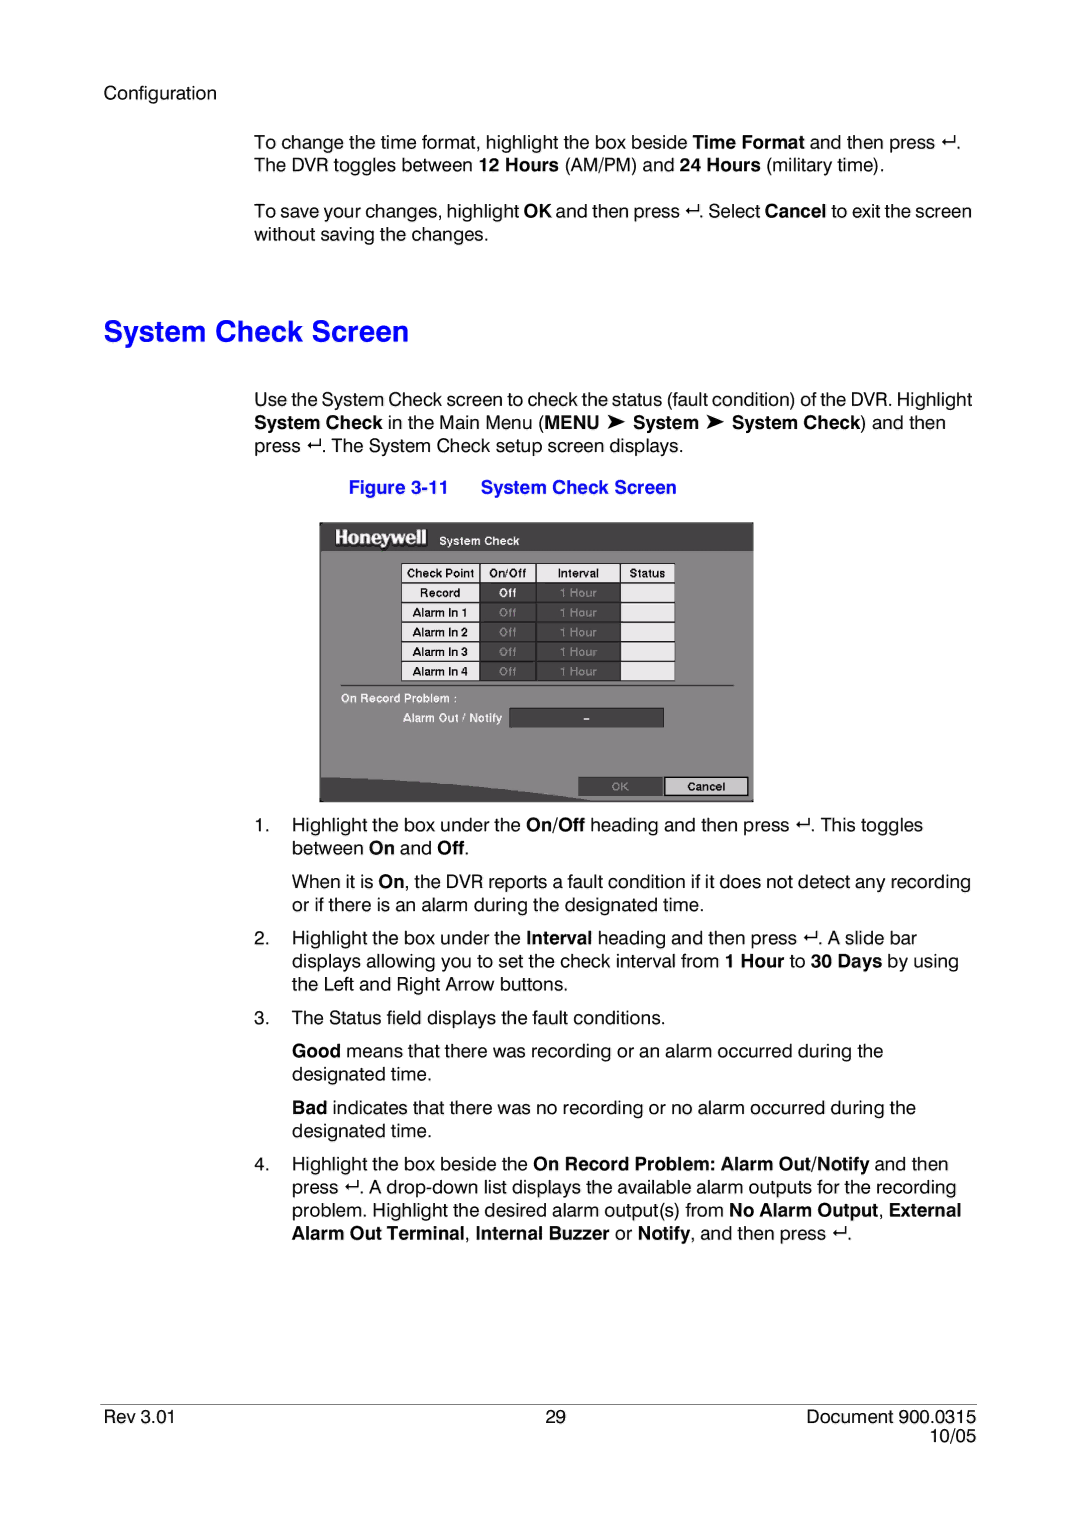
Use the System Check screen to check the status (fault condition) of the DVR. Highlight System Check in the Main Menu (MENU ➤ System ➤ System Check) and then press # . The System Check setup screen displays.
Figure 3-11 System Check Screen
1.Highlight the box under the On/Off heading and then press # . This toggles between On and Off.
When it is On, the DVR reports a fault condition if it does not detect any recording or if there is an alarm during the designated time.
2.Highlight the box under the Interval heading and then press # . A slide bar displays allowing you to set the check interval from 1 Hour to 30 Days by using the Left and Right Arrow buttons.
3.The Status field displays the fault conditions.
Good means that there was recording or an alarm occurred during the designated time.
Bad indicates that there was no recording or no alarm occurred during the designated time.
4.Highlight the box beside the On Record Problem: Alarm Out/Notify and then press # . A
problem. Highlight the desired alarm output(s) from No Alarm Output, External Alarm Out Terminal, Internal Buzzer or Notify, and then press # .
Rev 3.01 | 29 | Document 900.0315 |
|
| 10/05 |